background image


9  


Each connector’s location is shown in Figure 3. 

  Connect the RF cable inside the home or office to the Cable connector. 

  Use the  Ethernet cable included inside the box to connect the modem to the computer. The 

computer must have a LAN installed with the  proper LAN card driver installed on  Windows 

95/98/NT/2000 

  Lastly, power up the modem by connecting the DC adaptor plug into the “DC in ” jack of the modem. 

You will be able to use your Internet within around 1.5 minuites. 

m

 If you are using USB optionally you have to install USB Network Driver at a PC. Refer Section 8. 

  After USB Network Driver at a PC is successfully installed, return back here and follow the next 

procedure. 


6  Cable Modem Inspection 

In order to verify proper operation of the cable modem, the user must first inspect the LED status 
and then verify that the computer as acquired IP correctly. The LED status is detailed in chapter 3. 
 

6.1  Computer IP Address Verification 

  Following proper operation of the cable modem based on LED indicators, the status of the 

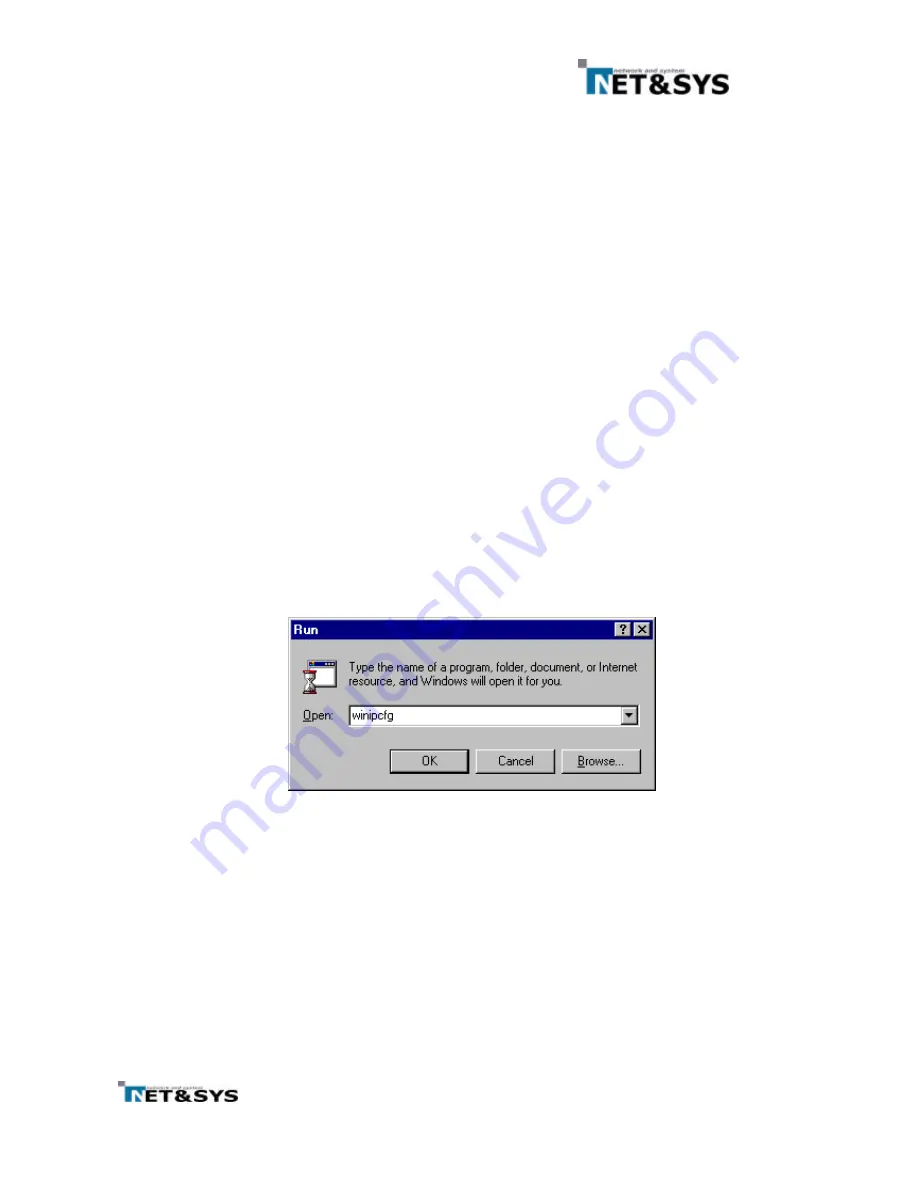
modem can be verified from the computer side as follows. From the desktop, select 

[start]=>[run] and type “winipcfg”inside the popup window before clicking OK. 


F i g u r e   6   R u n   w i n i p c f g   p r o g r a m


Summary of Contents for MNG-2000

Page 1: ...t notice in the future Net Sys assumes no liability for damages resulting from the use of this product or the information contained in this users guide Trademarks Microsoft Windows95 98 and windows NT...

Page 2: ...may cause harmful interference to radio communications However there is no guarantee that interference will not occur in a particular installation If this equipment does cause harmful interference to...

Page 3: ...n 9 6 1 Computer IP Address Verification 9 6 2 Check Points for Modem Problems 11 7 USB Network Driver Installation Guide 12 7 1 Install NetnSys Cable Modem USB Network Driver under Windows 98 and 98S...

Page 4: ...Figure 15 Installation Complete 15 Figure 16 Reboot Prompt Dialog Box 15 Figure 17 Network Neighborhood Property 16 Figure 18 Ipconfig Command 16 Figure 19 Added New Hardware Wizard for Windows 2000...

Page 5: ...quipment or other objects on top of the cable modem Net Sys will not be responsible for damage incurred by user mishandling or misuse or opening of the product case 2 Box Contents Please verify that t...

Page 6: ...ram memory The LED will remain constantly on as long as power is applied 3 2 STATUS LED The STATUS led remains flashing while the modem is being initialized After initialization is complete and normal...

Page 7: ...net card inside the computer T a b l e 1 L E D S t a t u s S u m m a r y LED Name Function Color Status POWER Power and program install Green OFF No power ON Power applied STATUS Modem and software in...

Page 8: ...erious damage to the cable modem 4 2 USB Connector Currently Ethernet is used to connect the cable modem to the computer Optionally USB may be used instead The current MNG 2000 operating program does...

Page 9: ...the RF coaxial cable from the CATV network to the modem The cable modem is connected to the ISP via this connector 5 Cable Modem Installation The figure below shows the rear of the MNG 2000 cable mod...

Page 10: ...to install USB Network Driver at a PC Refer Section 8 After USB Network Driver at a PC is successfully installed return back here and follow the next procedure 6 Cable Modem Inspection In order to ve...

Page 11: ...he above procedure 3 there are three possible reasons Firstly the cable modem may not be operating properly Secondly LAN card may not be installed properly and thirdly the server may be down In order...

Page 12: ...nd the computer If you are using UBS please verify USB connection between the modem and the computer Please verify that the RF cable is properly connected to the cable modem Please verify proper insta...

Page 13: ...river Turn on the cable modem computer and start Windows Connect one end of the USB cable to cable modem and the other end to one of the computer s USB Port Windows detects that new hardware has been...

Page 14: ...Figure 11 If installing the driver disk into the disk drive and select the Floppy disk drive check box Otherwise select the Specify a location and the path where the driver files can be found Click Ne...

Page 15: ...1 4 The wizard searches for the driver and finds the NetnSys USB Cable Modem Driver see Figure 12 and Figure 13 Click Next F i g u r e 1 2 Driver Found Screen 1 F i g u r e 1 3 Driver Found Screen 2...

Page 16: ...dicates it has completed the driver installation see Figure 15 Click Finish F i g u r e 1 4 Copying Files F i g u r e 1 5 Installation Complete A dialog box prompts you to restart your computer see Fi...

Page 17: ...k The Network Control Panel Applet appears See Figure 17 Verify the NetnSys USB Cable Modem Driver is present If needed you can verify the presence of the USB Cable Modem Driver from the DOS prompt by...

Page 18: ...computer and start Windows Connect one end of the USB cable to cable modem and the other end to one of the computer s USB Port Windows detects that new hardware has been added and start the Add New Ha...

Page 19: ...arching for driver Screen 1 Select the location of the driver see Figure 22 If installing from a floppy insert the driver disk into the disk driver and select Floppy disk drives check box Otherwise se...

Page 20: ...Results A digital signature is provided by Microsoft upon completion of the WHQL Windows Hardware Quality Lab certification process As Net Sys does not submit this USB driver hardware for WHQL certifi...

Page 21: ...2 0 When the driver installation program is complete the Completing the Found New Hardware Wizard window appears see Figure 25 Click Finish F i g u r e 2 5 Notification Screen...

Page 22: ...Driver Installation To verify that USB driver has been properly installed Do the following from the windows desktop See Figure 26 Right Click the My Computer icon and click the properties F i g u r e...

Page 23: ...The system properties appears see Figure 27 Click the hardware tab F i g u r e 2 7 System Properties The Hardware Properties appears see Figure 28 Click Device Manager F i g u r e 2 8 Hardware Propert...

Page 24: ...2 3 The Device Manager windows is displayed see Figure 29 Verify the driver installation by expanding Network Adaptors F i g u r e 2 9 Device Manager...

Page 25: ...lling the driver To verify that USB driver has been properly installed Do the following from the windows desktop See Figure 30 Right Click the My Computer icon and click the properties F i g u r e 3 0...

Page 26: ...5 The system properties appears see Figure 31 Click the hardware tab F i g u r e 3 1 System Properties The Hardware Properties appears see Figure 32 Click Device Manager F i g u r e 3 2 Device Manage...

Page 27: ...Figure 33 Expend Network Adaptors and highlight NetnSys USB Cable Modem Select Remove from Action Menu A warning message is displayed stating that the driver is about to be removed Click OK and resta...

Page 28: ...2 7 8 Contact Information Technical Support Contact E mail support netnsys com Sales Contact E mail sales netnsys com Web Page Http www netnsys com...

Reviews: