5
netis Wireless High Power Ceiling/Wall mounted AP Router Quick Installation Guide
WISP Mode :
Select target network and Connection Type.
1. Click “
AP Scan
” button to select your target network and click “
Connect
” button.
2. Type in the wireless security info of the target network.
3. Select connection type. (Please refer to “
Internet Settings
”
→
“
AP Router Mode
”)
Note: The DHCP Server will be disabled after switching to “
AP
” mode successfully, so you will have
to set a static IP address for your PC first if you need to login to the web-based management page again.
3.4 The web management page will display after login successfully. Select the language as you need
on the top box, default is in English.
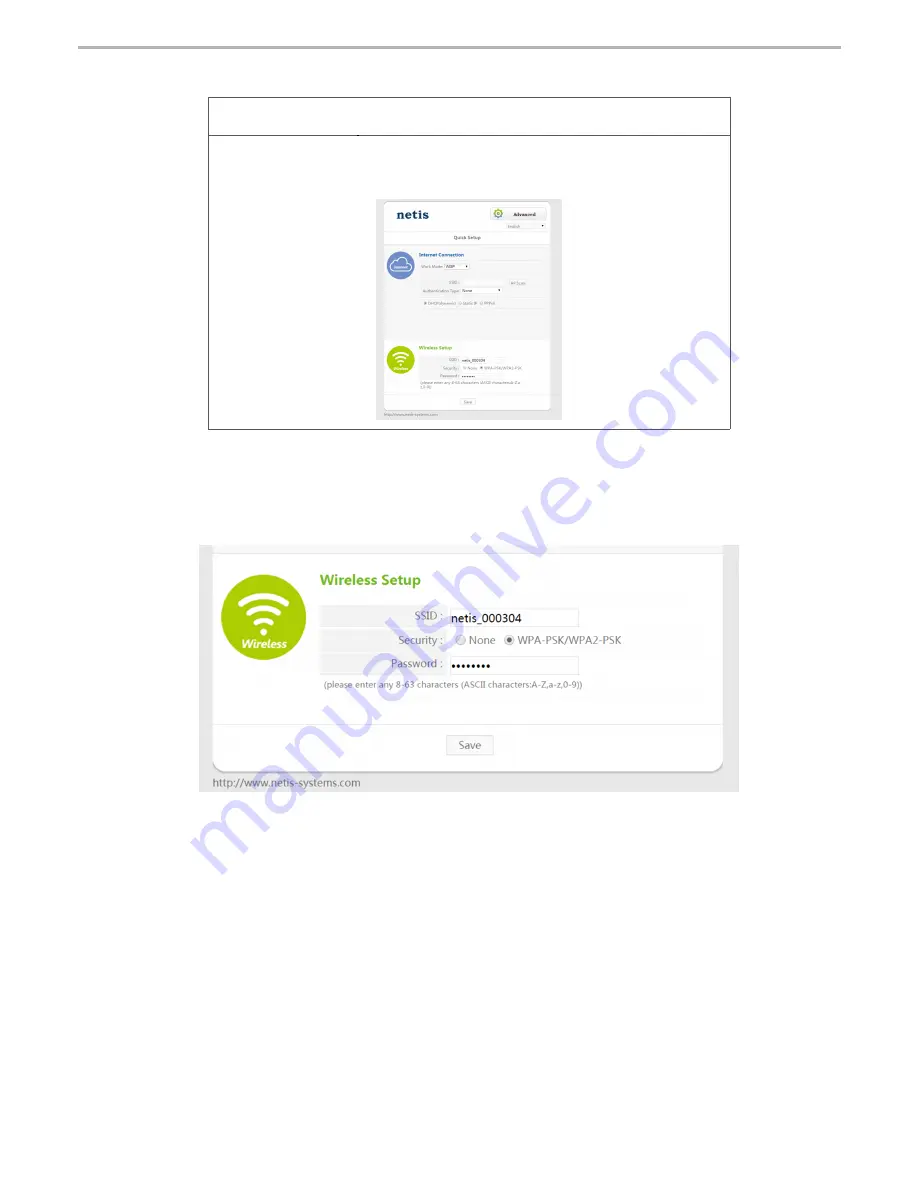
Wireless Setup
Setup a wireless network name in “
SSID
” box, it is recommended to use WPA-PSK/WPA2-PSK for
“
Security
” and set a wireless network key in the “
Password
” box, then click “
Save
” button.
3.5 When you completed the configuration,please remember to change the settings on your computer
back to '
obtain an IP address automatically
' in the the same window as step 3.1.


