


Desktop Mirror
130
NETGEAR Stora
Change Account Settings
Changing accounts settings lets you modify the device name, user name, password, and
backup schedule.
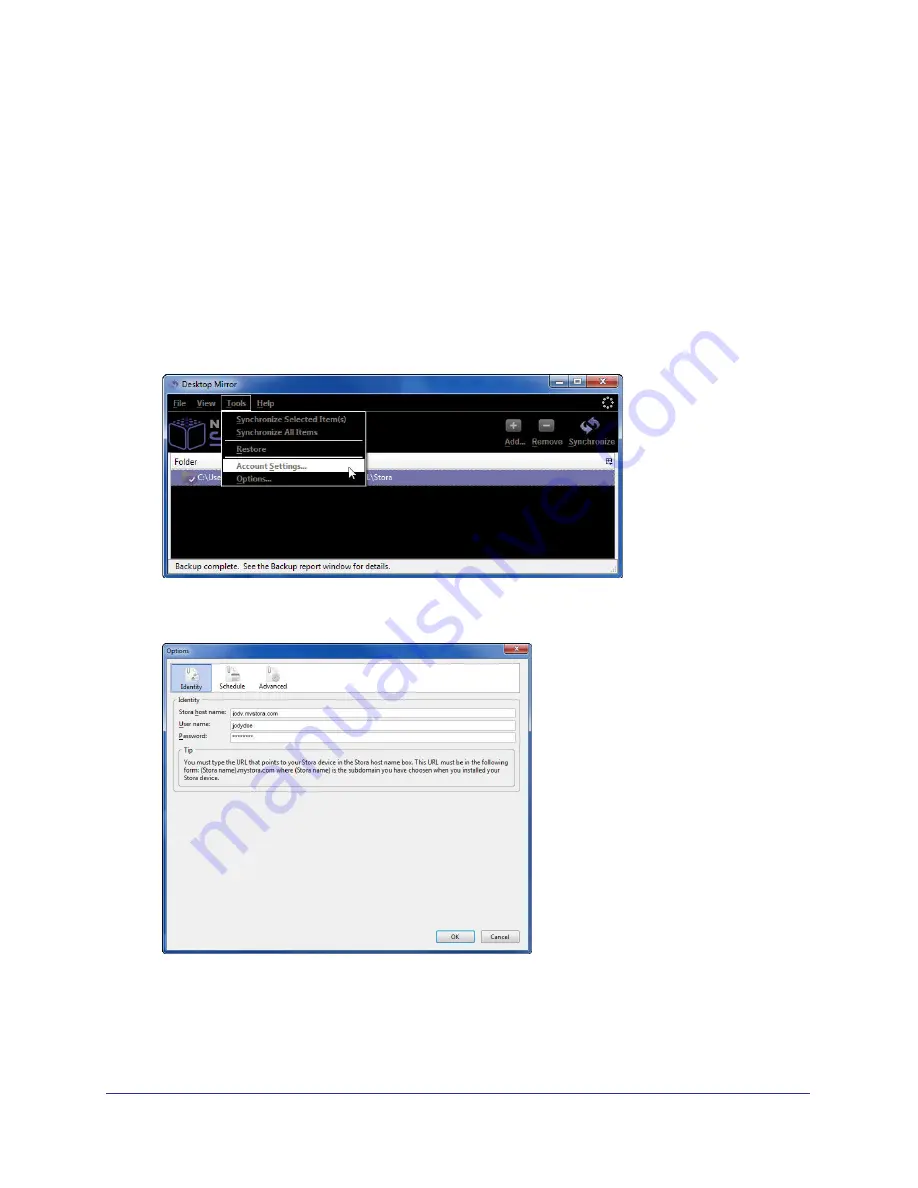
Identity Tab
You can use the Identity tab to choose which Stora and user you want to mirror.
To choose a Stora and user account to mirror:
1.
Choose
Tools > Account Settings
.
The Options screen displays.
2.
Click the
Identity
tab.
3.
Edit the fields as desired and click
OK
.
For information about editing an account for a user who changes his or her password, see
Edit User
on page
105.


