


NF1901ACV FAQs – PlayStation Setup Guide
5 of 7
FQ01121 v. 1.1 March 2019
© NetComm Wireless 2019
8
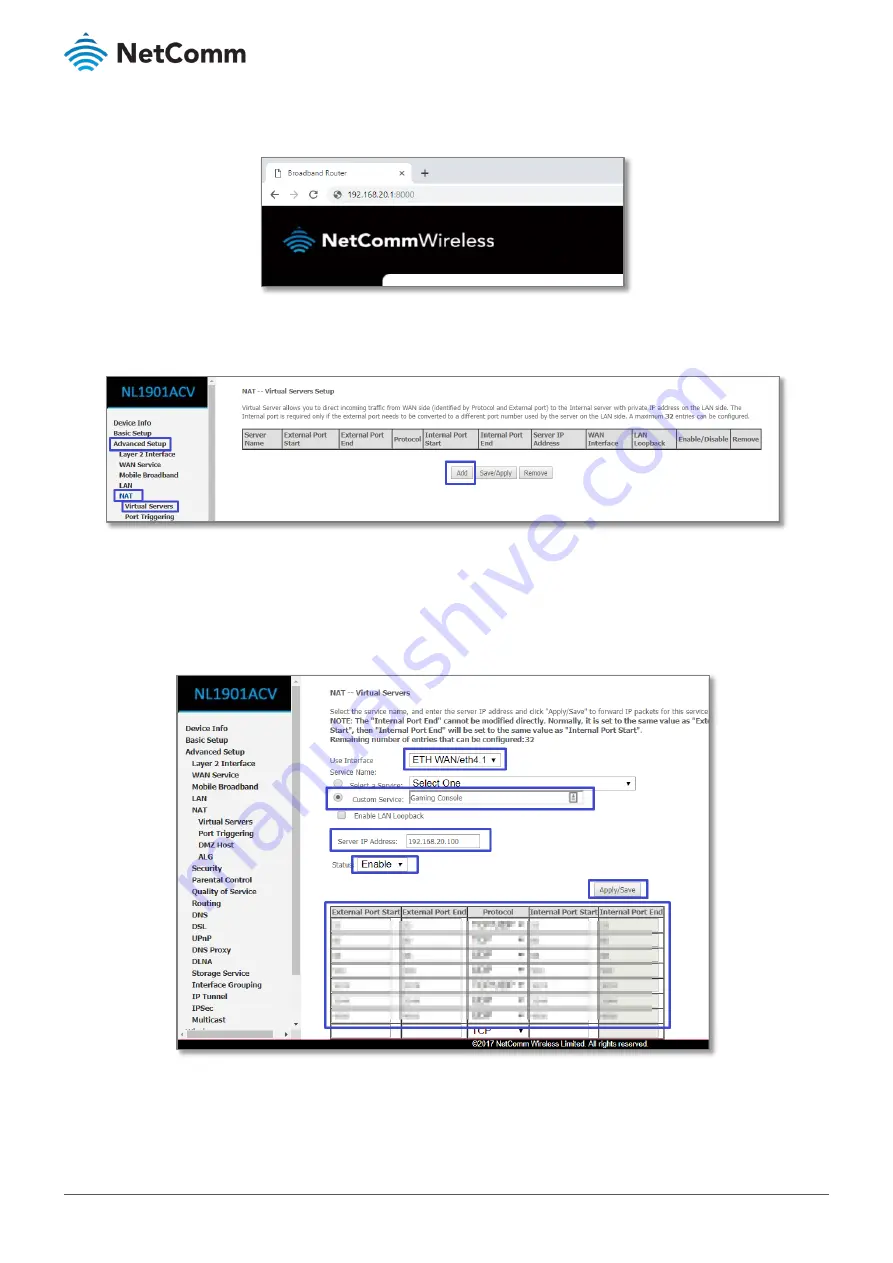
Open a web browser (such as Internet Explorer, Google Chrome or Firefox), type http://192.168.20.1:8000
into the address bar and press enter.
9
Click on the Advanced Setup at the left of the page, then click on NAT option and then click Virtual Servers
options.
10
Click the Add button to add a new port forwarding rule.
11
Check that the interface currently selected in the Use Interface field is correct.
12
Choose the Use Interface from the drop-down menu as either ADSL / VDSL / or ETH WAN depending on
your connection type for internet.
13
To create your own defined port forwarding rule, select the Custom Service field and give the port forwarding
rule a unique name.
This example uses Gaming Console.


