background image

Prepare for installation

Install hardware

Cable storage

Complete system setup

and configuration

1

2

3

4

FAS26xx Series Systems

Installation and Setup Instructions

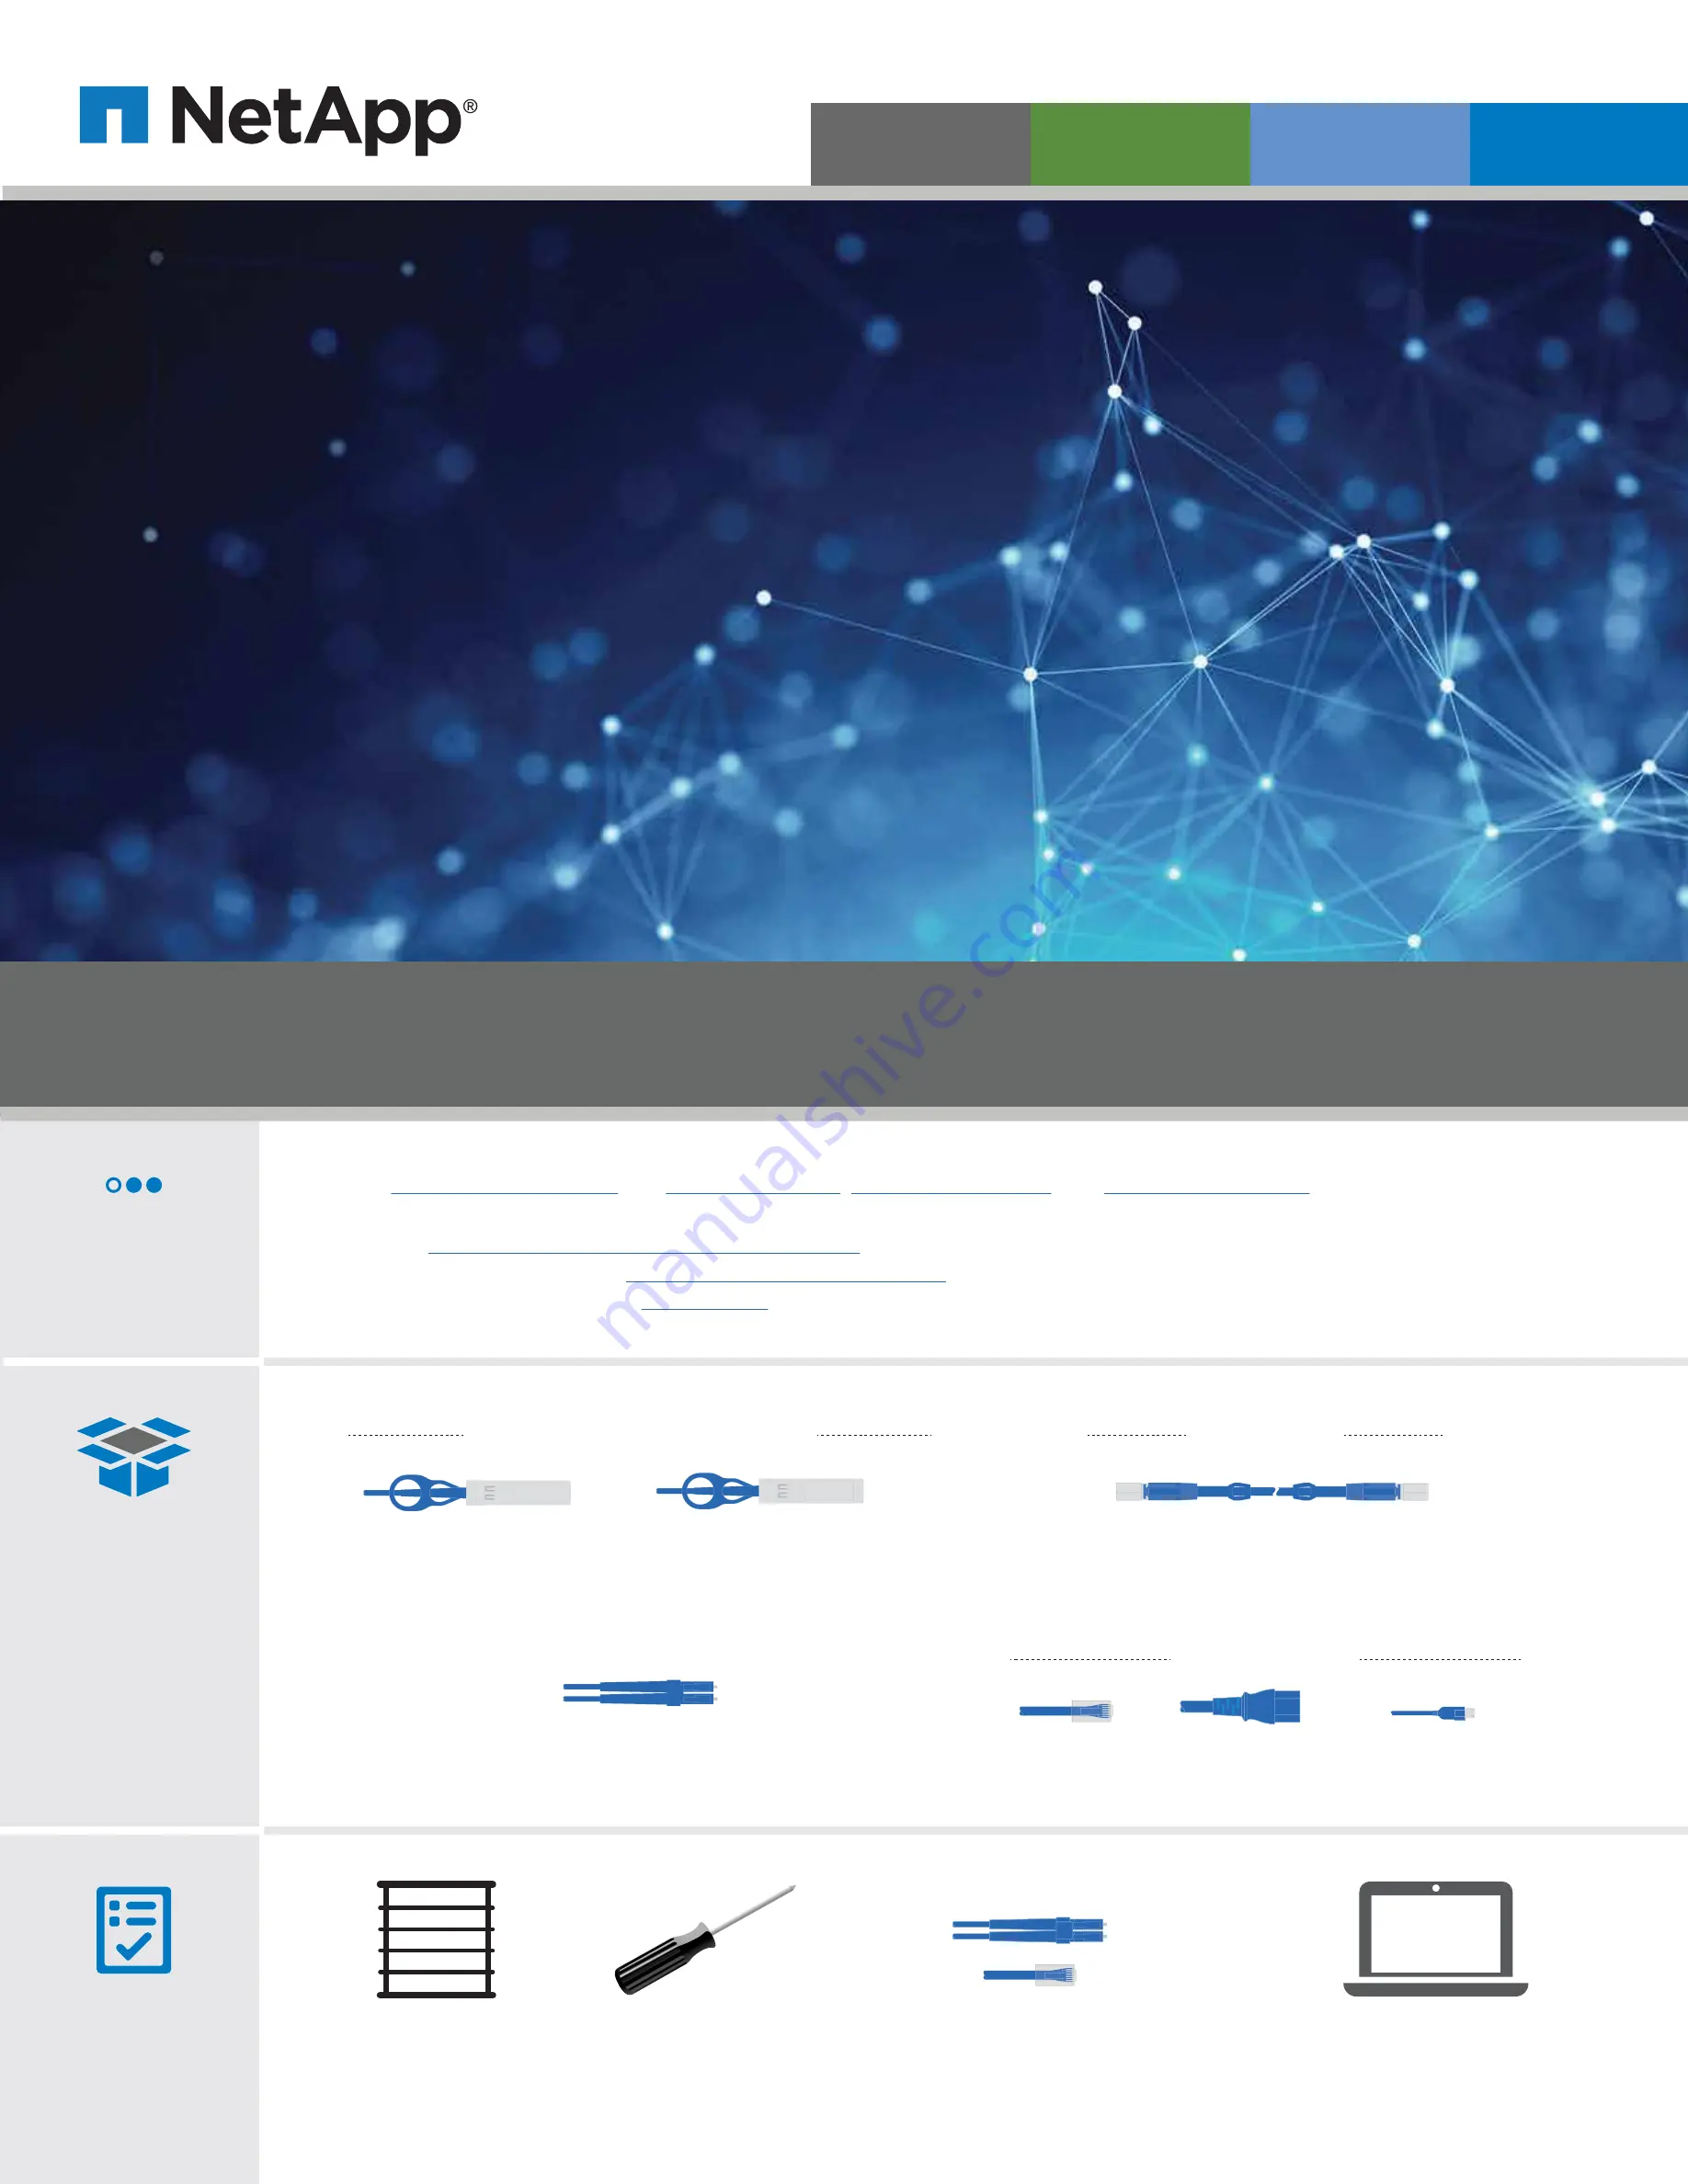
Screwdriver

Client

With a USB/serial connection and access to a

Web browser to configure your storage system

Rack space

2U per chassis

You provide

In the box

Cluster Interconnect cables

Part number X6566B-05-R6 (112-00297) 

or X6566B-2-R6 (112-00299)

10 GbE network cables

(order dependent)

Part number X6566B-2-R6 (112-00299) 

or X6566B-3-R6 (112-00300) or X6566B-5-R6 (112-00301)

Optical network cables (order dependent)

Part number  X6553-R6 (112-00188) or X6554-R6 (112-00189) or X6536-R6 (112-00090)

Data and cluster Interconnect cables

1.

Go to 

mysupport.netapp.com

 and 

create an account

register your system

, and 

get your license keys


2.

Unpack all boxes and inventory contents.

3.

Go to the 

AFF and FAS System Documentation Center

 and click FAS26xx series, and then Installation and Setup:

Download and complete the 

Cluster Configuration Worksheet

.

- Watch the videos listed under 

Setup videos

.

Pre-setup

Storage cables

mini-SAS HD to mini-SAS HD cables

Part number X66030A (112-00435) or X66031A (112-00436) 

or X66032A (112-00437) or X66033A (112-00438)

Additional cables

Power cables

Ethernet cables

micro USB console cable

Additional network cables

For connecting your storage system to your

network switch and Microsoft

®

 Windows

®

 client

Prepare for installation 

|


1

215-15014_A0

Summary of Contents for FAS26 Series

Page 1: ... X6554 R6 112 00189 or X6536 R6 112 00090 Data and cluster Interconnect cables 1 Go to mysupport netapp com and create an account register your system and get your license keys 2 Unpack all boxes and inventory contents 3 Go to the AFF and FAS System Documentation Center and click FAS26xx series and then Installation and Setup Download and complete the Cluster Configuration Worksheet Watch the vide...

Page 2: ...the wrench port to the management or subnet switch For option A only Connect port e0a to port e0a and port e0b to port e0b For option B only Connect port e0a and port e0b to the cluster switch Strap the cables to the cable management arms 5 1 2 3 4A 4B Install hardware Stage 2 1 2 Use retaining clips Use retaining clips LIFTING HAZARD CAUTION 26 kg 55 lbs Ethernet cables 10 GbE network cables PN 1...

Page 3: ... AC AC 1 2 AC AC 1 2 AC AC 1 2 AC AC Single controller system Cabling a FAS26xx series with NO external storage Cabling a FAS26xx series WITH external storage DS212C or DS224C disk shelves Cable storage Stage 3 Choose option A or B below A B First shelf IOMA IOMA Last shelf First shelf Last shelf IOMB IOMB 1 2 AC AC No additional cabling required for a single controller Single controller system 1 ...

Page 4: ...y cabled and then turn the power supplies Management subnet Laptop 3 Use System Manager Guided Setup to configure your cluster 4 Completing setup 1 Verify the health of your system by running Config Advisor 2 After you have completed the initial configuration go to the NetApp ONTAP Resources page for information about configuring additional features in ONTAP micro USB console cable Ethernet cable ...

Reviews: