For the...
Then...
FAS2240-2
system
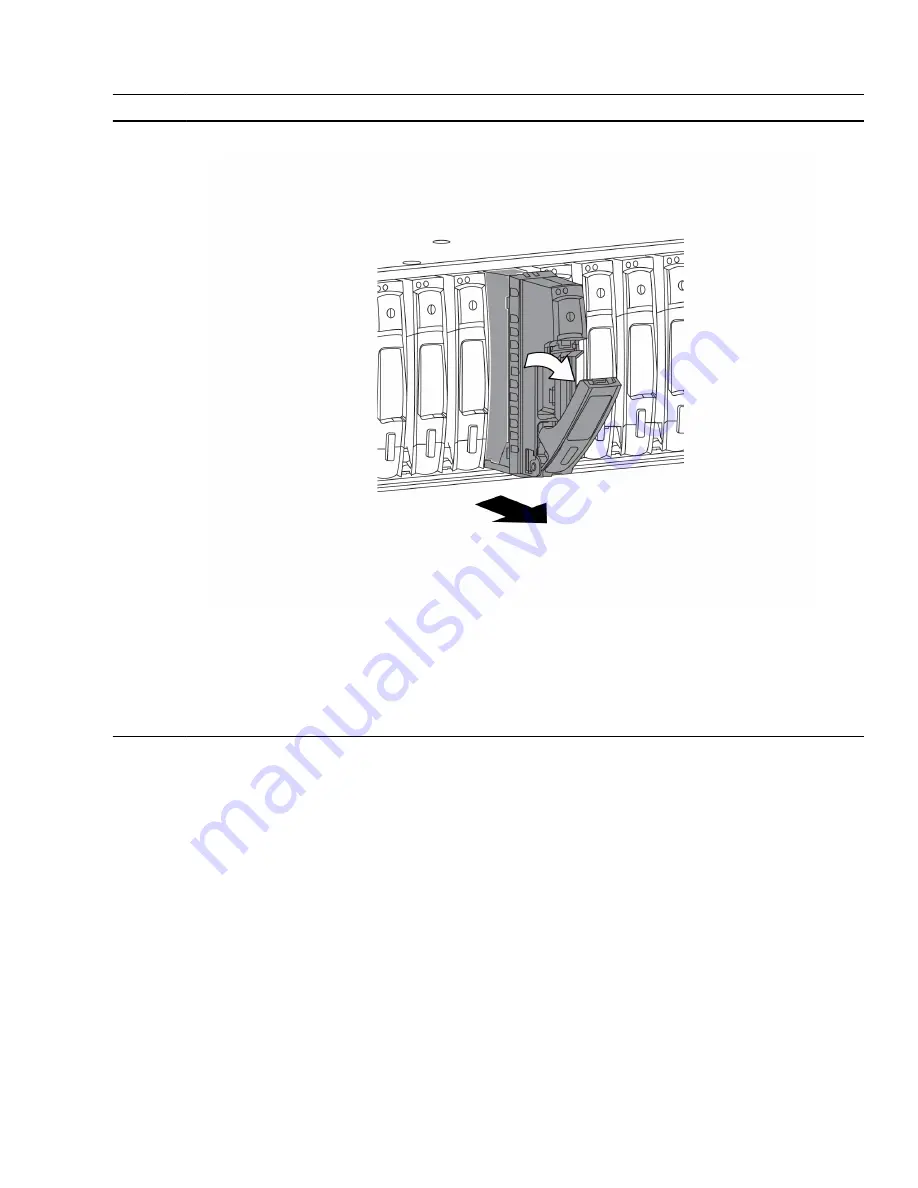
a. Press the release button at the top of the carrier face below the LEDs.
b. Pull the cam handle to its fully open position to unseat the disk drive from the midplane, and gently slide the disk drive
out of the disk shelf.
The disk drive should disengage from the chassis, allowing it to slide free of the chassis.
Attention:
When removing a disk drive, always use two hands to support its weight.
Note:
Disk drives are fragile. Handle them as little as possible to prevent damage to them.
3. Align the disk drive from the old chassis with the same bay opening in the new chassis.
4. Gently push the disk drive into the chassis as far as it will go.
The cam handle engages and begins to lift upward.
5. Firmly push the disk drive the rest of the way into the chassis and lock the cam handle by pushing it up and against the disk
drive holder.
Be sure to close the cam handle slowly so that it aligns correctly with the front of the drive carrier. You will hear it click
when it is secure.
6. Repeat the process for the remaining disk drives in the system.
See the
Hardware Overview for more information.
7. If you have a FAS2240-2, you must move the operator display panel (which contains the status LEDs for the system) from
the old chassis to the new chassis:
a) With the disk drives removed, note the touch-point release pin on the side of the operator display panel.
b) Insert your hand into the chassis, pull the pin straight out to release the operator display panel,and then with your other
hand, grasp the front of the operator display panel and slide it out of the chassis.
c) Moving to the new chassis, slide the operator display panel into the slot until it meets the midplane and clicks into place.
4
Replacing the chassis on a FAS22xx system


