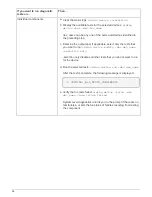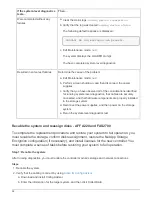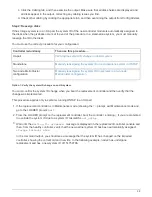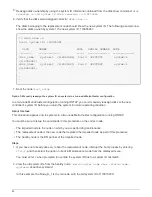
c. Click the Cabling tab, and then examine the output. Make sure that all disk shelves are displayed and
all disks appear in the output, correcting any cabling issues you find.
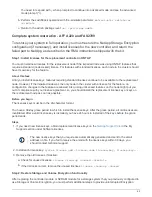
d. Check other cabling by clicking the appropriate tab, and then examining the output from Config Advisor.
Step 2: Reassign disks
If the storage system is in an HA pair, the system ID of the new controller module is automatically assigned to
the disks when the giveback occurs at the end of the procedure. In a stand-alone system, you must manually
reassign the ID to the disks.
You must use the correct procedure for your configuration:
Controller redundancy
Then use this procedure…
HA pair
Verifying the system ID change on an HA system
Stand-alone
Manually reassigning the system ID on a stand-alone system in ONTAP
Two-node MetroCluster
configuration
Manually reassigning the system ID on systems in a two-node
MetroCluster configuration
Option 1: Verify the system ID change on an HA system
You must confirm the system ID change when you boot the
replacement
controller and then verify that the
change was implemented.
This procedure applies only to systems running ONTAP in an HA pair.
1. If the
replacement
controller is in Maintenance mode (showing the
*>
prompt, exit Maintenance mode and
go to the LOADER prompt:
halt
2. From the LOADER prompt on the
replacement
controller, boot the controller, entering
y
if you are prompted
to override the system ID due to a system ID mismatch:
boot_ontap
3. Wait until the
Waiting for giveback…
message is displayed on the
replacement
controller console and
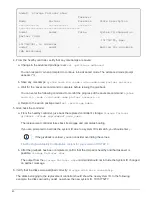
then, from the healthy controller, verify that the new partner system ID has been automatically assigned:
storage failover show
In the command output, you should see a message that the system ID has changed on the impaired
controller, showing the correct old and new IDs. In the following example, node2 has undergone
replacement and has a new system ID of 151759706.
59

