Nuvo-3000 Series User’s Manual
Copyright © 2013 Neousys Technology Inc. All Right Reserved.
Page 68 of
101
5. Firmly plug the terminal block into a receptacle on the rear panel, and tighten the
captive screws using a Slotted screwdriver.
Caution
1.
Nuvo-3000 accepts 8~25 VDC when using terminal block for DC input. Please make sure the
voltage of DC power is correct before you connect it to Nuvo-3000. Supplying a voltage over
25V will damage the system.
3.7 Power on your Nuvo-3000
For better flexibility of operation, Nuvo-3000 provides three alternatives to power on your
Nuvo-3000. You can turn on your Nuvo-3000 by pressing the power button, using an
external non-latched on/off switch, or by sending a special LAN packet. In this section, we
illustrate these ways to power on your Nuvo-3000.
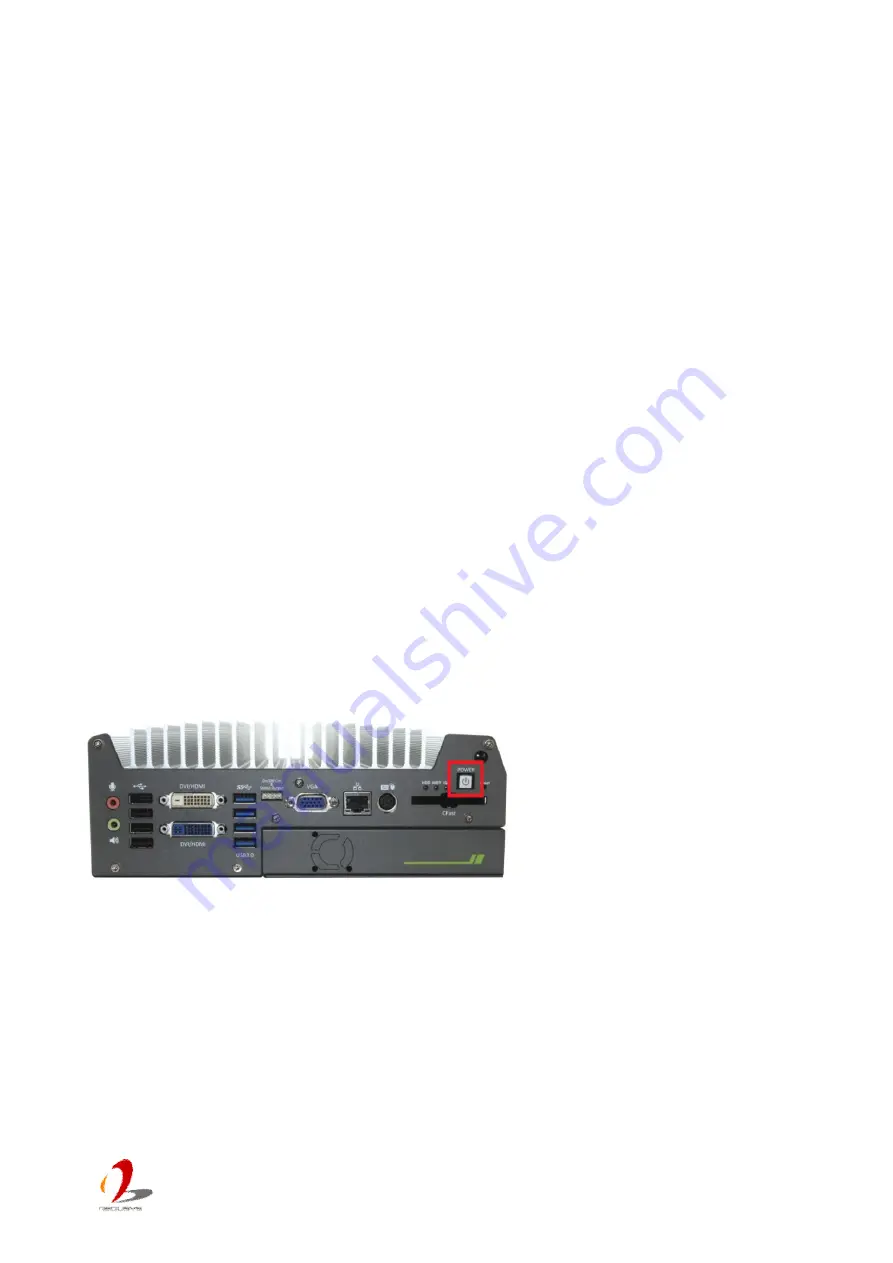
3.7.1 Power on Nuvo-3000 Using the Power Button
This is the simplest way to turn on your Nuvo-3000. The power button on the front panel is
a non-latched switch and behaves the ATX-mode on/off control. As DC power is connected,
push the power button will turn on the system as well as the PWR LED indicator. Push the
button when system is on will turn off the system. If your operating system supports ATX
power mode (i.e. Microsoft Windows or Linux), push the power button causes a pre-defined
system behavior, such as shutdown or hibernation.
3.7.2
Power on Nuvo-3000 Using an External Non-latched Switch
For an application which places Nuvo-3000 inside a cabinet, it’s useful to control the on/off
of the system using an external switch. Nuvo-3000 provides a 2x5, 2.0mm pitch wafer
connector (for detail, please refer to section 2.2.8) for connecting a non-latched switch and
behaves ATX-mode power on/off control. The external non-latched switch acts exactly the
same as the power button on the front panel. To power on Nuvo-3000 using an external
non-latched switch (ATX-mode), please follow the steps listed below.


