


www.nektartech.com Nektar Impact GX49 & GX61 User Guide
11
Transport Control without Nektar DAW Integration
The Nektar DAW Integration files automatically map the transport and navigation buttons to their respective functions in
supported DAWs. If your DAW is not supported directly, you may still be able to control your DAWs transport controls using
MIDI Machine Control.
Here is how you set up the Impact GX keyboard to send MIDI Machine Control messages
Press the [Setup] button. The LED button is illuminated blue to indicate setup is active.
Press the A2 key on your GX keyboard.
Press the numeric key to enter 3
Press Enter (C5). This will accept the change and exit Setup.
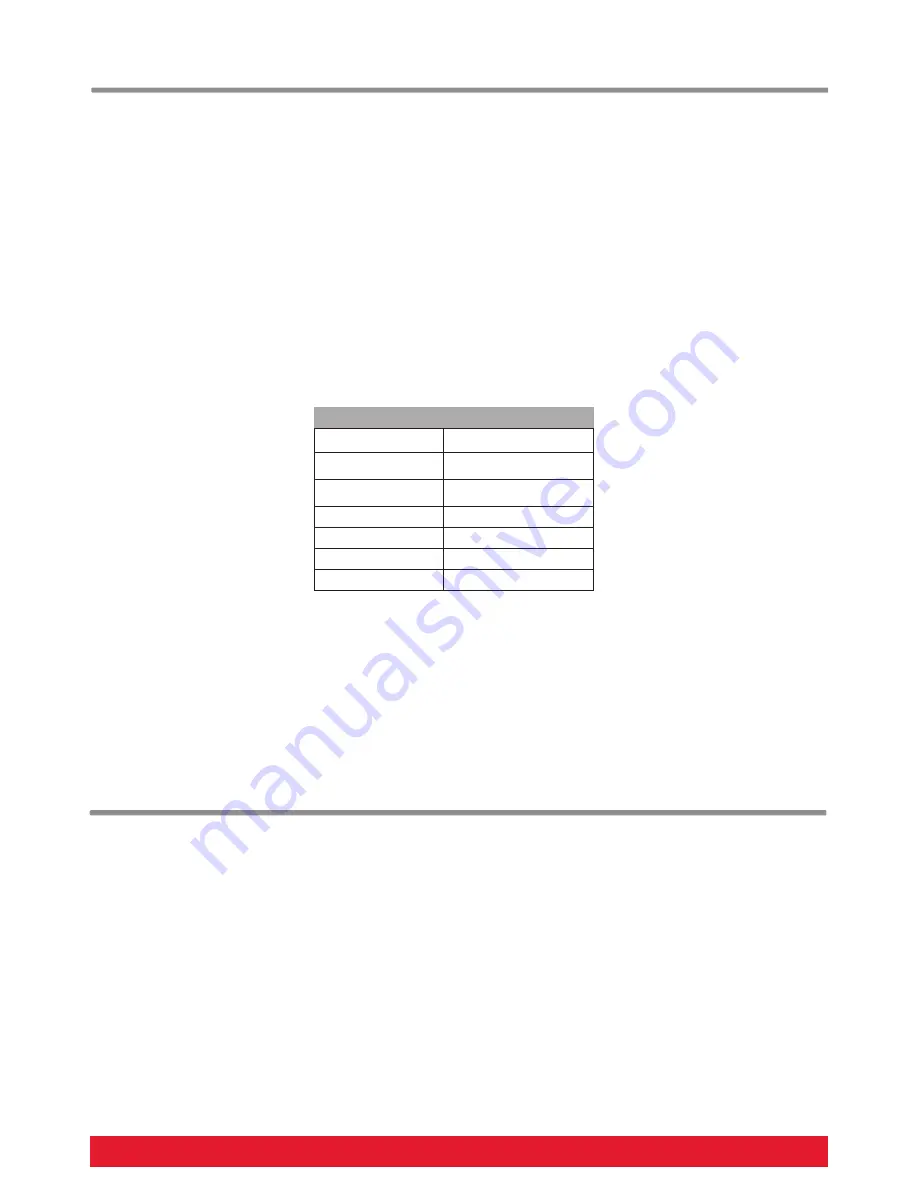
Provided your DAW is set up to receive MMC, you can now control transport functions from the GX49. The buttons are
assigned as follows
MMC is supported by DAWs such as Pro Tools, FL Studio and many more.
Programming the 7 secondary MIDI buttons when MMC is Active
If you have set up MMC functionality as described above, you can still assign MIDI messages to the 7 MIDI buttons on the
secondary level. To assign these buttons with your own messages, follow the steps covered on page 8.
If you need to restore factory settings for example if you by mistake managed to change the assignments needed for DAW
integration files, here is how you do that.
Make sure your Impact GX49 is switched off
Press the [Octave up]+[Octave down] buttons and hold them
Switch your Impact GX49 on
Button
Function
Click
No
<< (Rewind)
Yes
>> (Forward)
Yes
Cycle/Loop
No
Stop
Yes
Play
Yes
Record
Yes
Factory Restore