FilterBox
17
EN
2.3
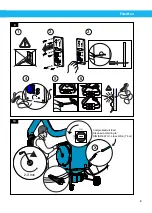
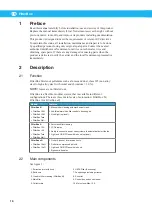
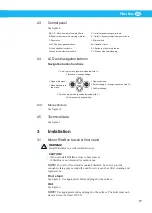
Control panel
See figure 2.
A,B,C,D: Show how dirty the main filter is.
E: Shows when there is a warning or alarm.
F: Fan status.
G: LCD and navigation buttons.
H: Loud speaker for alarms.
I: Fuses for the electrical outlet K.
J: Outlet for pneumatic power tools.
K: Outlet (1-phase) for electrical power tools.
L: Main switch.
M: Operation timer.
S1: Button to start or stop the fan.
S2: Start or stop filter cleaning.
2.4
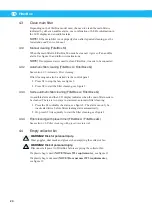
LCD and navigation buttons
Navigation button functions
•
Scroll up in menu (position indicated with ‘
>
’).
•
Increase or change setting.
•
Open main menu.
•
Move backward in
the menu.
•
Open submenu.
•
Select setting for change (indicated with ‘
*
’).
•
Confirm change.
•
Scroll down in menu (position indicated with ‘
>
’).
•
Decrease or change setting.
2.4.1
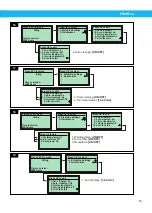
Menu structure
See figure 15.
2.5
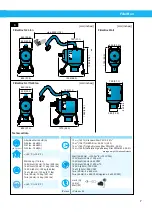
Technical data
See figure 3.
3
Installation
3.1
Mount FilterBox to wall or floor stand
WARNING!
Install FilterBox in a well ventilated room.
CAUTION!
•
Do not install FilterBox close to heat sources.
•
FilterBox is not intended for outdoor use.
NOTE!
For wall or floor stand mounted FilterBox, be sure to provide
enough working space around the unit for service such as filter cleaning and
replacement.
Floor stand
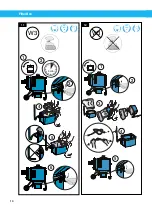
See figure 4. Use appropriate bolts and plugs for the surface.
Wall
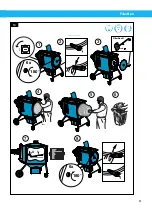
See figure 5.
NOTE!
Use appropriate bolts and plugs for the surface. The bolts must each
stand a stress of at least 2100 N.


