background image

4. Setting the LAN Setting of Projector

15

Se
tt

ing the

 L

A

N Set

ting of

 Pr

oje
c

to

r

4

„

Setting Wired LAN

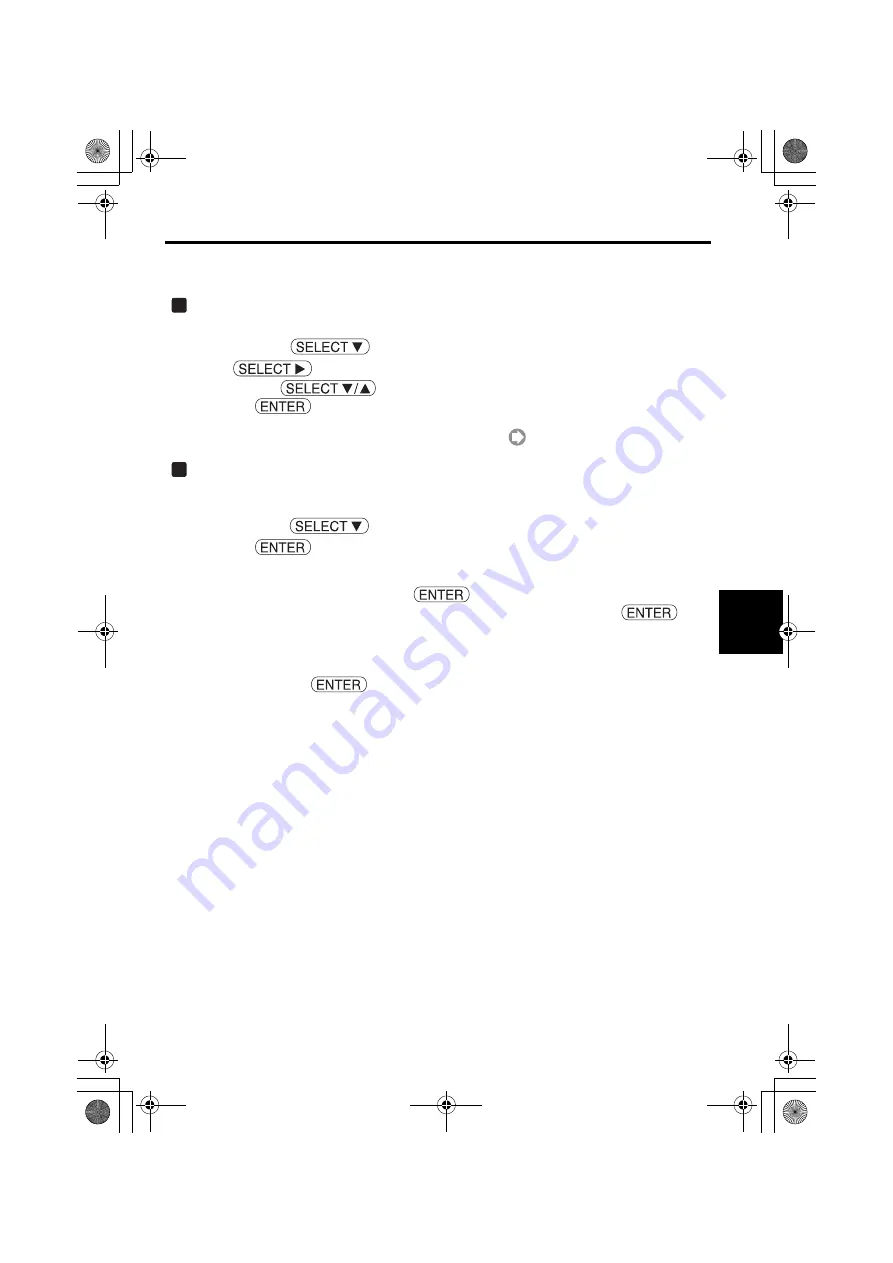
Select "Profiles".

"Profile 1" or "Profile 2" can be stored in the memory of the projector as the setting of LAN.

<1> Press the 

 button once to highlight the "Profiles" field and press the 

 button.

<2> Use the 

 button to highlight "Profile 1" or "Profile 2", and press 

the  

button.

"Easy Connection" is effective to use wireless LAN

(

page 19)

.

Set "DHCP".

Check this check box if the network to which the projector is to be connected automatically 
assigns the IP address via the DHCP server.

<1> Press the 

 button once to highlight  the "DHCP" check box and press 

the  

button.

A check mark will be placed.

To clear the check box, press the 

 button once again.

If "DHCP" is checked, move the highlight to "Reconnect" and press the 

 but-

ton. Input "DNS Configuration" field as necessary.

If "DHCP" is not checked, input "IP Address", "Subnet Mask", "Gateway", and "DNS Con-
figuration" as necessary.  After each item has been set, move the highlight to "Reconnect"
and press the 

 button.

1

2

nw̲guide̲j̲0808.book  15 ページ  2007年3月14日 水曜日 午後5時37分

Summary of Contents for WT615 Series

Page 1: ...puter Example Wireless LAN of Windows XP Ad Hoc connection 6 Refer to User s Guide and Help 1 3 5 2 4 6 Install in the PC the software stored in the User Supportware 2 CD ROM This manual describes the...

Page 2: ...all in the PC the software in the User Supportware 2 CD ROM before using Image Express Utility 2 0 Desktop Control Utility 1 0 Ulead Photo Explorer 8 0 SE Basic Viewer PPT Converter 3 0 PC Control Uti...

Page 3: ...fire or electric shock Do not use a wireless LAN card in wet or moist places such as in bathrooms or near humidifiers Doing so could lead to fire electric shock or malfunctions To prevent damage due...

Page 4: ...C Control Utility 3 0 7 2 Operating Environment 8 2 1 Supported Projector 8 2 2 Operating Environment 9 3 Attaching LAN Card 10 4 Setting the LAN Setting of Projector 12 4 1 Displaying On Screen Menu...

Page 5: ...personal computer to the projector z Simultaneous projection by multiple projectors Images can be sent from a personal computer to not only one projector but also to two or more projectors at the same...

Page 6: ...s you to use a single personal computer Manager to manage which personal computer Attendant projects Possible operation includes switching projecting personal computers to project from as well as temp...

Page 7: ...sonal com puter does not need to be brought into the conference room 1 2 Desktop Control Utility 1 0 UNLOCK MIRROR LOCK Office Conference room Important You can use the Desktop Control Utility 1 0 to...

Page 8: ...ed below For details of each function refer to the help function of Ulead Photo Explorer 8 0 Image transmission Sends images to the projector PowerPoint file conversion Converts a PowerPoint file into...

Page 9: ...nt 2000 2002 2003 is installed in your personal computer you can activate Viewer PPT Converter 3 0 from PowerPoint PPT Converter add in is automatically reg istered to PowerPoint PC Control Utility 3...

Page 10: ...and projectors use NEC s optional wireless LAN card NWL 100 series on the personal computers for better transmission quality For a list of countries where NEC s optional wireless LAN card NWL 100 ser...

Page 11: ...computer Pentium III 800 MHz or higher required Pentium III 1 2 GHz or higher recommended Memory Windows XP 128 MB or more required 192 MB or more recommended More memory may be necessary if other app...

Page 12: ...direction If the card is inserted in the reverse direction with excessive force applied the pins in the projector and the PC card slot may break Be sure to insert the LAN card with its label facing up...

Page 13: ...inserted card will slightly come forward Slowly pull out the card 1 2 P O W E R E N T E R M E N U S O U R C E F O C U S P C C A R D E X IT S T A T U S L A M P O N S T A N D B Y A U T O A D J U S T 3 D...

Page 14: ...to the projector and how to operate the buttons and remote control of the projector refer to User s Manual included in the User s Manual CD ROM Press the button The on screen menu will be displayed Us...

Page 15: ...ector 4 Press the button three times to highlight LAN Mode and press the button The LAN Mode screen will be displayed 5 To make setting of wired LAN Proceed to 4 2 Wired LAN page 14 To make setting of...

Page 16: ...4 2 Wired LAN Step 1 Display Profile page of LAN Mode Step 2 Select Profiles Step 3 Enable or disable DHCP If Disabled without check mark Step 4 Input IP Address Step 5 Input Subnet Mask Step 6 Input...

Page 17: ...DHCP Check this check box if the network to which the projector is to be connected automatically assigns the IP address via the DHCP server 1 Press the button once to highlight the DHCP check box and...

Page 18: ...Inputs space BS Deletes one character to the left of the character insertion posi tion in the IP Address field Moves the character insertion position in the IP Address field to the left or the right...

Page 19: ...r is connected The method of inputting is the same as that of the IP Address field Reconnect the network 1 When all the above items have been input or set use the button to highlight Reconnect and pre...

Page 20: ...e if necessary 6 2 Setting of WEP Select the number of bits of WEP Select Key Select Set Key 1 to Key 4 Step 7 Finalize Advanced Step 8 Reconnect the network Step 9 Finalize the setting Step 1 Display...

Page 21: ...r Supportware 2 CD ROM is easily connected to wireless LAN Note that Easy Connection does not support software other than Image Express Utility 2 0 When Easy Connection is selected the IP address and...

Page 22: ...ojector 20 Select Advanced Set Network Type and WEP encryption specific to wireless LAN 1 Use the button to highlight Advanced on the Profile page and press the button The Advanced screen will be disp...

Page 23: ...is complete a list of SSID is displayed Icon Access point Personal computer Ad Hoc WEP setting 2 Use the button to highlight the SSID of the network to be connected Press the button once to highlight...

Page 24: ...wired or wireless LAN via an access point 802 11 Ad Hoc This is selected to perform peer to peer communication between the projector and a personal computer by using only wireless LAN Example of conne...

Page 25: ...t If 64 bits 128 bits or 152 bits is selected from WEP select which of the following encryption keys Key 1 to Key 4 is to be used Input Key 1 to Key 4 If 64 bits 128 bits or 152 bits is selected on th...

Page 26: ...r and closes the software keyboard HEX or ASCII Selects alphanumeric character input or hexadecimal number input When HEX is displayed alphanumeric characters ASCII can be input To input hexadecimal n...

Page 27: ...o a wireless LAN card is executed terminate that utility Make the wireless LAN setting of the projector For details refer to 3 Attaching LAN Card page 10 and 4 Setting the LAN Setting of Projector pag...

Page 28: ...onnection icon and click Property A property window for wireless network connections will be displayed Click the Wireless Network tab Click Use Windows to configure my wireless network settings and di...

Page 29: ...rom the list of Available networks and click Configure In this example SSID of the project is set to NECPJ page 22 Select click NECPJ from the list The configuration window of NECPJ will be displayed...

Page 30: ...the General tab From the list of This connection uses the following Items select click Inter net Protocol TCP IP and click Properties The property window for Internet protocol TCP IP will be displayed...

Page 31: ...19 set the personal computer as shown below Click OK The property window for the wireless network connection will be displayed again Click Close This completes the Ad Hoc connection of wireless LAN o...

Page 32: ...ows Insert User Supportware 2 CD ROM in the CD ROM drive The menu will be displayed Click Viewing User s Guide User s Guide will be displayed For the following operations browse User s Guide according...

Page 33: ...ed follow these steps 1 Click Start of Windows 2 Click Run 3 In the Open field enter the CD ROM drive name 1 e g Q followed by SETUP EXE e g Q SETUP EXE 1 The CD ROM drive name will vary depending on...

Page 34: ...ram 6 2 Using Help The following instructions use operations under Windows XP as an example Before displaying Help install each software onto your personal computer from the User Supportware 2 CD ROM...

Page 35: ...Explorer Help or NEC Projector User Supportware 2 Help 1 2 Contents tab Displays the contents of Help Select a topic to display contents in the right pane Index tab Displays a list of keywords for Hel...

Page 36: ...34 memo nw guide j 0808 book 34...

Page 37: ...35 memo nw guide j 0808 book 35...

Page 38: ...36 memo nw guide j 0808 book 36...

Page 39: ...ead Sys tems Inc Adobe Adobe Acrobat Reader and Adobe Reader are registered trademarks or trademarks of Adobe Systems Incorporated in the U S or other countries Other manufacturer names and product na...

Page 40: ...nd Wireless Network Setup Guide S NEC Projector User Supportware 2 Image Express Utility 2 0 Desktop Control Utility 1 0 Ulead Photo Explorer 8 0 SE Basic Viewer PPT Converter 3 0 PC Control Utility 3...

Reviews: