39
5. Using On-Screen Menu
Display
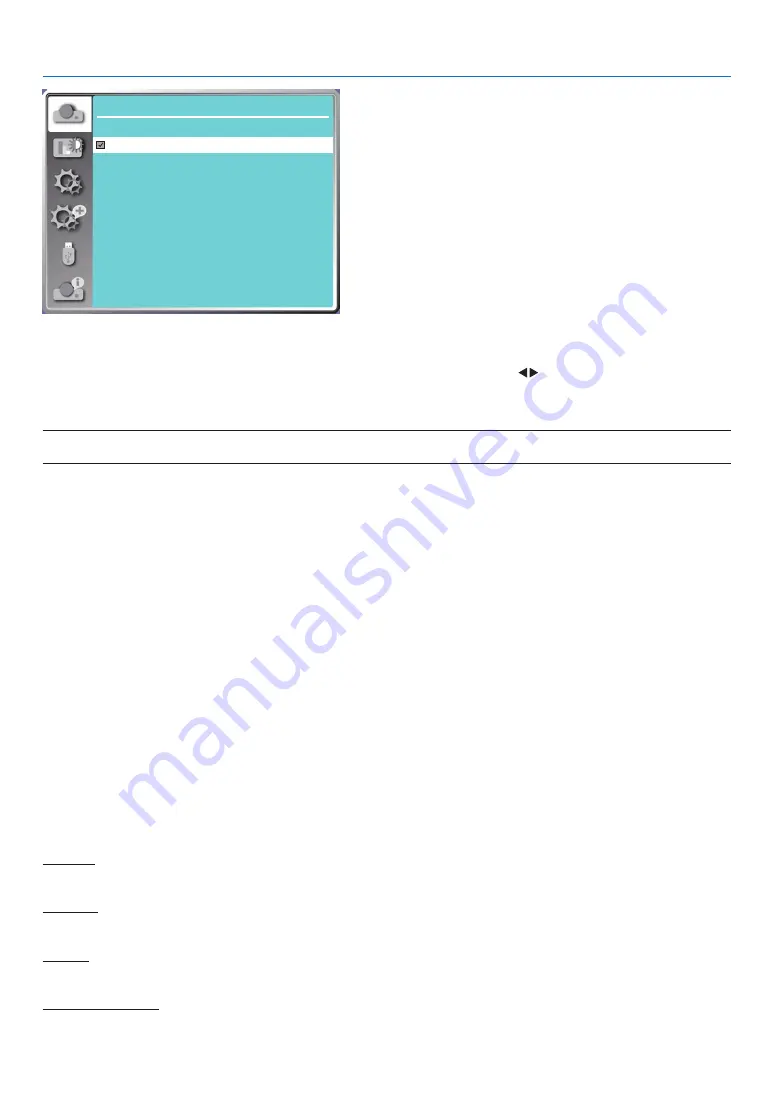
Signal format
1024 x 768 , 60 HZ
1920 x 1080 , 60 HZ
- - - -
- - - -
1280 x 800 , 60 HZ
• The selected Signal format displays in the Signal format menu.
Select the computer Signal format manually.
1. Press the MENU button on remote control and the On-Screen displays. Press
button to point to the Input icon,
press
▲ ▼
button or the ENTER button and the Input menu displays.
2. Press
▲ ▼
button to select Signal format, then press ENTER button.
NOTE:
• The computer Signal format menu will be disabled once HDMI 1, HDMI 2, USB-A, LAN has been selected.
❺
Menu Descriptions & Functions [Color adjust]
Select color adjustment to set the image mode and adjust the quality of the projected image.
Menu operation
Press the MENU button on the remote control or on the top control panel to display the On-Screen menu. Press
▲
▼
button to select the Color adjust menu, then press the ENTER or
▶
button.
1) Press
▲
▼
button to select required item.
2) Press the ENTER button.
3) Press
▲
▼
button to select adjust set point.
[Image mode]
Direct operation
Press the PICTURE select button on remote control to select required image mode.
Menu operation
Press the MENU button on the remote control or on the top control panel to display the On-Screen menu. Press
▲
▼
button to select the color adjust menu, then press the ENTER or
▶
button.
1) Press
▲ ▼
button to select [Image mode] menu.
2) Press the ENTER button.
3) Press
▲ ▼
button to select required item.
Dynamic
An image mode suitable for viewing in bright room.
Standard
The default mode of your projector, can come to natural color.
Cinema
Enriched gray scale for viewing movies.
Blackboard (Green)
An image mode designed for displaying on a blackboard (Green). It boosts quality of image projected on blackboard


