71
4. Using the Viewer
2. Click “Install Viewer PPT Converter 3.0” on the menu window.
The installation will start.
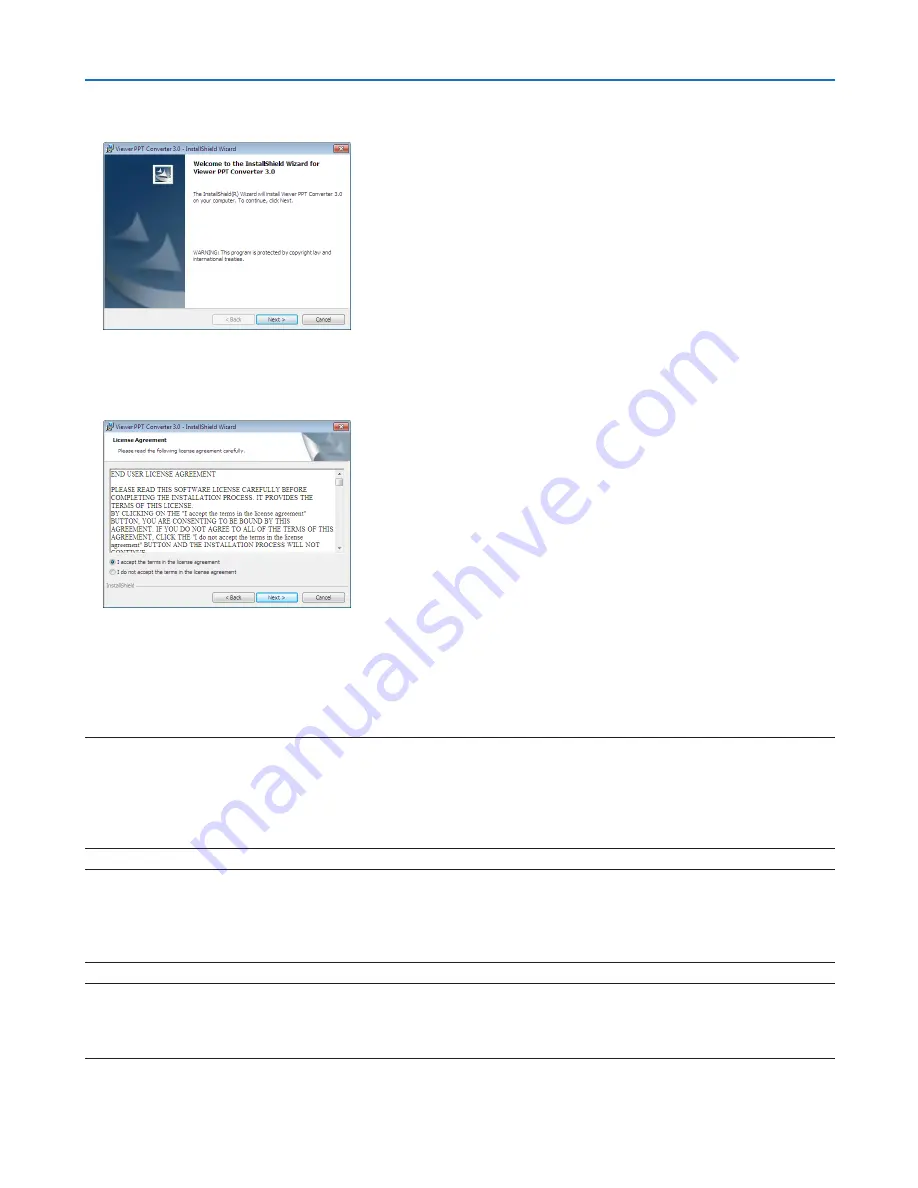
When the installation is complete, the Welcome window will be displayed.
3 Click “Next”.
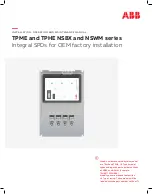
“END USER LICENSE AGREEMENT” screen will be displayed.
Read “END USER LICENSE AGREEMENT” carefully
4. If you agree, click “I accept the terms in the license agreement” and then click “Next”.
• Follow the instructions on the installer screens to complete the installation.
• When the installation is complete, you will return to the menu window.
NOTE:
When Viewer PPT Converter 3.0 has been installed, once start Viewer PPT Converter 3.0 once with the privilege used for installation.
Then exit from Viewer PPT Converter 3.0 without doing anything.
• Starting
Click Window’s [Start]
→
[All Programs]
→
[NEC Projector User Supportware]
→
[Viewer PPT Converter 3.0]
→
[Viewer PPT
Converter 3.0], in that order.
NOTE:
When installing Viewer PPT Converter 3.0 onto a personal computer that has PowerPoint installed, Viewer PPT Converter 3.0 is
automatically registered as a Power-Point add-in.
It is necessary to cancel Viewer PPT Converter 3.0 add-in before uninstalling Viewer PPT Converter 3.0.
Refer to Viewer PPT Converter 3.0 Help to unregister the add-in.
TIP:
• Uninstalling Viewer PPT Converter 3.0
To uninstall Viewer PPT Converter 3.0, do the same procedures stated as in “Uninstalling Virtual Remote Tool”. Read “Virtual Remote
Tool” as “Viewer PPT Converter 3.0” (
→
page
37
)


