148
5. Using On-Screen Menu
17.
On the thumbnail screen, select a digital certificate (DER format file) saved in your USB memory device
and press the ENTER button.
• Select your root CA certificate here.
The selected digital certificate will be installed on the projector.
18.
After completing required settings, select [OK] and press the ENTER button.
The [WIRELESS] page will be returned.
19.
Select [RECONNECT] and press the ENTER button.
20.
Select [OK] and press the ENTER button.
This will complete setting [EAP-TLS] for [EAP TYPE] in [WPA-EAP] or [WPA2-EAP].
TIP:
Clearing the digital certificate that is installed on the projector
To clear the digital certificate installed on the projector, follow the steps below.
By doing the following procedure, all the digital certificates for the currently displayed profile will be cleared.
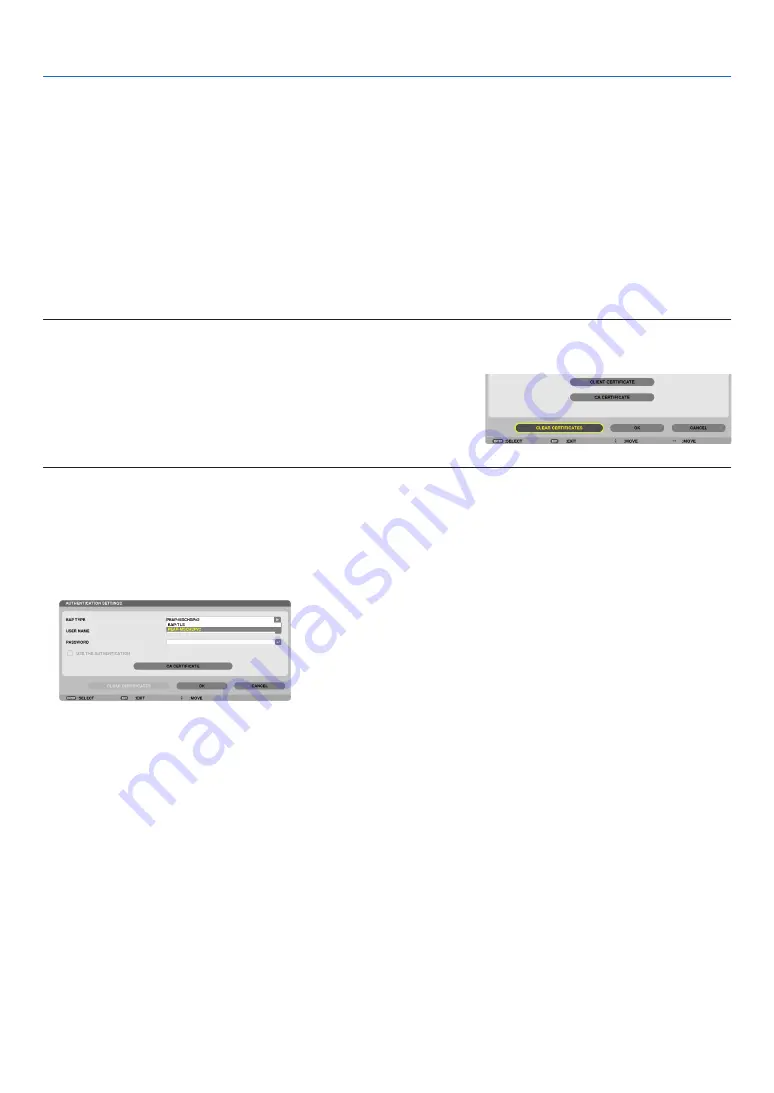
1. Select [CLEAR CERTIFICATES] in the bottom left of the [AD
-
VANCED] setting screen and press the ENTER button.
A message for confirmation will be displayed.
2. Select [YES] and press the ENTER button.
The digital certificates will be cleared.
TIP:
• The PKCS#12 format digital certificate including a CA certificate will be installed as a root CA certificate.
②
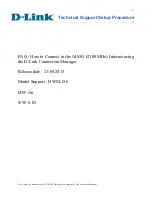
Selecting [PEAP-MSCHAPv2] for [EAP TYPE]:
12.
From the [AUTHENTICATION] page, select [EAP TYPE] field and press the ENTER button.
The pull-down list will be displayed.
13.
Select [PEAP-MSCHAPv2] and press the ENTER button.
14.
Select [USER NAME] field and press the ENTER button.
The character entry screen (software keyboard) will be displayed. Set a user name.
• A user name must be 32 characters or less.
(
→
page
)


