background image

English-16

FINE (Analog input only)

Improves focus, clarity and image stability by increasing or decreasing the setting.

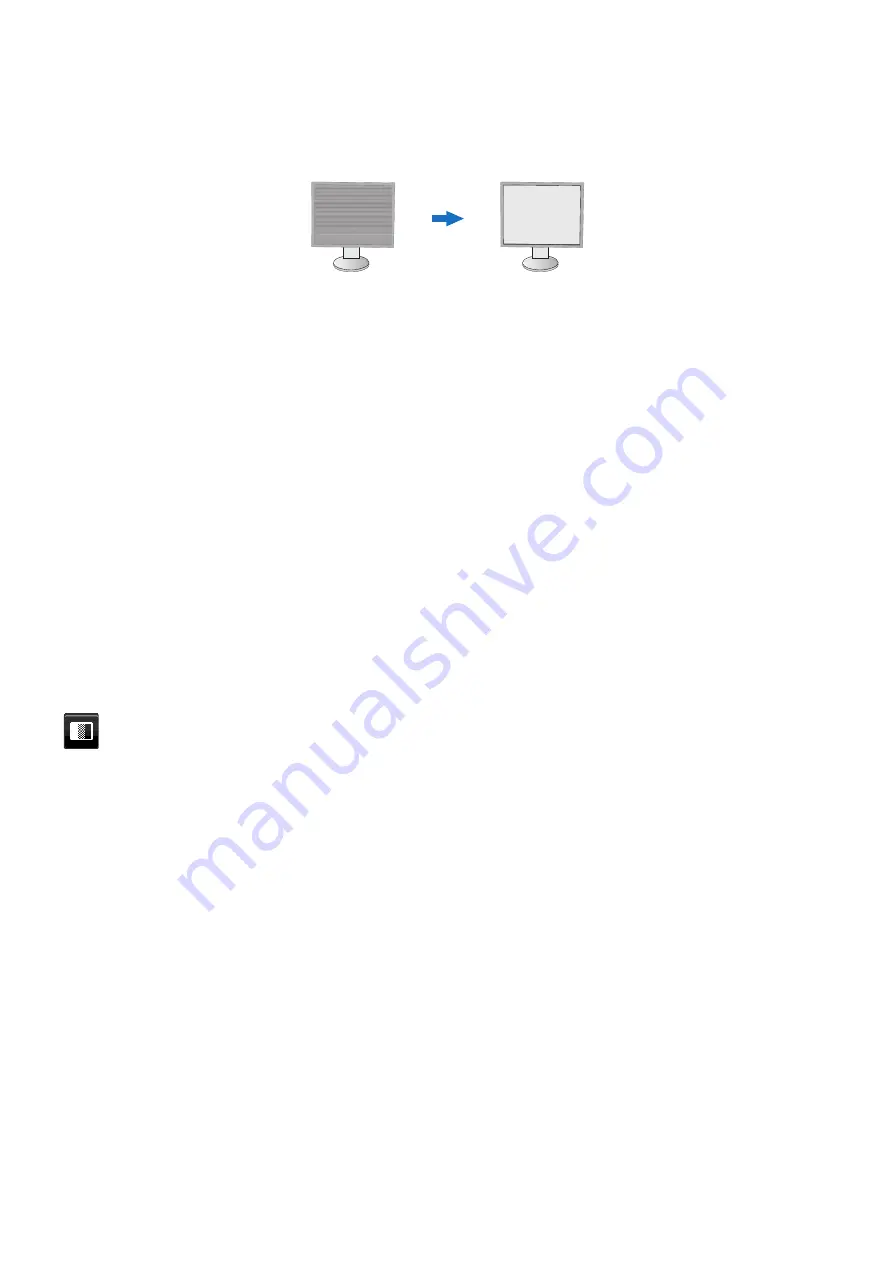
If the [AUTO ADJUST] and [H.SIZE] functions do not give you a satisfactory picture setting, fine tuning can be 
performed by using the [FINE] function. 

A Moiré test pattern can be used for this. If the [FINE] value is incorrectly calibrated, the result would look like the left 
drawing. The image should be homogeneous.

When [FINE] value is 

wrong.

When [FINE] value is 

correct.

INPUT RESOLUTION (Analog input only)

Selects one of the following pair of resolutions as the input signal priority: 
1360 x 768 or 1280 x 768 or 1024 x 768 (vertical resolution 768), 
1600 x 900 or 1280 x 960 (horizontal frequency 60kHz), 
1680 x 1050 or 1400 x 1050 (vertical resolution 1050).

VIDEO฀LEVEL฀(HDMI฀input฀only)

NORMAL:

 Setting for use with a computer. Displays all input signals of 0-255 steps.

EXPAND: 

Setting for use with audio visual equipment. Expands input signals of 16-235 steps to 0-255 steps.

OVER฀SCAN฀(HDMI฀input฀only)

Some video formats may require different scanning modes in order to best display the image.

ON:

 Image size is larger than what can be displayed. The image edge will appear cropped. Approximately 95% of the 

image will be shown on the screen.

OFF:

 Image size stays within the display area. The whole image is displayed on the screen.

EXPANSION

Sets the zoom method.

FULL: 

The image is expanded to full screen regardless of the resolution.

ASPECT: 

The image is expanded without changing the aspect ratio.

Note: 

The resolution of 1280x768, 1360x768, 1280x720 and 1920x1080 are always [FULL] (EA231WU only).

  Color

Color Control System:

 Color presets are available for adjusting color settings.

1, 2, 3, 4, 5:

 Increases or decreases the [RED], [GREEN] or [BLUE] color depending upon which is selected. 

The change in color will appear on screen and the direction (increase or decrease) will be shown by the bars. 
sRGB (color preset mode [4]) dramatically improves the color fidelity in the desktop environment by a single standard 
RGB color space. With this color-supported environment, the operator could easily and confidently communicate color 
without further color management overhead in most common situations. 

NATIVE:

 The LCD panel’s original colors that cannot be adjusted.

L/B฀(LOW฀BLUE฀LIGHT):

 Reduces blue light emitted from monitor. This item cannot be adjusted.

NOTE:

  You can directly change to [L/B] (LOW BLUE LIGHT) mode by touching the [INPUT] key for 3 seconds  


or more. For changing to other settings from [L/B] mode, touch the [MENU] key to show OSD menu  


and enter [Color Control System]. 


When [L/B] is selected in [Color Control System], [CONTRAST] and [DV MODE] are disabled.

DICOM SIM.: 

The white point color temperature and the gamma curve are set to a DICOM simulation. This item cannot 

be adjusted.

PROGRAMMABLE: 

The gamma curve is adjustable through application software.

NOTE:

  When [MOVIE], [GAMING] or [PHOTO] is selected as the [DV MODE], [NATIVE] is selected 


automatically and cannot be changed.

Summary of Contents for MultiSync EA231WU

Page 1: ...Please find your model name in the label on the rear side of the monitor Desktop Monitor MultiSync EA231WU MultiSync EA241F User s Manual MODEL EA231WU BK EA241F BK...

Page 2: ...nglish 4 Cleaning the Cabinet English 4 Parts Name and Functions English 5 Quick Start English 6 ControlSync English 11 Controls English 13 Specifications EA231WU English 21 Specifications EA241F Engl...

Page 3: ...age 120 230 230 220 100 When operating the monitor with its AC 125 240V power supply use a power supply cord that matches the power supply voltage of the AC power outlet being used NOTE This product c...

Page 4: ...n reception which can be determined by turning the equipment off and on the user is encouraged to try to correct the interference by one or more of the following measures Reorient or relocate the rece...

Page 5: ...or may cause fall fire and electric shock If the monitor stand has been cracked or peeled If you notice any structural damage such as cracks or unnatural wobbling If the monitor has an unusual odor If...

Page 6: ...ue adjust the brightness to a moderate setting Place a sheet of white paper next to the LCD screen for luminance reference Do not position the Contrast control to its maximum setting Use the preset Si...

Page 7: ...able See page 11 G Audio IN Audio signal input from external equipment such as a computer or player H USB Upstream Port Type B Connects with external equipment such as a computer Please use this port...

Page 8: ...m Figure A 2 For a PC with Analog output Connect a mini D Sub 15 pin signal cable to the connector of the display card in your system Figure A 3 Tighten all screws For a Mac or PC with Thunderbolt or...

Page 9: ...a built in resistor will lower the sound level NOTE Adjustment of the volume control as well as the equalizer to settings other than the center position may increase the ear headphones output voltage...

Page 10: ...d the monitor screen on each side and lift or lower to the desired height Tilt and Swivel Hold the top and bottom sides of the monitor screen with your hands and adjust the tilt and swivel as desired...

Page 11: ...before mounting Remove the Monitor Stand for Mounting To prepare the monitor for alternate mounting purposes 1 Disconnect all cables 2 Place your hands on each side of the monitor screen and lift up...

Page 12: ...y use 4 M4 sized screws when mounting to avoid damage to the monitor and stand To meet the safety requirements the monitor must be mounted to an arm which guaranties the necessary stability under cons...

Page 13: ...r Controlling all connected sub monitors Synchronized control 1 Connect a ControlSync cable 2 5 to the master monitor s ControlSync OUT port and into a sub monitor s ControlSync IN port Up to five mon...

Page 14: ...Yes FACTORY PRESET No Yes MENU TOOLS LANGUAGE Yes Yes OSD TURN OFF Yes Yes OSD LOCK OUT Yes Yes OSD ROTATION No Yes HOT KEY Yes Yes SIGNAL INFORMATION Yes Yes SENSOR INFORMATION Yes Yes KEY GUIDE Yes...

Page 15: ...en navigates through the OSD menu When the OSD menu is not displayed on the screen touch one of the following keys to open the menu for the function indicated 1 key BRIGHTNESS key VOLUME 5 ECO RESET W...

Page 16: ...mode automatically when the input signal is lost ON The monitor enters into power saving mode automatically when the amount of surrounding light goes below the level determined by you The level can b...

Page 17: ...and optimizes it NOTE This function is disabled when Color Control System is set to L B PROGRAMMABLE or DICOM SIM STANDARD is used for TCO Certificate compliance SCREEN AUTO ADJUST Analog input only A...

Page 18: ...image is expanded to full screen regardless of the resolution ASPECT The image is expanded without changing the aspect ratio Note The resolution of 1280x768 1360x768 1280x720 and 1920x1080 are always...

Page 19: ...u want to delay the turn off time by 60 minutes Touch any OSD key to delay the power down time POWER SAVE TIMER POWER SAVE TIMER allows the monitor to turn off automatically after 2 consecutive hours...

Page 20: ...nd ECO MODE can be changed without entering the OSD menu ON BRIGHTNESS Touch the key then adjust the BRIGHTNESS level in the sub menu that opens VOLUME Touch the key then adjust the VOLUME level in th...

Page 21: ...nitor If you set duplicate numbers to some of the monitors you can control the monitors that have the same number simultaneously NOTE A master monitor should be connected only with ControlSync OUT Do...

Page 22: ...Euro setting is based on the OECD data for Germany 2007 Edition Please check the receipt of electricity prices for France or OECD data for France The French value according to the OECD data 2007 Edit...

Page 23: ...Port Load Current USB Specification Revision USB 3 1 Gen 1 Upstream 1 Downstream 3 5 V 0 9 A Max Upstream port applicable to USB monitor control AUDIO Audio Input STEREO Mini Jack DisplayPort Connecto...

Page 24: ...Load Current USB Specification Revision USB 3 1 Gen 1 Upstream 1 Downstream 3 5 V 0 9 A Max Upstream port applicable to USB monitor control AUDIO Audio Input STEREO Mini Jack DisplayPort Connector HDM...

Page 25: ...H V 640 x 480 60 72 75 Hz 720 x 400 70 Hz 720 x 480 60 Hz 720 x 576 50 Hz 800 x 600 50 60 72 75 Hz 1024 x 768 60 70 75 Hz 1280 x 720 50 60 Hz 1280 x 960 60 75 Hz 1280 x 1024 60 75 Hz 1440 x 900 60 Hz...

Page 26: ...onse Intelligent Power Manager System Provides innovative power saving methods that allow the monitor to shift to a lower power mode when on but not it use reducing emissions and lowering the cost of...

Page 27: ...the screen is idle or turning off the monitor when not in use Message OUT OF RANGE is displayed screen is either blank or shows rough images only OSD warning OUT OF RANGE is displayed on a rough image...

Page 28: ...BRIGHTNESS is set to ON the monitor automatically adjusts brightness based on the environment When the brightness of surrounding environment changes the monitor will also change When DV MODE is set t...

Page 29: ...f time with no human detected has passed You can set the notification screen at SENSOR INFORMATION see page 18 C After displaying the notification if LIGHT is set at HUMAN SENSING the monitor screen g...

Page 30: ...et a level for the dark room condition This is the minimum brightness level the monitor will lower to when the ambient lighting level is low Make sure the room is at its darkest when setting this leve...

Page 31: ...ode is activated The monitor enters a single Energy Saving mode Mode Power consumption LED color Maximum Operation 46 W EA231WU 47 W EA241F Blue Normal Operation 15 W Default setting Blue Energy Savin...

Reviews: