background image

English−3

English

Important Information

Safety Precautions and Maintenance

FOR OPTIMUM PERFORMANCE, PLEASE NOTE 

THE FOLLOWINN WHEN SETTINN UP AND  

USINN THE LCD COLOR MONITOR:
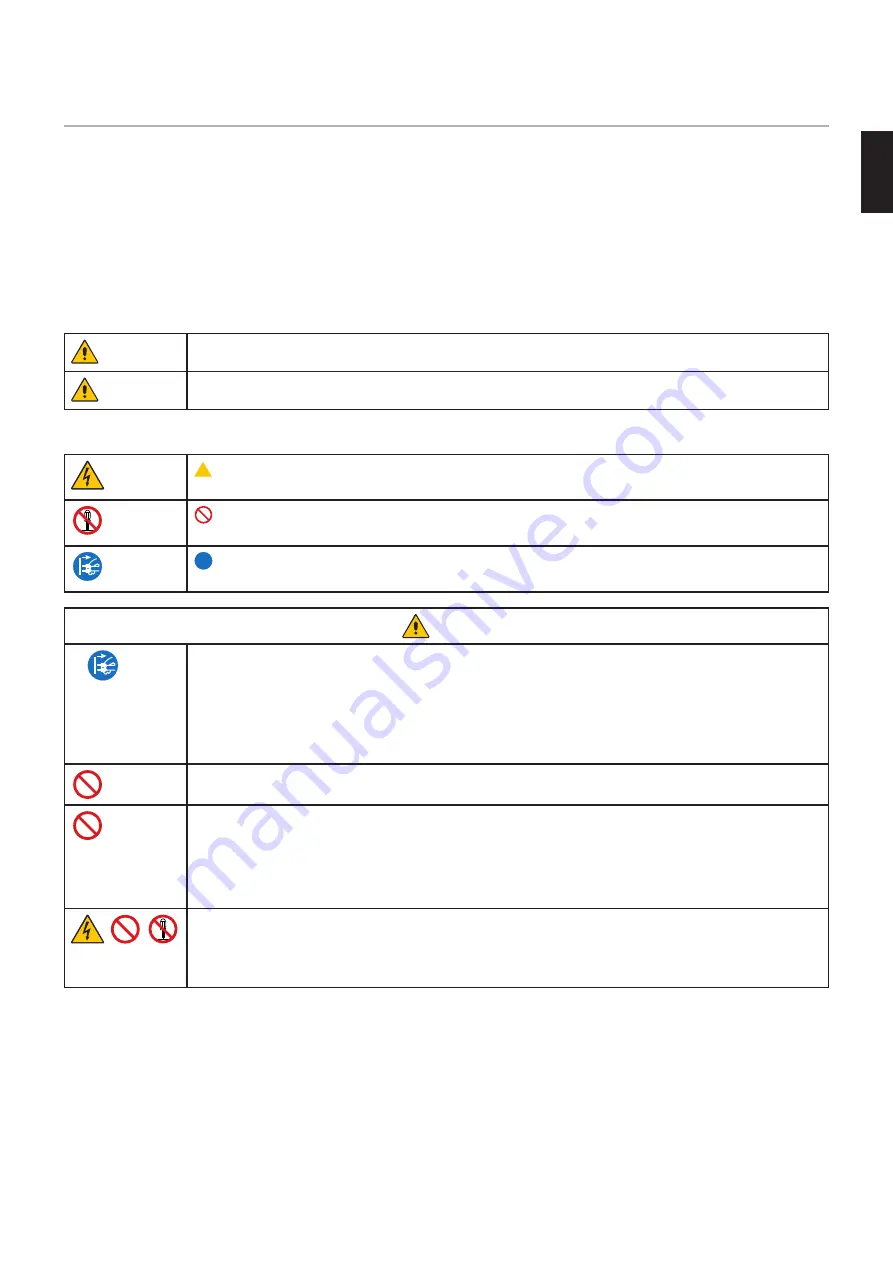
About the Symbols
To ensure safe and proper use of the product, this manual uses a number of symbols to prevent injury to you and others as well 
as damage to property. The symbols and their meanings are described below. Be sure to understand them thoroughly before 
reading this manual.

WARNING

Failing to heed this symbol and handling the product incorrectly could result in accidents leading to major 
injury or death.

CAUTION

Failing to heed this symbol and handling the product incorrectly could result in personal injury or damage 
to surrounding property.

Examples of symbols

 Indicates a warning or caution.  

This symbol indicates you should be careful of electric shocks.

 Indicates a prohibited action. 

This symbol indicates something that must be prohibited.

 Indicates a mandatory action.  

This symbol indicates that the power cord should be unplugged from the power outlet.

WARNING

UNPLUG THE 

POWER CORD

Unplug the power cord if the monitor malfunctions.

Should the monitor emit smoke or strange odors or sounds, or if the monitor has been dropped or the 
cabinet broken, turn off the monitor’s power, then unplug the power cord from the power outlet. Failure to 
do so could not only lead to fire or electric shock, it could also result in vision impairment. Contact your 
dealer for repairs.

Never try to repair the monitor on your own. Doing so is dangerous.
To prevent personal injury or damage to the monitor caused by tipping over due to earthquakes or other 
shocks, make sure to install the monitor in a stable location and take measures to prevent falling.

Immediately turn off the power and unplug your monitor from the wall outlet, then refer servicing to 
qualified service personnel under the following conditions. If the monitor is used in this condition, the 
monitor may fall or cause a fire or electric shock.

•  If the monitor stand has cracked or peeled.

•  If you notice any structural damage such as cracks or unnatural wobbling.


Do not open or remove the monitor’s cabinet.

There are high voltage areas in the monitor. Opening or removing monitor covers and modifying the 
monitor may expose you to electric shock, fire, or other risks. Refer all servicing to qualified service 
personnel.

Summary of Contents for MultiSync E172M

Page 1: ...User s Manual Desktop Monitor MultiSync E172M MODEL M179E9 Please find your model name in the label on the rear side of the monitor...

Page 2: ...for Mounting 15 Mount the Flexible Arm 15 Chapter 2 Basic Operation Using the OSD On Screen Display Controls 17 Changing the Input 18 Power management function LED indicator patterns 18 Chapter 3 Trou...

Page 3: ...terference by one or more of the following measures Reorient or relocate the receiving antenna Increase the separation between the equipment and receiver Connect the equipment into an outlet on a circ...

Page 4: ...and other countries Adobe and the Adobe logo are either registered trademarks or trademarks of Adobe Systems Incorporated in the United States and or other countries All other brands and product name...

Page 5: ...Unplug the power cord if the monitor malfunctions Should the monitor emit smoke or strange odors or sounds or if the monitor has been dropped or the cabinet broken turn off the monitor s power then un...

Page 6: ...or objects have fallen into the monitor Do not use flammable gas sprays to remove dust when cleaning the monitor Doing so could lead to a fire Do not play with the plastic bag which covers the monitor...

Page 7: ...is not supplied with this equipment please contact NEC For all other cases please use the power cord with the plug style that matches the power socket where the monitor is located The compatible powe...

Page 8: ...ble on the screen Unlike CRT monitors LCD monitors image persistence is not permanent but a still image being displayed for a long period of time should be avoided To alleviate image persistence turn...

Page 9: ...ference material directly in front of you to minimize turning your head while you are typing Blink often Eye exercise helps to reduce eye strain Please contact your ophthalmologist Get regular eye che...

Page 10: ...etup and installation by allowing the monitor to send its capabilities such as screen size and resolutions supported directly to your computer automatically optimizing display performance Intelligent...

Page 11: ...English 9 English Chapter 1 Installation This Chapter Includes Parts Name and Functions on page 10 Connections on page 12 Setup on page 13 Flexible Arm Installation on page 15...

Page 12: ...hen the OSD menu is displayed on the screen it navigates to the right or raises settings adjustments D When the OSD menu is not displayed on the screen it opens the BRIGHTNESS menu When the OSD menu i...

Page 13: ...o signal input from external equipment such as a computer or player C DisplayPort IN Digital DisplayPort signals input D HDMI IN Digital HDMI signals input E VGA IN mini D Sub 15 pin Analog RGB signal...

Page 14: ...selected monitor resolution is not a native panel resolution the text contents appearance in the monitor screen is expanded in a horizontal or vertical direction to show the non native resolution to...

Page 15: ...nstructions NOTE Make sure to read Important Information on page 3 before installation 1 Turn off the power to your computer 2 Place monitor face down on a non abrasive surface 3 Connect devices to th...

Page 16: ...les under the cable holder so that the cables rest side by side 5 Connect the power cord to a power outlet NOTE Please refer to the Caution section of this manual for proper selection of the AC power...

Page 17: ...e specifications listed below attach the arm to the monitor 100 mm 100 mm Mounting Bracket 2 0 3 2 mm Screw M4 Lock washer and flat washer Unit 6 8 mm Thickness of bracket and washer M4 4 x 12 mm with...

Page 18: ...English 16 Chapter 2 Basic Operation This Chapter Includes Using the OSD On Screen Display Controls on page 17 Changing the Input on page 18 Power management function LED indicator patterns on page 18...

Page 19: ...Below is an OSD structure Tables listing all options available in the OSD menu are located in Appendix A OSD Controls List on page 23 Main Menu Icon Select Sub menu Icon Select Press SELECT button Pr...

Page 20: ...deo content is generally commercially produced Blu rays and DVDs television broadcast and streaming media services Power management function LED indicator patterns The power management function is an...

Page 21: ...English 19 English Chapter 3 Troubleshooting This Chapter Includes Screen Image and Video Signal Issues on page 20 Hardware Issues on page 21 Image Persistence on page 21...

Page 22: ...OSD Image Adjust controls to focus and adjust the display by increasing or decreasing the FINE adjustment When the display mode is changed the OSD Image Adjust settings may need to be readjusted Chec...

Page 23: ...f VOLUME is set to a minimum Check to see if the computer supports an audio signal through DisplayPort or HDMI Check selected SOUND INPUT when DisplayPort or HDMI is in use Image Persistence Please be...

Page 24: ...Right Up Down 85 CR 10 80 CR 10 Response Time 5 ms Tr Tf Typ Active Display Area Horiz Vert 337 9 mm 13 3 inches 270 3 mm 10 6 inches AUDIO AUDIO Input STEREO Mini Jack DisplayPort Connector HDMI Con...

Page 25: ...on standard video inputs AUTO ADJUST Analog input only Automatically adjusts the image position the H SIZE and FINE settings LEFT RIGHT Analog input only Controls horizontal image position within the...

Page 26: ...s by five second increments OSD LOCK OUT This control completely locks out access to all of the OSD control functions except for VOLUME BRIGHTNESS and CONTRAST To activate the OSD LOCK OUT function op...

Page 27: ...NEC DISPLAY SOLUTIONS is strongly committed to environmental protection and sees recycling as one of the company s top priorities in trying to minimize the burden placed on the environment We are enga...

Page 28: ...ay solutions com in Europe https www nec display com global index html Global For Energy Saving information For ErP requirement Setting None Power consumption 0 5 W or less Time for power management f...

Reviews: