background image

recording, and at the same time the start and stop record icons are 
active. 
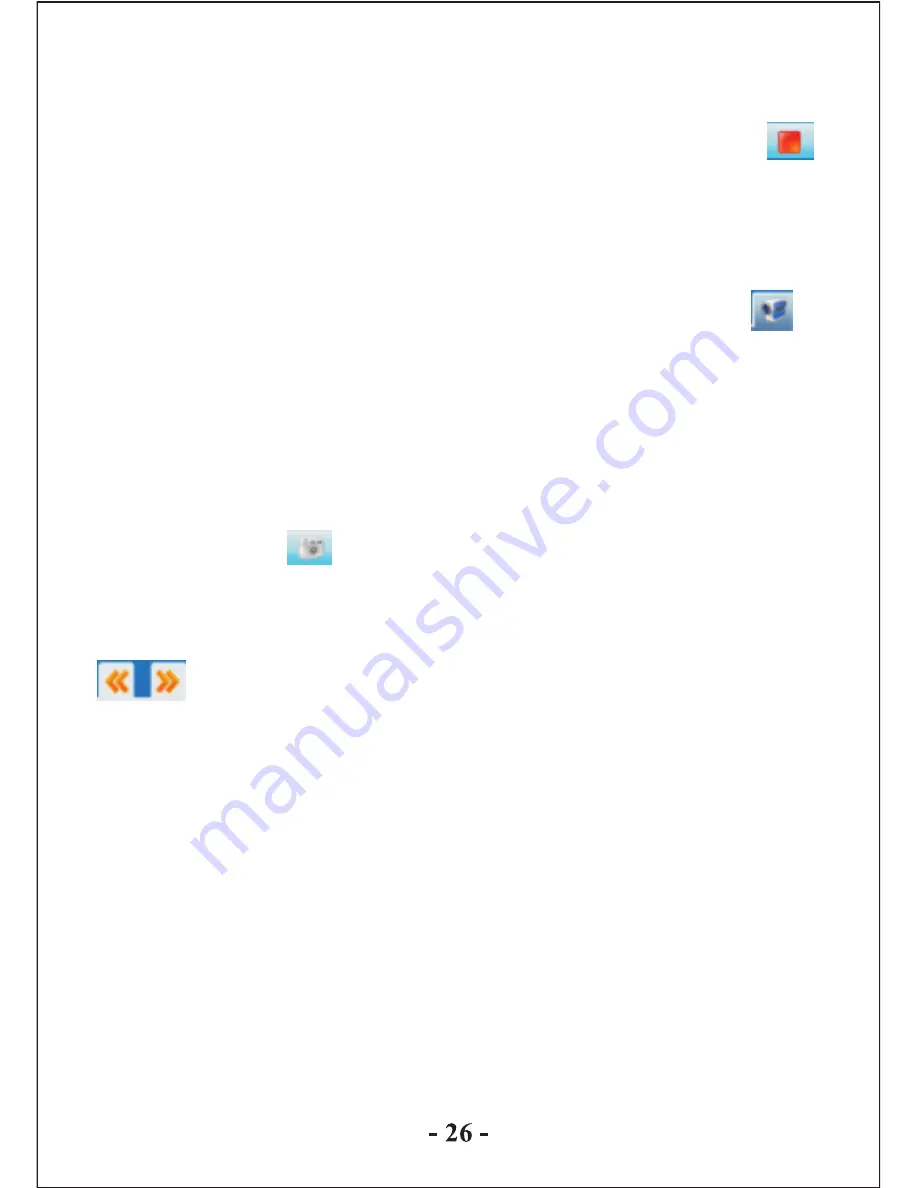
Stop: under recording or pause recording mode, click the icon
to stop recording and save the video file to the specified directory, 
and at the same time the start icon is active; return to the viewfinder 
interface, the thumbnail icon of the video file will be displayed at 
the bottom of the viewfinder interface.  
Play video: when the recorded video file is saved, click the
icon in the video interface to preview the thumbnail icon of the 
video file, and click              icon to switch between thumbnails; 
double click the thumbnail icon of the file to open a play window 
and start playing the video files. 
4. Taking and previewing pictures 
Taking pictures: in the video interface under viewfinder mode, 
directly click the        icon to take pictures, and at the same time 
picture files are saved under the specified directory. 
Previewing pictures: upon completion of storage, pictures are 
displayed in thumbnail icons at the bottom of the interface; click
              icon to switch between thumbnails, and double click the
thumbnail icon of the pictures to start preview. 

Notices

1. To convert files of RealPlay, QuickTime or MPEG2 formats, 
please first install appropriate decoder. 
2. To convert files of RealPlay, QuickTime or MPEG2 (DVD) 
formats, if the files cannot be directly played with the Windows 
Media Player in the PC, then an appropriate decoder for the 
Windows Media Player shall be installed. Until the files can be 
played properly with the Windows Media Player can proper 
conversion be completed, or this tool will not run properly. 
3. This tool cannot be used to produce sound or display Chinese 
characters in the AVI video file converted from Flash animation 
(SWF file). 

Summary of Contents for NMV-179X

Page 1: ...NMV 179X...

Page 2: ......

Page 3: ......

Page 4: ...d the earpiece during bicycling car and motorcycle driving is likely to cause danger Never use higher volume which may damage your hearing ability Divide scraped packing batteries old electronic produ...

Page 5: ...e player will prompt Welcome and then enter the main interface When the player is on slide the switch to Off and the player will be powered off in 1 seconds Under Music FM radio or Video mode press bu...

Page 6: ...ge the player instead Charger current specification recommended 400 500mA Files of different types should be stored under different directories For example music file should be stored under MUSIC dir...

Page 7: ...screen of the player slightly push to insert into the card holder of the player to connect After the card is inserted the player can play the files in the MINI SD card How to pull out slightly push th...

Page 8: ...c icon to enter music mode Music Interface Description Number of the song being played Total songs Playing mode Playing sequence Playing style Song playing progress bar Drag the bar to adjust playing...

Page 9: ...the song will be displayed on the playing interface Song information display Click return to play screen Click Browser to enter different song lists main directory card directory all songs ID3 list p...

Page 10: ...olume bar will pop out at the bottom Drag the bar to adjust volume and click again to continue playing Play click and it will change to pause button Tag directly click the icon and a box pops out and...

Page 11: ...o upper directory to browse picture list Manual play click the button and the button will change to and click again to enter auto play mode Click to change to the List mode 2 Directly click the thumbn...

Page 12: ...arch up down for radio channels and the player is mute where no channel being found Auto search click to enter auto search mode All channels can be automatically searched and saved After search is com...

Page 13: ...ace Select frequency range China Japan Europe and US 1 In Radio mode click to enter FM station recording interface Record settings 1 Recording format WAV MP3 formats 2 Quality high medium low 3 Recodi...

Page 14: ...e Auto browser time setting 10 seconds 15 seconds 20 seconds 25 seconds 30 seconds Skip to click to show Skip to dialogue box and click or to select the skip percentage Click outside part of the Skip...

Page 15: ...ect 1 sound effect 2 and sound effect 3 Default setting is sound effect 1 3 Date stamp off date stamp or date and time stamp Default setting is off To make no settings touch the screen outside the men...

Page 16: ...selection and exit Take picture Resolution switch 320x240 640x480 1024x768 1280x960 2048 1536 Take white balance setting as an example 1 Touch the screen and top bottom button bar will appear Touch ag...

Page 17: ...the menu to exit Note the video recording time is shown in the middle on the left is the recorded time and on the right is the available time remaining for video recording With the video conversion t...

Page 18: ...d Card Memory not displayed if no card inserted All files and file folders in the player can be listed and the user may play the compatible music video e book and picture files under this interface or...

Page 19: ...lear at the bottom to realize different functions As counting begins Start counting will change to Pause Simply press the corresp onding button Only valid in Simplified Chinese and English writing Inp...

Page 20: ...input methods can be used to recognizethree types of characters 1 Click Chinese button to use Chinese input mode as shown above After input choose the appropriate Chinese character on the keyboard Fr...

Page 21: ...is the brighter the LCD is Click the corresponding to icon to set languages available for selection English Simplified Chinese Traditional Chinese Japanese Korean France German Spanish Portugal Dutch...

Page 22: ...USB port of a PC to update the firmware of the player Touch cancel on the screen to abort this upgrading Other Settings Format device click format system disk or format card to start formatting and t...

Page 23: ...ation Start PC enter Windows system place the tool installation CD into the CD Rom and the installation will be automatically run Please follow instructions to click next step button and click off but...

Page 24: ...s used to choose a plurality of AV files to be converted and the newly added AV files are checked as default setting If a file is not checked it indicates that this AV file will not be converted In ad...

Page 25: ...more AV files click the settings button in the output information column to enter B After selecting one or more AV files right click the mouse and select settings to enter Select here does not mean c...

Page 26: ...onnected click the button and the tool will prompt PC camera not connected 2 Recording video and taking pictures Default storage directory is the same as the storage directory of the converted video f...

Page 27: ...ermode directly click the icon to take pictures and at the same time picture files are saved under the specified directory Previewingpictures upon completionof storage pictures are displayed in thumbn...

Page 28: ......

Reviews: