background image

25 


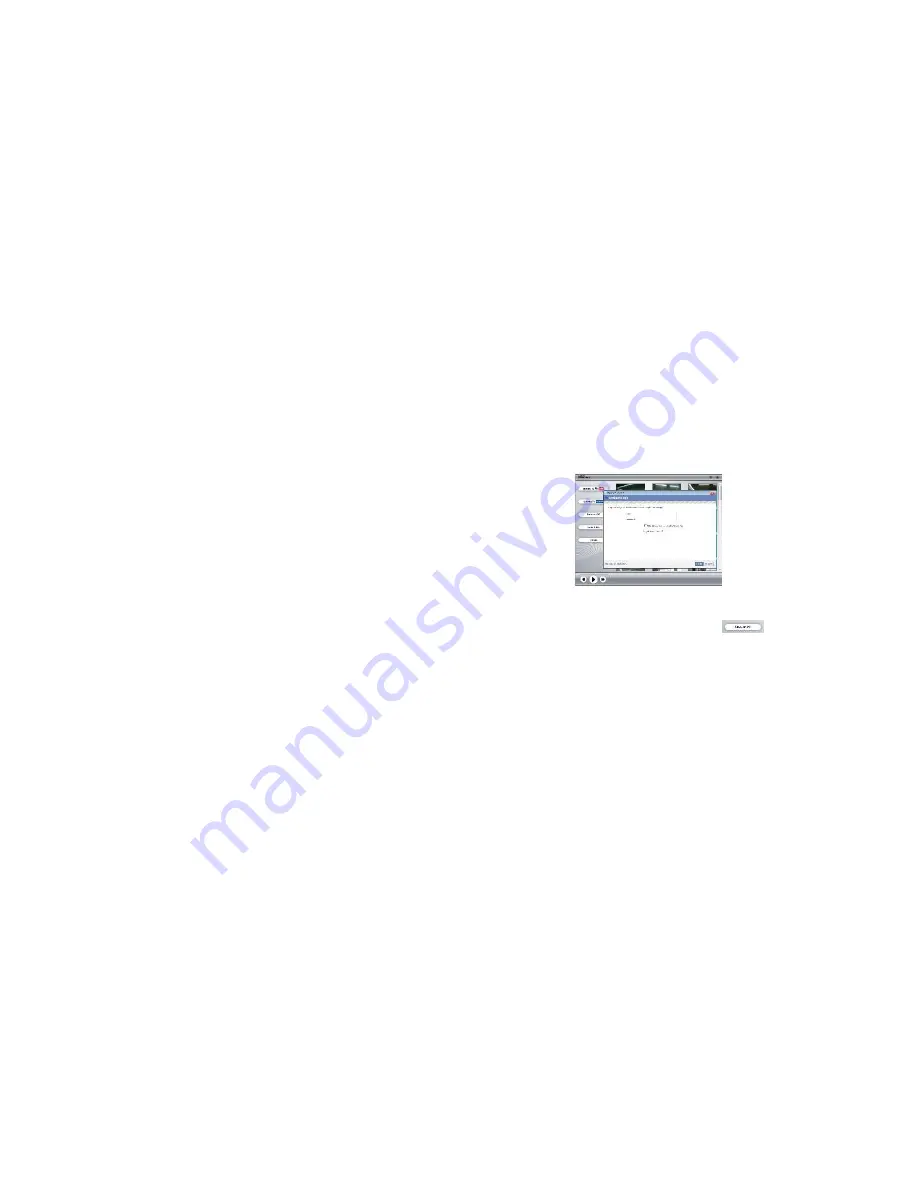
3.4 Save on PC   

Choose the file, and then click the button 

to save on PC. Hold the Control key 

and click another file to choose multiple files to save. 

Summary of Contents for NDC-402

Page 1: ...0 ...

Page 2: ...ting may damage this digital video camera Memory and storage 1 SD SDHC class 2 and 4 memory cards are compatible with this digital video camera with a maximum capacity of 16GB Using a different class of card may result in video distortion and skipping 2 When buying a SD SDHC card take the digital video camera with you to ensure compatibility 3 When a SD SDHC card is inserted the internal memory of...

Page 3: ...densation when moving from a cold to a warm place be sure to keep it in a sealed plastic bag Open the bag and take it out when the camera reaches the indoor temperature 3 TV programs movies music images and other resources may be protected by copyright therefore without prior permission do not distribute copyrighted materials System requirements When utilizing the Arcsoft software that is included...

Page 4: ... is also included in the giftbox Operation System Microsoft Windows XP Vista Windows 7 CPU Intel Pentium II 300mHz or faster Memory 64 MB RAM 128 MB Preferred Sound card and display card DirectX8 1 or above CDR RW 4 speed or above to burn discs Hard Disk 36 MB available hard disk space MOV Support Quicktime 6 and above ...

Page 5: ...4 Getting to know your camera 1 Appearance and Buttons ...

Page 6: ...5 ...

Page 7: ...attery cover 2 2 Charging the battery 1 Power off the camera 2 Connect the camera to the computer USB port or to a power adapter with the USB cable to charge the battery 3 During charging the busy red light will be on The busy light is located on the top of the digital video camera to the left of the lens as shown on page 7 The light will turn off when the battery is fully charged ...

Page 8: ...o remove card push card inward and it will pop out automatically Note that the SD Card has a tiny LOCK switch on the side Set the switch to the un LOCK position to store recorded videos and still pictures 2 4 Powering on off In the power off state press and hold the power key to turn the camera on In the power on state press the power key to turn the camera off The camera will turn off automatical...

Page 9: ... Please note the digital zoom feature degrades the picture the more you zoom in 2 6 Playback videos or photos Press the mode key to change modes from video mode to playback mode Once in playback mode press the key or key to select the desired file When viewing a video clip press the OK key to begin playing Press the key to rewind and the key to fast forward Press the up key to return back to norma...

Page 10: ...e terminal of the TV cable into the TV output port of the camera The yellow port of the other terminal should be connected to the VIDEO IN port of the TV The red or white port of the other terminal should be connected to the AUDIO IN port of the TV as shown in this illustration 2 9 HDMI output If you want to output the video and sound from the video camera to an HD TV insert a HDMI cable not inclu...

Page 11: ...playback mode press the Menu key to start menu setup and then choose the delete item to delete files 3 Connect to PC 3 1 Turn the camcorder on Slide the USB switch up to extend the USB connector 3 2 Insert the camera s USB connector into computer s USB port or use the supplied USB extension cable to make the connection ...

Page 12: ...is value is set to 60 Hz as it is the standard light frequency value for the United States You can change this to 50 Hz for other countries Date Time Set the current date and time and adjust the date display This date and time will be attached to the video files so you can see when the video files were taken Language Set the language in which the User Preferences Menu will be displayed TV Out Set ...

Page 13: ...and scroll down to the Light Frequency option Press the Shutter key You will see the 2 frequency options Click the Shutter key on your desired frequency option 60 or 50 to confirm your selection To Set the Date and Time If you would like to have each of your files stamped with the date please do the following 1 When in record or still mode press the menu key 2 When the yellow menu screen appears p...

Page 14: ...ain to return to record mode Language Your camera default only English nation language TV Out To change the TV Mode on your camera press the Menu key to see your setup options Press the right key and scroll down to the TV Out option Press the Shutter Key to see the TV Out options which are NTSC and PAL Scroll up or down between the two options When your preferred option is highlighted press the Sh...

Page 15: ...l not recognize your digital video camera when you plug it into its USB port Format To erase the data from your SD card press the Menu key to see your setup options Press the Right key and scroll down to the Format option Press the Shutter key once Scroll up to the Yes option and press the Shutter key again to confirm the action Your files will be deleted Reset All To reset all of the User prefere...

Page 16: ...he CD ROM of a computer and then the following menu will appear If the above screen does not show up click the autorun exe program under the directory of the CD 2 MediaImpression Installation and Use Install MediaImpression Click Install MediaImpression button and complete the installation as per the tips ...

Page 17: ...16 ...

Page 18: ...7 After installation please restart the computer Run MediaImpression Double click the icon on the desktop or follow Start Programs to open After starting MediaImpression click Import to import the media ...

Page 19: ...18 Choose the video camera storage and choose the output location ...

Page 20: ...19 Choose a file and click import The selected file will be stored in the output location Click Go to start page to return to the main screen Then click Video or All media to use the You Tube function ...

Page 21: ...20 Choose a file and click the upload to You Tube Enter your username and password to login to You Tube to execute the upload ...

Page 22: ...to use the software Ⅰ When connecting to a PC UEZ link will pop up automatically Please make sure that your PC will not block any pop up software Otherwise it will not work Ⅱ Double click the icon from the CD to run You can also copy files to your PC and then double click the icon to run The interface below will appear ...

Page 23: ...tomatically load all the files in the DCIM folder You can load the desired files by clicking the button and then choosing the files Once the Browse for folder window opens choose Computer then the driver where the files are located This ...

Page 24: ...o Choose the file and then click the button to upload your files Hold the Control key and click another file to choose multiple files to upload Please make sure that you have registered and activated an account for YouTube to upload videos Otherwise you will not be able to upload ...

Page 25: ...n click the button to upload your files Hold the Control key and click another file to choose multiple files to upload Please make sure that you have registered and activated the account for facebook to upload files Otherwise it will not work ...

Page 26: ...25 3 4 Save on PC Choose the file and then click the button to save on PC Hold the Control key and click another file to choose multiple files to save ...

Page 27: ...26 3 5 Delete Choose the file and then click the button to delete the files Hold the Control key and click another file to choose multiple files to delete ...

Page 28: ...27 ...

Page 29: ...cm infinite Digital focusing 4 Shutter Electronic LCD display 2 0 inch TFT Display Resolution Video HD 1280x720 VGA 640x480 Still photo 5 0MP 2592X1944 White balance Automatic Manual Exposure Automatic File format Video AVI Photo JPEG Video out TV out HDMI out Storage media SD MMC SDHC card max 16GB USB port USB 2 0 port Dimension LxWxH 111mm 57mm 19 5mm ...

Reviews: