background image

-25-

Touch Screen Operation

NOTE:

For CD(audio) Disc, touch OSD button 
is not available .

E.Touch or Press 

OSD

  for the fifth time:

The message on the screen will be 
cleared for SVCD and VCD. 


2.Example for VCD/SVCD/CD:

F. Touch or Press 

OSD

  for sixth time:

The message on the screen will be 
cleared.

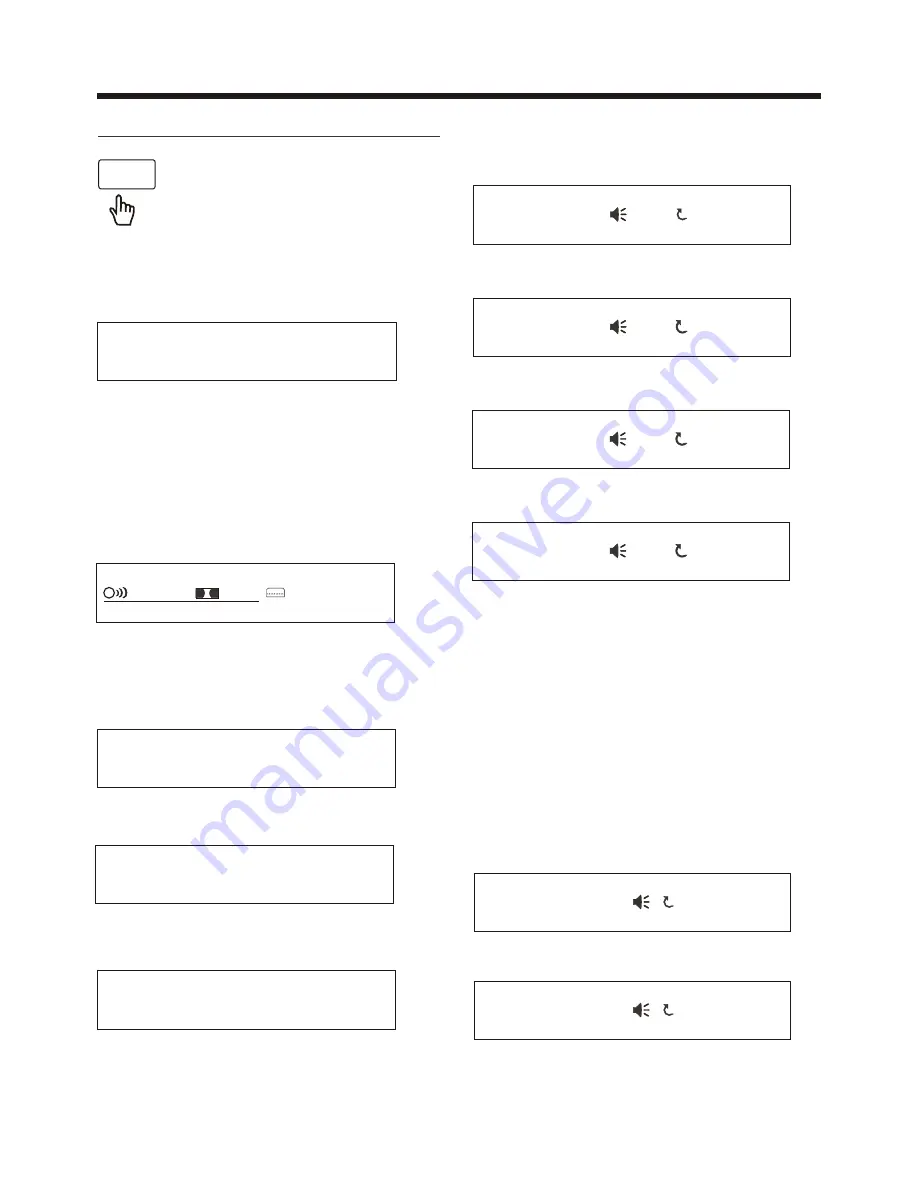
ON-SCREEN DISPLAY FUNCTION

Digital Video  TT  01/01CH  04/31 C  -0:01:32

C.Touch or


Press 

OSD

 for third time:

During playback, touch the 
screen of the OSD section,  
it will display the following 
as below :

OSD

1. Digital Video:    
A.Touch or


Press 

OSD

  for first time:

Title Number, Total Title Number,  
Chapter Number, Total Chapter Number 
of this Title of the Digital Video currently 
being played will be shown on the screen, 
along with the elapsed time.

Digital Video  TT  01/01CH  04/31 C  0:02:06

D.Touch or


Press 

OSD

 for fourth time:

Digital Video  TT  01/01CH  04/31 T   0:16:00

E.Touch or


Press 

OSD

 for fifth time:

Digital Video  TT  01/01CH  04/31 T   -1:36:55

B.Touch or


Press 

OSD

 for second time:

A.Touch or


Press 

OSD

  for first time:

VCD  TRK  1/19       PBC       C  0:01:36

A

B.Touch or


Press 

OSD

 for second time:

VCD  TRK  1/19       PBC       C -0:06:06

A

C.Touch or


Press 

OSD

 for third time:

VCD  TRK  1/19       PBC       T  0:02:12

A

D.Touch or


Press 

OSD

 for fourth time:

VCD  TRK  1/19       PBC       T  -1:23:06

A

3. Example for MP3

A.Touch or


Press 

OSD

  for first time:

CD

rom

  TRK  


2/76               C  0:00:36

A

B.Touch or


Press 

OSD

 for second time:

CD

rom

  TRK  


2/76               C  -0:03:38

A

C. Touch or Press 

OSD

  for third time:

The message on the screen will be 
cleared.

       ½ ENG       


2CH       OFF AN OFF

The underlined part is different from 
the used discs.The AN is a camera
figure for some models.

Summary of Contents for NCD-707

Page 1: ......

Page 2: ...To ensure safety while driving and to comply with laws drivers should not watch video or operate the video device while driving ...

Page 3: ... radio Storing and Listening to a memory station Automatic Memory Storing Program Scanning Media Operation 23 23 25 26 26 26 26 26 27 27 29 30 31 32 33 34 35 36 37 2 3 4 5 9 10 13 13 13 14 14 15 15 15 15 16 16 16 17 17 20 20 20 21 22 Basic Operation Selecting Play Mode On Screen Display Function Digital Video Special Function Multi Subtitle Language function Multi audio language Function Multi ang...

Page 4: ...become clear the temper ature in your car becomes normal DO NOT install any receiver in locations where it may obstruct the steering wheel and gearshift lever operations as this may result in a traffic accident it may obstruct the operation of safety devices such as air bags as this may result in a fatal accident it may obstruct visibility DO NOT operate any receiver while manipulating the steerin...

Page 5: ...YOURSELF REFER SERVICING TO QUALIFIED PERSONNEL WARNING TO REDUCE THE RISK OF FIRE OR ELECTRIC SHOCK DO NOT EXPOSE THIS EQUIPMENT TO RAIN OR MOISTURE TO REDUCE THE RISK OF FIRE OR ELECTRIC SHOCK AND ANNOYING INTERFERENCE USE ONLY THE RECOMMENDED ACCESSORIES THIS DEVICE IS INTENDED FOR CONTINUOUS OPERATION REGION MANAGEMENT INFORMATION This Digital Video Player is designed and manufactured to respo...

Page 6: ...cohol Never use solvents such as benzine thinner or conventional record cleaners as they may mar the surface of the disc Handling and Cleaning Dirt dust scratches and warping disc will cause misoperation Do not place stickers or make scratches on discs Do not warp discs A disc should always be kept in its case when not in use to prevent from damaging Do not place discs in the following places 1 Di...

Page 7: ...e vehicle Install the unit where it does not get in the driver s way and cannot injure the passenger if there is a sudden stop like an emergency stop If installation angle exceeds 30 from horizontal the unit might not give its optimum performance Avoid installing the unit where it would be subject to high temperature such as from direct sunlight or from hot air from the heater or where it would be...

Page 8: ...UT of the both sides away then insert the two KEY PLATE into left and right side of chassis as above illustration Installating the unit DASH BOARD METAL MOUNTING STRAP HEX NUT SPRING WASHER PLAIN WASHER TAPPING SCREW CONSOLE SLIDE BRACKET HOUSING HEX BOLT SCREWDRIVER TABS KEY PLATE PLASTIC TRIM OUT KEY PLATE ...

Page 9: ...ching The Front Panel Before detaching the control panel be sure to turn off the power 1 Press the REL release button and the right hand side of front pane will release REL button 2 Put the front panel in the protective case for safe keeping protective case 1 2 1 2 First pull up the panel as the direction indicated by the arrow See And then taking out the panel as the direction indicated by the ar...

Page 10: ... front panel must be attached into the Bulge point of the unit 2 Gently push the right down hand side of the front panel until you feel a Click SEE Precautions Do not touch the contacts on the front panel or the unit body since this may result in poor electrical contact If dirt or dust accumulates on the contacts wipe them with a clean dry cloth 1 2 1 2 ...

Page 11: ...UBWOOFER GREY VIDEO IN YELLOW RCH RED LCH WHITE REAR RCA OUTPUT CABLE FRONT RCA WHITE L FRONT RCA RED R VIDEO OUT YELLOW FRONT RCA OUTPUT CABLE REAR CAMERA INPUT YELLOW PINK B 12V REAR CAMERA SWITCH B PARKING BRAKE GREY GREY BLACK FRONT RCH SPK VIOLET VIOLET BLACK WHITE WHITE BLACK GREEN GREEN BLACK REAR LCH SPK AUTO ANTENNA BLUE GROUND B MEMORY BACK UP B IGNITION SWITCH B RED YELLOW BLACK REAR RC...

Page 12: ... menu for making changes to the way the soundtrack is reproduced SUBTITLE LOCAL DISTANT In Digital Video Disc Playback mode pressing this button will allow you to change the subtitle language on discs which have this as an option In Radio mode press this button to change the radio reception sensitivity in stations are near or far 7 Pressing this button will open a menu presenting you with the play...

Page 13: ...h is recorded on the media When playing a VCD disc press this button to create a PBC Playback Control menu for the disc to assist in making playback selections In Radio mode press and hold this button to start the Auto Program mode during which the tuner will scan for all strong stations and assign them to the radio preset buttons Press this button to adjust the screen viewing angle 19 ZOOM ANGLE ...

Page 14: ...er to the original position See 1 2 3 4 Inserting the Battery Note The lithium cell in the battery compartment of remote control has been secured for transport with a foil Before initial use please remove this foil so that the remote control is ready for operation Button Ref Function 0 9 Use to input numerical values during programming with the GOTO button or to directly select a track to play 25 ...

Page 15: ...rn off OPEN CLOSE MONITOR AND ANGLE ADJUSTMENT Touch OPEN button on front panel the monitor will draw out automatically OPEN CLOSE button FIG 1 When the monitor draws out to a certain location it will turn upward automa tically and stop at vertical position FIG 2 FIG 3 Do not rotate the monitor forcibly to avoid mechanical damage FIG 4 Adjusting the viewing angle When the monitor does not move you...

Page 16: ... setting menu 3 Button to adjust the angle of the monitor upward until your desired angle 5 Button to adjust the angle of monitor down ward until your desired angle 4 Button Touch to open close the monitor 2 5 6 4 3 1 Touch the ICON on touch screen to enter the setting mode the message will display like following SETTING ANIMATION In RADIO mode you can change the playing time of animation among of...

Page 17: ...nt item touch the ICONS to adjust the selectment item then touch icon to confirm It s depend on your need to setup the data SUB WOOFER ON or OFF TREBLE BASS 06 SET SET HOUR MINUTE 12H 24H 36 HOUR MINUTE 24H 12H 11 36 AM Touch the SOUND section on the setting menu touch the ICONS to select the adjustment item touch the ICONS to adjust the selectment item It depends on your habit to select the Audio...

Page 18: ...ject RESET Rear View Camera When connecting the rear view camera the mirror image of the rear view is auto matically displayed on the monitor when you change the gear to the back position Note additional monitor can not display the image Setting Audio Mode In any modes touch the EQ range on the touch screen or press the EQ button on remote control to select one of the preset sound modes ROCK POP J...

Page 19: ...ode TIME 12H 24H CLOCK BUZZ EUR USA FREQ ANIMATION BG and LED COLOR long press SEL button to switch on LOUD then briefly and repeatedly press SEL button After switching on the desired mode above rotate VOL knob or press VOL VOL buttons to set it 1 OPEN or BUTTON To slide the monitor out and stand it up or into the monitor slot press this button To adjust the angle of the monitor long press this bu...

Page 20: ...ide upward into the disc slot 8 CH1 6 BUTTON In media mode use this button to pause or resume playback In radio mode use this button to preset or listen to a memory station 1 To preset a station in a memory bank with CH1 6 button first select a desired band then press CH1 6 button to select a desired memory bank and then search for a desired station finally long press CH1 6 button to store the sta...

Page 21: ...e not available or sound is distorted press REL button to detach the control panel and remove it then use the sharp end of a pointed object to press RESET button on control panel to reset the program to zero 16 SD MMC card slot 18 EQ BUTTON Pressing the EQ button repeatedly can switch the preset EQ modes between JAZZ CLASSIC POP ROCK and USER ...

Page 22: ...or a radio station automatically Storing and Listening to a Memory Station Setting Memory With this system a total of 30 stations can be stored in the memory of six buttons Each band stores up to six preset stations The stations might be FM1 FM2 FM3 AM1 MW1 and AM2 MW2 band The operation is as below Store in Memory Select the frequency band Select the station In radio model Longer press the sel kn...

Page 23: ...st storage location is set Automatic Preset Setup Scan Function In Radio mode briefly touch the APS section on the touch screen the radio briefly plays all the preset stations of the frequency band Keep the desired memory key pressed in until the station is heard again after a brief interruption Retrieve a preset station Touch the 1 6 ranges briefly to retrieve a station which had been stored in t...

Page 24: ...To skip the previous track To skip the next track Play Pause the media Stop To search fast backward To search fast forward Next menu To show hide the Subtitle depending on the Digital Video To change the AUDIO setting depending on the Digital Video ZOOM IN and OUT To display the SETUP menu Previous menu On screen display To show hide the clock Loudness Function Subwoofer Function To select the Equ...

Page 25: ...ON REPEAT OFF REPEAT ONE REPEAT ALL FOR VCD CD Touch the screen the of RPT range or press REPEAT button on the remote control to select REPEAT mode as follow FOR Digital Video Touch the screen the of RPT range or press REPEAT button on the remote control to select REPEAT mode as follow REPEAT ALL CHAPTER REPEAT ON TITLE REPEAT ON REPEAT OFF Stopping Play Touch the screen the range to stop the unit...

Page 26: ...is different Depend on the Media used for VCD Touch it again to cancel this function Note in random mode the button is not available Media Search GOTO FOR Digital Video Touch the screen the of GOTO range the screen will display the following message Touch the to select the your adjustment item then select the item you want to watch through CHAPTER TIME setting by touching the numberic buttons then...

Page 27: ...wn on the screen along with the elapsed time Digital Video TT 01 01CH 04 31 C 0 02 06 D Touch or Press OSD for fourth time Digital Video TT 01 01CH 04 31 T 0 16 00 E Touch or Press OSD for fifth time Digital Video TT 01 01CH 04 31 T 1 36 55 B Touch or Press OSD for second time A Touch or Press OSD for first time VCD TRK 1 19 PBC C 0 01 36 A B Touch or Press OSD for second time VCD TRK 1 19 PBC C 0...

Page 28: ... MONO RIGHT STEREO MIX MONO For VCD CD during playback touch the AUDIO section of the touch screen or Press AUDIO on the remote It is possible to switch the sound between monaural and stereo sound 2 Multi Audio Language Function For Digital Video During Digital Video playback touch the AUDIO section on touch screen or press the AUDIO on the remote Each time the button is pressed or touch number of...

Page 29: ...g a permanent trace of the image behind To avoid this turn ON the SCREENSAVER item After a short period of inactivity on the monitor the unit will substitute a moving image to avoid burn in Touch Screen Operation 1 IN disc model Touch the screen of range or press the SETUP button on remote 2 The SETUP menu is displayed 3 Touch directly the desired item to select the preferred item Or by using the ...

Page 30: ...he PAN SCAN style If connected to wide screen TV the left and right edges are cut off Normal LB For 4 3 TV Played back in LETTER BOX style If connected to wide screen TV black bands appear at top and bottom of the screen Wide For 16 9 TV Select when a wide screen TV set is connected Touch Screen Operation 4 3PS 16 9 4 3LB EXIT SYSTEM SETUP TV SYSTEM SCREEN SAVER TV TYPE DEFAULT ...

Page 31: ...red language SUBTITLE LANGUAGE SETUP Select the preferred Subtitle language by touching directly the desired language Touch Screen Operation RESTORE EXIT SYSTEM SETUP TV SYSTEM SCREEN SAVER TV TYPE DEFAULT EXIT OSD LANGUAGE AUDIO LANG SUBTITLE LANG MENU LANG ENGLISH GERMAN SPANISH FRENCH PORTUGUESE ITALIAN RUSSIAN LANGUAGE SETUP EXIT OSD LANGUAGE AUDIO LANG SUBTITLE LANG MENU LANG ENGLISH GERMAN S...

Page 32: ...settings allow you to set the video signal brightness contrast hue and saturation HUE the hue of the video signal the color of the pictures EXIT OSD LANGUAGE AUDIO LANG SUBTITLE LANG MENU LANG ENGLISH GERMAN SPANISH FRENCH PORTUGUESE ITALIAN RUSSIAN LANGUAGE SETUP EXIT BRIGHTNESS CONTRAST HUE SATURATION SHARPNESS VIDEO SETUP 12 10 8 6 4 2 0 EXIT BRIGHTNESS CONTRAST HUE SATURATION SHARPNESS VIDEO S...

Page 33: ...re 8 steps between full compression and off compression SATURATION the saturation of the video signal the vividness of the color all above can be adjusted to your tasters Touch Screen Operation EXIT DYNAMIC RANGE DIGITAL SETUP FULL 6 8 4 8 2 8 OFF EXIT BRIGHTNESS CONTRAST HUE SATURATION SHARPNESS VIDEO SETUP 12 10 8 6 4 2 0 EXIT BRIGHTNESS CONTRAST HUE SATURATION SHARPNESS VIDEO SETUP 8 6 4 2 0 ...

Page 34: ...enter the AUX IN mode On the front panel of this unit there is an AUX IN jack follow the diagram below to connect analogue replay devices only for the Audio connect if you want to connect the Video please plug the RCA Video input on the back of the unit Use this jack to replay sound of other replay equipment such as Digital Video players computers etc Via the loudspeakers 1 Please connect the exte...

Page 35: ... desired mode is found To skip to the next or last track touch or press the or Press the or buttons for Fast Forward or Fast Reverse playback You can use the UP DOWN RIGHT or LEFT buttons to navigate and to select files to play and press ENTER to begin playback or viewing in the case of JPEG files Changing From USB to DISC Playback modes If you are in USB Playback mode and wish to begin playback o...

Page 36: ...tart the operation of memory card File Playback Operation All the SD or MMC memory car playback operation function is same as the operation on CD MP3 WMA Please to MP3 WMA operation for more details Change DISC to SD MMC card The operations are same as USB mode refer to see USB operation Change SD MMC card to DISC The operations are same as USB mode refer to see USB operation 34 Touch Screen Opera...

Page 37: ...ckward Touch directly to select the play mode and then touch the desired track to play Or Use on the remote control to select the play mode or item then press ENTER button on the remote control to confirm Touch the screen of REPEAT range or press longer REPEAT on the remote control repeatedly can select two kinds of repeat play mode REPEAT FUNCTION REP ONE Play the same song over and over again RE...

Page 38: ...mits Generall Supply Voltage 12V DC 11V 15V Current Consumption Less than10 A Signal System Compositive video 1 0Vp p 75 Discs Played 1 DIGITAL VIDEO Disc 5 12 cm single sided single layer 5 12 cm single sided double layer 2 Compact Disc CD DA VIDEO CD 5 12cm disc RADIO Section For 2 Bands For 2 Bands Europe U S A FM FM Frequency Coverage 87 5 to108 MHz 87 5 to107 9 MHz IF 10 7 MHz 10 7 MHz Sensit...

Page 39: ...rly due to noise The antenna cable is not connected Insert the antenna cable firmly The signals are too weak Select a station manually SYMPTOM CAUSE SOLUTION Video image appears black white The color system is set incorrectly Please switch to correct color system from menu No video image appears The unit is not connected to the parking brake detection switch Make proper connection according to wir...

Reviews: