NAVIS NavDP 4000. Operation Manual
2.4.6
DIM +, DIM -
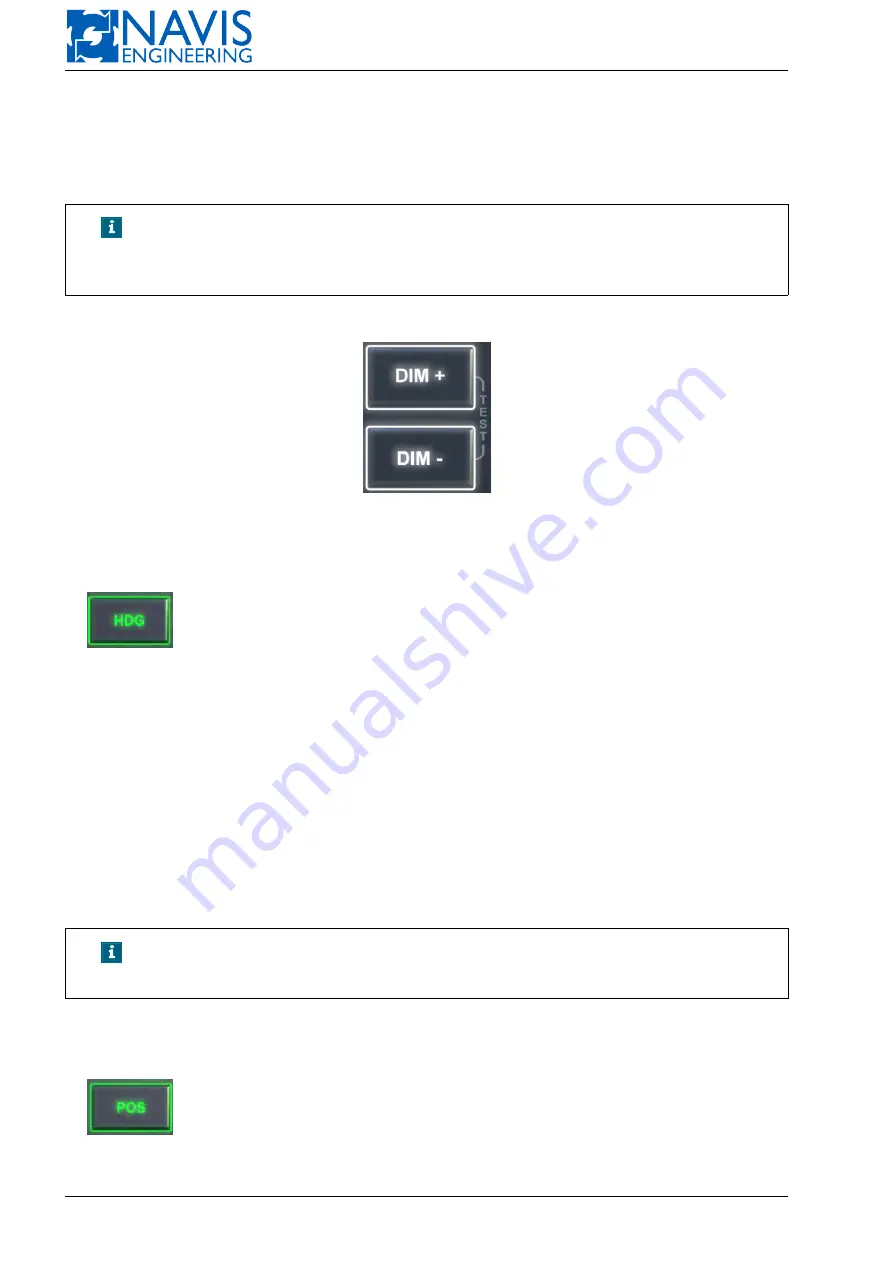
Pushbuttons (see Figure 2.8) are used to control the brightness of the control panel’s backlight.
In case of “Connected” state pressing on the both pushbuttons at once and holding them at least 5 seconds calls the
Configuration menu(see 5.12.6, page 99).
NOTE!
In addition, in some configurations the short pressing on the both but-
tons calls the Configuration menu on the main system screen. In this
case the rotary knob functionality is standard.
In case of “Disconnected” state the menu is called via the short pressing on the buttons.
Figure 2.8: The Brightness Buttons
2.4.7
HDG
The HDG pushbutton can be used in the DP, IJ and Autopilot modes to select Auto Heading (AutoHDG)
control mode.
There are two ways to switch to the AutoHDG mode:
– Double pressing the HDG push button
– Pressing the HDG push button then pressing the Hold pushbutton
In this case the current heading is get as the preset one.
The pushbutton backlight changes to green.
To set the heading different from the current one press the HDG pushbutton once (in any control mode). The HDG
setting dialog appears on the panel LCD.
There are two way to change the value:
– With the knob match buttons (see Figure 2.10): press and hold the pushbutton or press the pushbutton several times
to get the necessary value. Then press the Enter pushbutton.
– with rotary knob (see Figure 2.12) — turn the rotary knob to get necessary value, then press the Enter pushbutton.
NOTE!
The HDG settings dialog is called in any control mode by the single
pressing the HDG pushbutton.
To switch off the AutoHDG mode press the HDG pushbutton twice.
2.4.8
POS
The POS pushbutton is available in the DP mode only it’s meant for selecting the Auto Position (Auto-
POS) control mode.
There two way of switching on the AutoPOS mode:
27
Doc. 000.JDP-10000-OME, rev.3.3.13/“2102.$–17A-Advanced”


