


NAVIN Corporation
www.navin.com.tw
BEFORE USE
Checking Items
The
mini
Homer package contains following items:
mini
Homer device
User’s guide
USB cable for charging
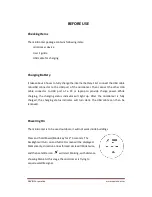
Charging Battery
It takes about 3 hours to fully charge the internal battery. First connect the USB cable
mini-USB connector to the USB port of the
mini
Homer. Then connect the other USB
cable connector to USB port of a PC or laptop to provide charge power. While
charging, the charging status indicator will light up. After the
mini
Homer is fully
charged, the charging status indicator will turn dark. The USB cable can then be
removed.
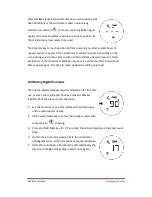
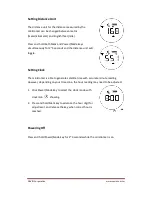
Powering On
The
mini
Homer is to be used outdoors; it will not work inside buildings.
Press and hold Power/Mode key for 2~3 seconds. The
backlight will turn on and full LCD screen will be displayed.
Momentarily, direction arrow formed circle will blink twice,
and then satellite icon
will start blinking, with distance
showing blank. At this stage the
mini
Homer is trying to
acquire satellite signal.


