Press the 16 or CANCEL key or else select the EXIT option from the
menu.
Rotate the
CH
knob to select the Item within the Set-Up Menu list
To confirm a selected item for adjustment, push the
CH
knob.
When the desired setting is done, press the
CH
knob to enter the
setting, and move back to the Main Menu list.
Set Up operation is exited by turning the unit off. All changes are saved
in EEPROM.
6.3 BUDDY
LIST
The Buddy List can store up to 20 entries with Name and MMSI. User
can add, edit or delete the record from the list under this submenu.
25
26
6.3.1 ADDING AN ENTRY
1
2
Select Buddy List and the cursor is at <NEW> press
CH
knob
entry page which prompt up to allow enter Name and MMSI.
Rotate the
CH
knob to select the first desired character (A-Z, 1-9,
Space and Back Arrow "
<
") for the name. When the desired
character is shown, push the
CH
knob to enter, Same select the
next characters, The characters can be up to 12. When the last
digit is entered, the activation advances to the first MMSI digit.
3
4
5
Enter the MMSI associated with that buddy name (this must be
numeric) Prefix 00 will treat as Coast Once 9 digit be entered,
pops up a new page to ask for confirmation to save.
Press the
CH
knob to save the new entry, which is displayed at
the top of your BUDDY LIST.
Press
CANCEL
will terminate the process without saving go back
to Buddy list page.
6
When the buddy list is full. you can make a new entry and the
buddy at the end of the list is automatically erased.
6.3.2
EDIT EXISTING ENTRY
1
Pick up one from BUDDY list and edit Press
CH
knob one
Page pops up item for you to edit or delete, Choose EDIT.
2
3
when you are finished editing. Press
CH
knob into a new page
prompt in to ask for confirmation to save.
Press the
CH
knob to save the new edit. The BUDDY list is
displayed again. If more changes are required repeat steps
from 1 to 3 otherwise, press cancel to exit.
6.3.3 DELETE
AN ENTRY
1
Select the one which you want to delete from the list.
2
Rotated the
CH
knob to select the Delete option.
3
Press and hold the
CH
knob to confirm the delete action.
4
The selected record will be removed and go back to BUDDY
list page. You can repeat steps from 1
to 4 to delete more
records, or press cancel to exit.
6.4
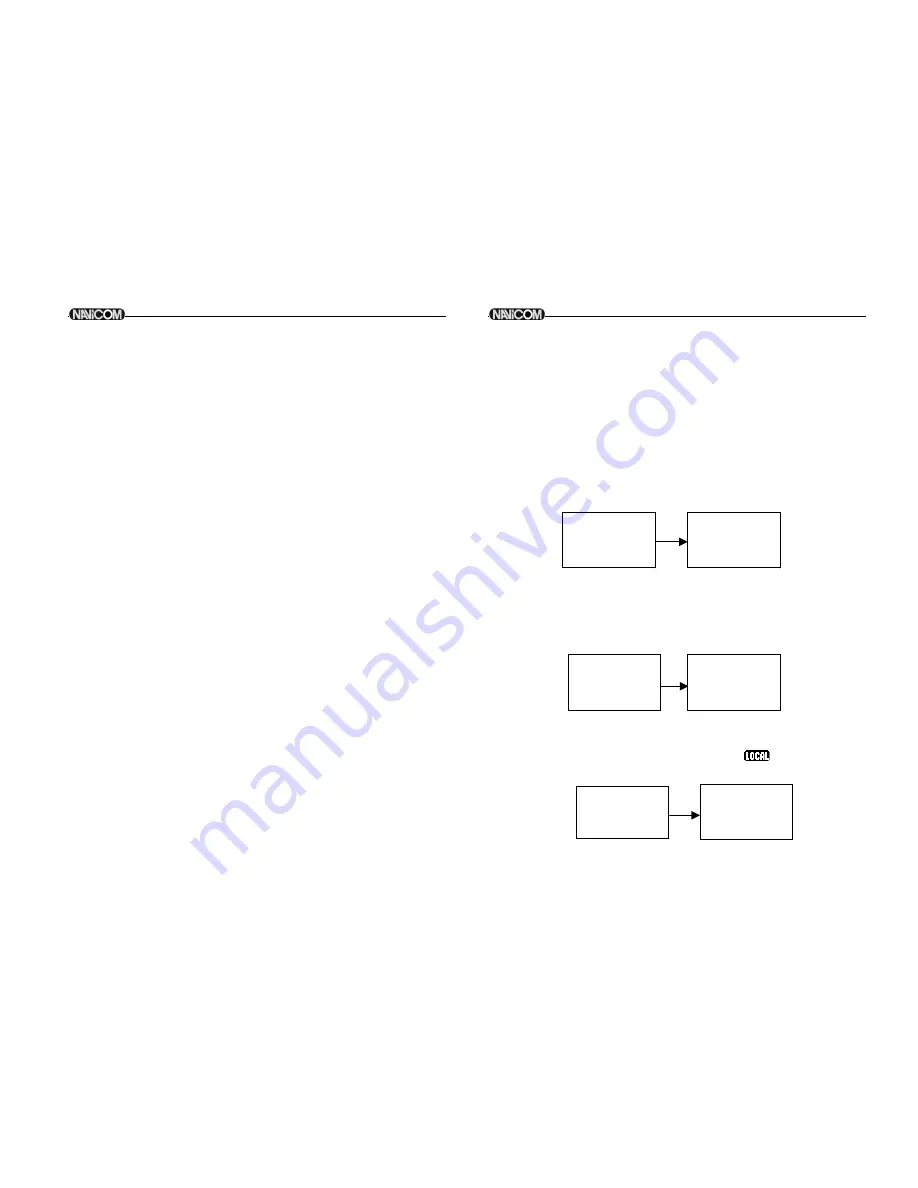
BACKLIGHT ADJUSTMENT
1
2
Select BACKLIGHT and press the
CH
knob. There are 8 levels
control for the BACKLIGHT.
Rotate the
CH
knob to adjust the setting, Press the
CH
knob to
permanently enter the setting and return to the MENU LIST.
6.5 CONTRAST ADJUSTMENT
1
2
Select CONTRAST and press the
CH
knob. There are 8 levels
control for the contrast. The higher numbers the darker LCD
Rotate the
CH
knob to adjust the setting, Press the
CH
knob to
permanently enter the setting and return to the MENU LIST.
6.6 LOCAL/ DISTANT
You can set the receiver to LOCAL to eliminate noise, select the
LOCAL/DST from the MENU list for local and press the
CH
knob. The
local state is stored when screen is exited. The
icon turns ON in
the LCD. Default is DISTANT
.
MENU SELECT
BUDDY LIST
>BACKLIGHT
CONTRAST
BACKLIGHT
LO
HI
PRESS ENT
MENU SELECT
BUDDY LIST
BACKLIGHT
> CONTRAST
CONTRAST
LO
HI
PRESS ENT
MENU SELECT
BACKLIGHT
CONTRAST
> LOCAL/DIST
SENSIT
I
VITY
>DISTANT
LOCAL
Navicom RT-550
Navicom RT-550
Summary of Contents for RT-550
Page 21: ...37 38 DSC DSC ...


