JR, BM
04/07/14
NTV-DOC092
Agreement
:
End user agrees to use this product in compliance with all State and Federal laws. NAV-TV Corp. would not be held liable for
misuse of its product. If you do not agree, please discontinue use immediately and return product to place of purchase. This product is
intended for off-road use and passenger entertainment only.
2 |
P a g e
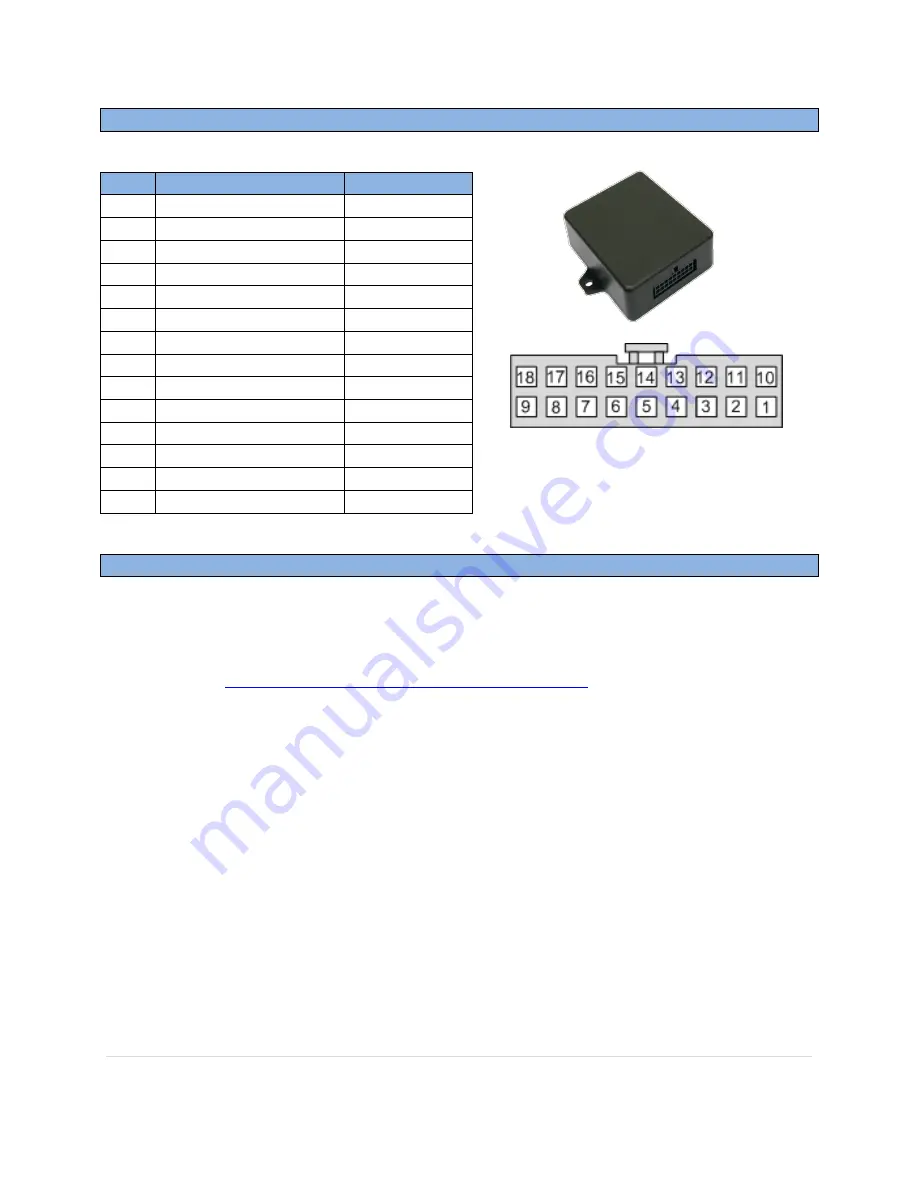
Volvo VIM Module Pin Outs
Pin #
Description
Color
1
12v Constant (+)
Yellow
5
-not used-
Gray
6
-not used-
Blue
8
CAN HI (Radio Side)
Green
9
CAN HI (Vehicle Side)
White
10
Ground (-)
Black
11
Output 1 (12v w/ CAN)
White/Red
12
Output 2 (12v w/ REV)
White/Blue
13
Output 3
White/Purple
14
-not used-
Gray/White
15
-not used-
Pink/Black
16
-not used-
Pink
17
CAN LO (Radio Side)
White/Green
18
CAN LO (Vehicle Side)
Brown
Module Programming
1.
The Volvo Cam module will come preprogrammed with the most popular working file,
but you may need to adjust it for your particular Volvo type/year.
2.
Refer to
http://www.navtv.com/page/19/downloads.html
and download the ‘Volvo
Cam’ Updater (towards the bottom of the page, 10/30/2013 date stamp)
3.
After downloading, unzip the compressed folder into another folder (make a new folder,
name it ‘Volvo’)
4.
If you’ve never updated a Nav-TV module before, you’ll need to install one USB driver
also found on the Nav-TV downloads page (at the very top, first downloadable link).
5.
Open the Volvo Updater found in the extracted folder from step 3.
6.
Connect the Volvo Cam module to the computer using the provided USB to mini-USB
cable.
7.
The ‘USB Device’ field should populate after 5-10 seconds.
8.
Click the 3 dots at the top right of the updater window. Navigate to the same extracted
folder from step 3. Select the ‘Volvo Cam.enc’ file and press ‘Open’.
9.
Double click ‘ON’ for VIM or address in motion to adjust ON or OFF.
10.
Double click ‘ON’ for Rear view camera to adjust ON or OFF.
11.
Double click ‘off’ for Front view camera to adjust ON or OFF.
Wire Side


