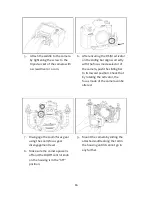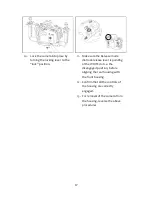
background image


33 

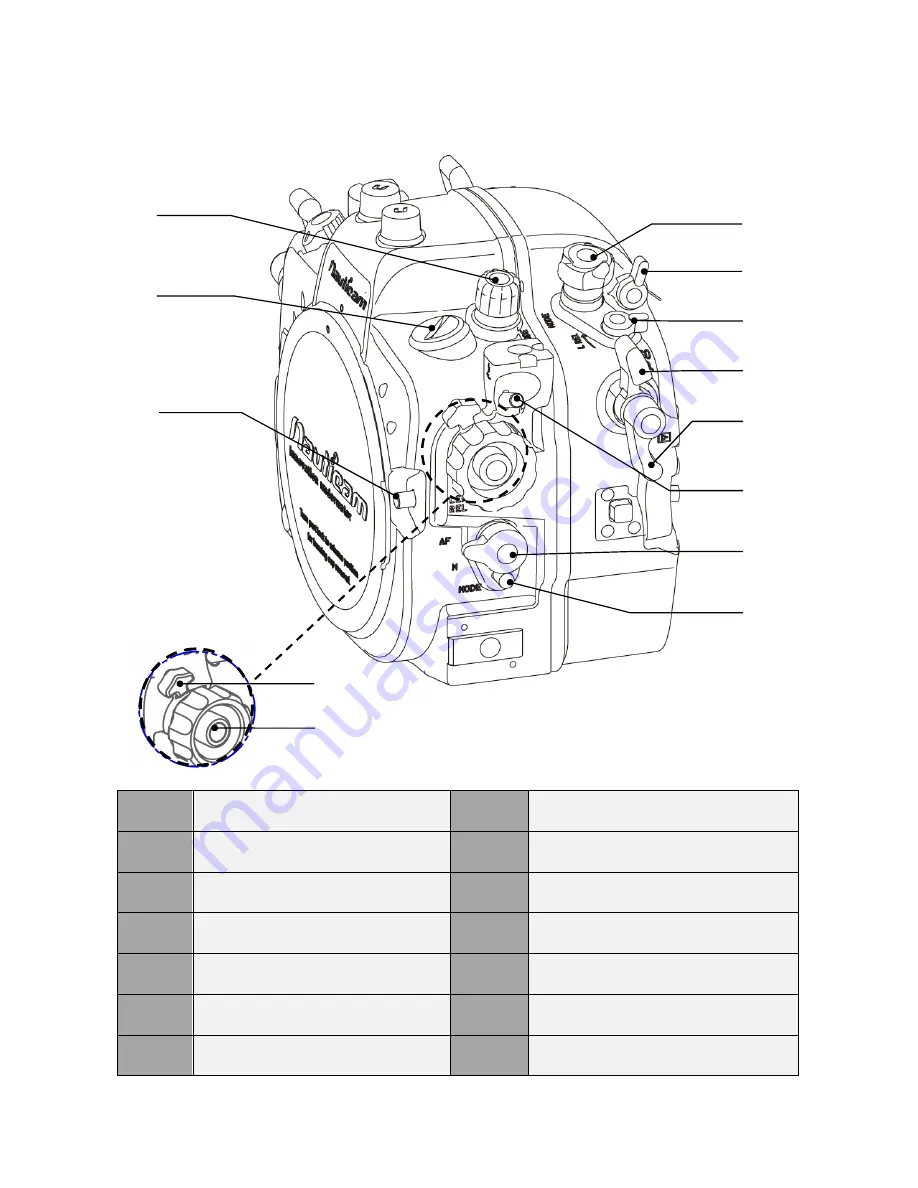
Release mode knob 

40 

Playback lever 

34 

M16 optional accessory port 

41 

Flash pop-up/ flash compensation 
button 

35 

Lens release button 

42 

Focus mode selection knob 

36 

Mode knob 

43 

AF-mode button 

37 

Flash Off lever 

44 

Zoom/ focus gear disengagement  
lever 

38 

Release mode dial lock release 
lever 

45 

Zoom/focus knob 

39 

ISO/Playback zoom out  lever 


34 

35 

39 

40 

41 

42 

43 

44 

45 

36 

37 

33 

38 

Summary of Contents for NA-D7100

Page 1: ...0...

Page 2: ...them through the innovative designs of our products We strive to achieve a high level of user friendliness by allowing stress free installation and easy operation of all important functions of the ca...

Page 3: ...hin the housing 4 NAUTICAM accepts no liability for any loss of captured images or the inability to capture images even if it is due to the malfunctioning or leakage of the housing 5 This warranty onl...

Page 4: ...O ring remover 5 CR2032 battery for moisture alarm 6 Lubricant 7 Set of Allen keys 8 M14 plug 9 M16 to M14 step down adaptor for electrical bulkhead Spare silicone rubber o ring Lubricant Set of Alle...

Page 5: ...g if the port is installed as this may lead to a pressure difference between the atmosphere and inside the housing 6 Care must be taken when opening the housing as pressure may build up inside the hou...

Page 6: ...Preparation of the Housing 11 Opening and Closing the Housing 14 Installing the Camera 15 Release mode dial Operation 18 Flash Operation 19 Mounting the Port 20 Connecting the Strobe System 22 Changi...

Page 7: ...Features Moisture alarm Blinking LED and audible alarm Viewfinder 0 66X viewfinder TTL capability Single Nikonos 5 pin bulkhead optional 2 optical bulkheads utilising on camera pop up flash as comman...

Page 8: ...ever 3 Port lock release lever 10 Metering button 4 Optical bulkhead for strobe connections x 2 11 Exposure compensation lever 5 Port alignment index 12 Shutter release lever 6 Main command dial 13 Su...

Page 9: ...y button R 18 Housing lock L 27 Multi selector 19 Housing lock safety button L 28 Up selection button 20 QUAL Playback zoom in button 29 Left selection button 21 i button 30 OK button 22 Moisture alar...

Page 10: ...h compensation button 35 Lens release button 42 Focus mode selection knob 36 Mode knob 43 AF mode button 37 Flash Off lever 44 Zoom focus gear disengagement lever 38 Release mode dial lock release lev...

Page 11: ...holding down a button and rotating a command dial to be made by rotating the command dial after the button is pressed and released To enable this function under Menu scroll to Custom Setting Menu Pen...

Page 12: ...ain O ring into the groove by gently pushing it first at the corners then the whole perimeter 4 If necessary spacers can be used to increase space between the grip handles and the housing please use t...

Page 13: ...bulkhead through the threaded hole vi Slide the accessory shoe plug of the housing into the accessory shoe of the camera iv Tighten the 5 pin bulkhead with a spanner v Connect the 5 pin bulkhead to t...

Page 14: ...the rear part of the housing 2 Test the alarm by contacting the two wires near the bottom of the housing with a damped cotton bud the alarm should start giving out a repeating beep sound along with a...

Page 15: ...ke sure there is nothing caught between the closing surfaces of the two halves of the housing 3 The housing can be opened and closed by operating the two housing locks when opening press the safety bu...

Page 16: ...the housing to the open position 2 Remove the camera saddle from the housing 4 Align the pin on the saddle with the opening in the bottom of the camera as indicated in the diagram 3 Pull the sliding...

Page 17: ...r is off and the On Off control knob on the housing is in the off position 9 Mount the camera by sliding the attached saddle along the rail in the housing until it cannot go in any further 6 After ens...

Page 18: ...he Release mode dial lock release lever is pointing at the WHITE dot i e the disengaged position before aligning the rear housing with the front housing 12 Confirm that all the controls of the housing...

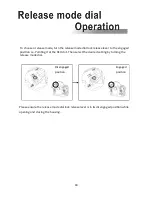
Page 19: ...the engaged position i e Pointing it at the RED dot Then select the desired setting by turning the release mode dial Please ensure the release mode dial lock release lever is in its disengaged positio...

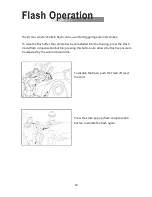
Page 20: ...camera has been installed into the housing press the Flash mode flash compensation button pressing this button also allows the flash exposure to be adjusted by the sub command dial To disable the flas...

Page 21: ...tible ports note that extension rings may be needed for certain lenses and adaptors are available for the attachment of ports of other manufacturers 2 Turn the port locking lever to the release positi...

Page 22: ...m that the green line on the safety button of the port locking lever is visible 9 To remove the port from the housing simply turn the port locking lever to the outward position and gently pull it out...

Page 23: ...s to the strobes via the 2 Optical Bulkheads It can be utilised in different ways depending on the type of strobes connected to the housing A1 Nikon i TTL compatible strobes such as SB R200 SB 600 SB...

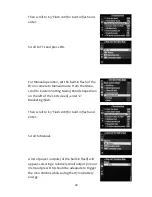
Page 24: ...lly A and or B by entering the value under Comp Be sure the Channel number selected is the same of the 2 strobes A2 Strobes with S TTL e g Inon z 240 or DS TTL e g Sea Sea YS 110 capabilities We recom...

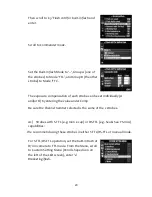
Page 25: ...roll to Custom Setting Menu Pencil shaped icon on the left of the LCD screen enter e Bracketing flash Then scroll to e3 Flash cntrl for built in flash and enter Scroll to Manual A list of power output...

Page 26: ...he D7100 built in flash can also be utilised to trigger other strobes having an optical sensor B Using the Nikonos 5 pin bulkhead The Nikonos 5 pin bulkhead connects to all the 5 contact points of the...

Page 27: ...the viewfinder In order that users can change to a preferred viewfinder easily the 0 66X viewfinder which comes with this housing is designed so that it can be removed and re installed by following t...

Page 28: ...f the housing until it cannot go in any further 4 Place the retainer O ring of the viewfinder back from inside the housing 1 Lightly coat the O rings on the outer periphery of the viewfinder body with...

Page 29: ...ain O ring in the front part of the housing removed from its groove with the O ring remover and inspected for damage Also check that the O ring retains its original circular shape never stretch the O...

Page 30: ...29...

Reviews: