▪
Save as
creates a new preset with the current settings. After clicking Save as, you are
presented with the Save As page in the SideKick, where you can enter a name, au-
thor, rating and notes to save with the preset. It will be saved with all the tags that
are currently selected in the upper part of the Preset Browser, unless you change
them before you press Save to confirm.
▪
The middle buttons toggle the display of the Virtual Rig Kontrol (see section
↑
2.4, Vir-
tual Rig Kontrol
) and all the Rack Tools: Tapedeck Pre; Tapedeck Post; Tuner, Metro-
nome; PRST (Preset Volume); and MSTR FX (Master FX). See section
↑
5, The Rack
Tools
for details on the Rack Tools.
▪
On the right side, the
x
(cross) will empty the rack of all components with one click –
this can of course be undone by selecting
Edit > Undo
from the program menu or by
pressing [Ctrl]+[Z] (Win) / [Cmd]+[Z] (Mac OS X).
▪
Clicking on the
-
(minus) minimizes all rack modules. It then turns into a
+
(plus),
allowing to restore the previous view.
The Rack holds all the components that are processing your sound — giving a clear over-
view of the signal flow. It is the heart of GUITAR RIG 5’s functionality, and is incredibly
easy to use. See section
↑
3, Components and the Rack
for all details.
2.4
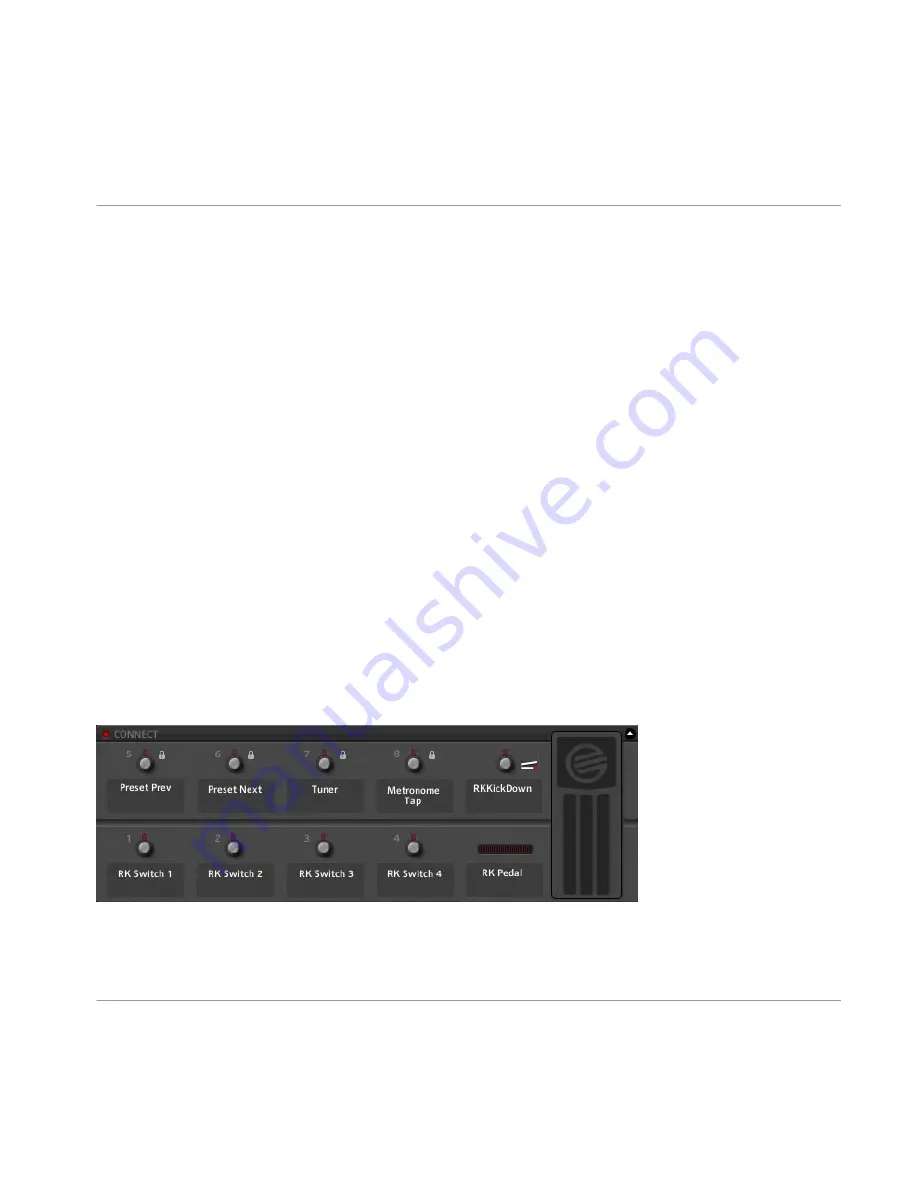
Virtual Rig Kontrol
The Virtual Rig Kontrol is shown after clicking on its button in the Toolbar or by pressing
F3. It is a graphical representation of the Rig Kontrol foot controller, indicating which
functions are assigned to its buttons and the foot pedal. See section
↑
6, The Rig Kontrol
for a full explanation.
Virtual Rig Kontrol
User Interface
Virtual Rig Kontrol
GUITAR RIG 5 - Application Reference - 15


