SCXI Quick Start Guide
12
ni.com
Add the SCXI Chassis
If you installed an SCXI USB module, such as the SCXI-1600, skip to
Step 12. Configure the Chassis
. The SCXI USB module and associated chassis appear automatically under
Devices and
Interfaces
.
To add the chassis, complete the following steps.
1.
Right-click
Devices and Interfaces
and select
Create New
. If you are using a remote RT target,
expand
Remote Systems
, find and expand your target, right-click
Devices and Interfaces
, and
select
Create New
. The Create New window opens.
2.
Select the SCXI chassis.
3.
Click
Finish
.
Alternatively, you can right-click
Devices and Interfaces
and select your chassis from
New»
NI-DAQmx SCXI Chassis
.
Step 12. Configure the Chassis and Modules
If you are configuring a chassis with an SCXI-1600, right-click the chassis, select
Properties
, and skip
to step 6 of this section. The SCXI-1600 auto-detects all other modules.
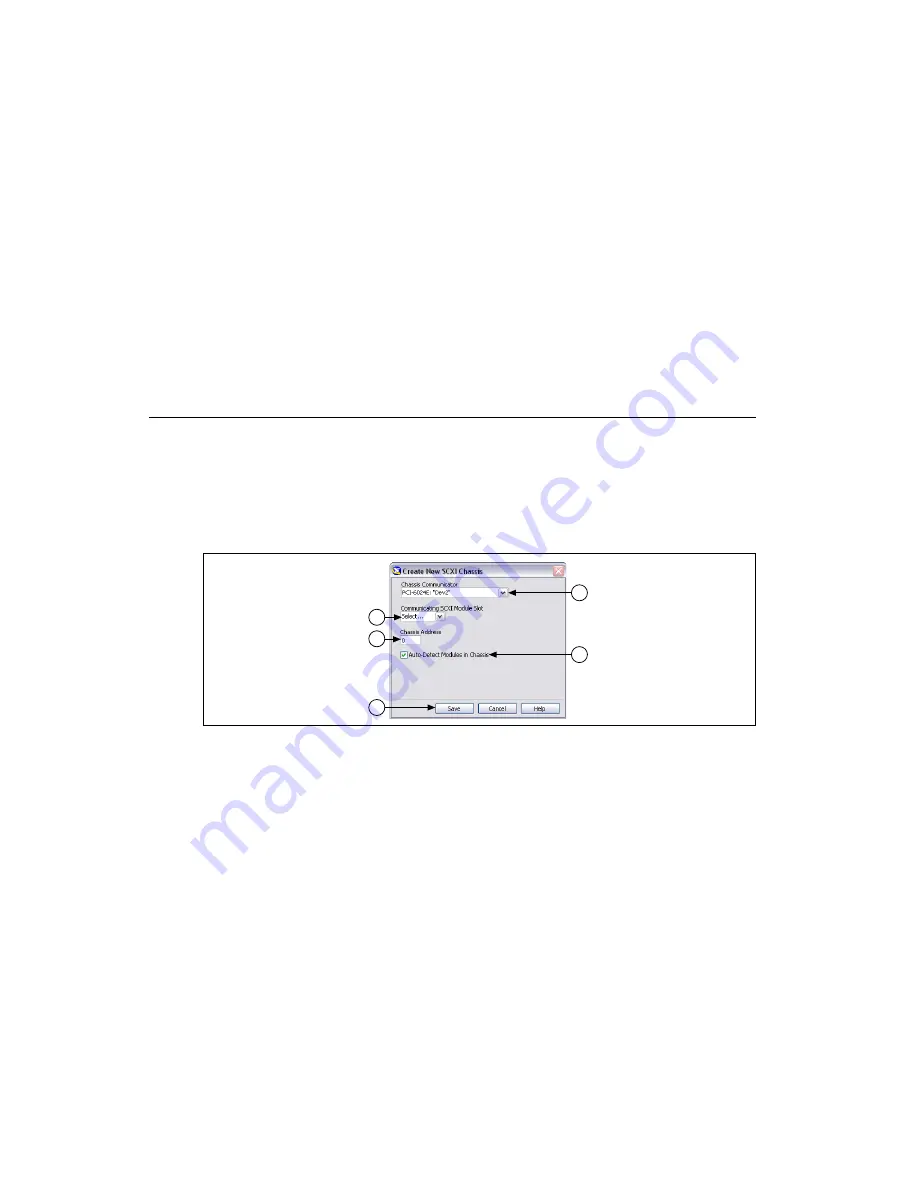
Complete the following steps as shown in the figures. Numbered callouts in the figures correspond to
the step numbers.
1.
Select the DAQ device cabled to the communicating SCXI module from
Chassis Communicator
.
If MAX detects only one DAQ device, the device is chosen by default, and this option is disabled.
2.
Select the module slot connected to the chassis communicator from
Communicating SCXI
Module Slot
.
3.
Enter the chassis address setting in
Chassis Address
. Make sure the setting matches the address
setting on the SCXI chassis.
4.
Select whether to auto-detect SCXI modules. If you do not auto-detect modules, MAX disables
Communicating SCXI Module Slot.
5.
Click
Save
. The SCXI Chassis Configuration window opens. The
Modules
tab is selected by
default.
2
5
3
1
4


