


©
National Instruments Corporation
7
PCI/PXI Ethernet Adapter Installation Guide
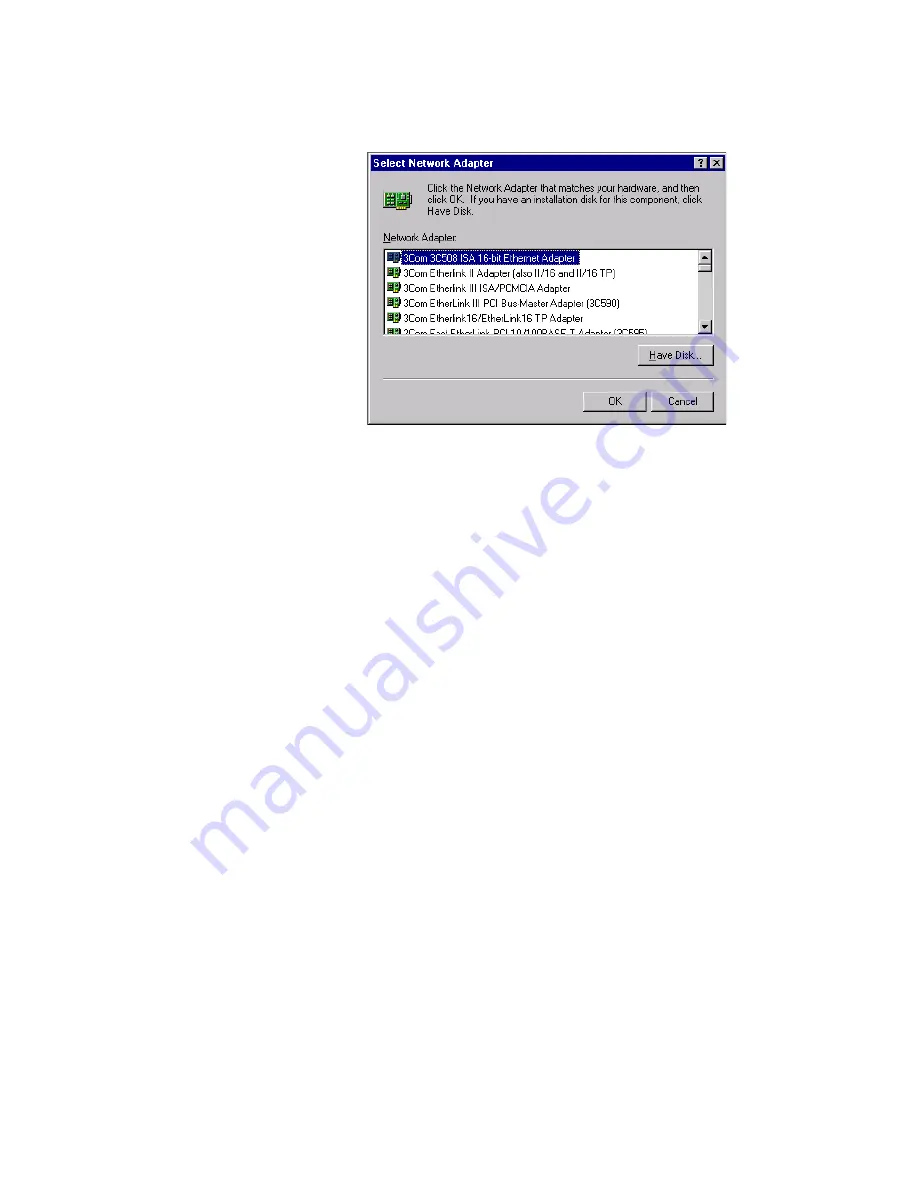
6.
Specify the appropriate drive in the dialog box and click
OK
. Follow
the prompts to complete the installation.
7.
Click
Close
to finish.
8.
Restart Windows NT.
Windows NT Version 3.51
1.
After you install the Ethernet adapter, power on the computer and start
Windows NT.
2.
Double-click the
Network
icon in the Control Panel.
3.
Click
Add Adapter
.
4.
When the list of adapters appears, scroll to the end of the list and select
<Other> Requires disk from manufacturer
and then click
Continue
.
5.
Insert the PCI/PXI Ethernet Adapters CD in the appropriate drive,
specify that drive, and click
OK
.
6.
Select the
Intel PRO Adapter
and click
OK
.
7.
The
TCP/IP Configuration
dialog box appears. Enter the appropriate
information and click
OK
.
8.
When prompted, restart Windows NT.


