background image

©

National Instruments Corporation

7

PCI/PXI Ethernet Adapter Installation Guide

6.

Specify the appropriate drive in the dialog box and click

OK

. Follow

the prompts to complete the installation.

7.

Click

Close

to finish.

8.

Restart Windows NT.

Windows NT Version 3.51

1.

After you install the Ethernet adapter, power on the computer and start
Windows NT.

2.

Double-click the

Network

icon in the Control Panel.

3.

Click

Add Adapter

.

4.

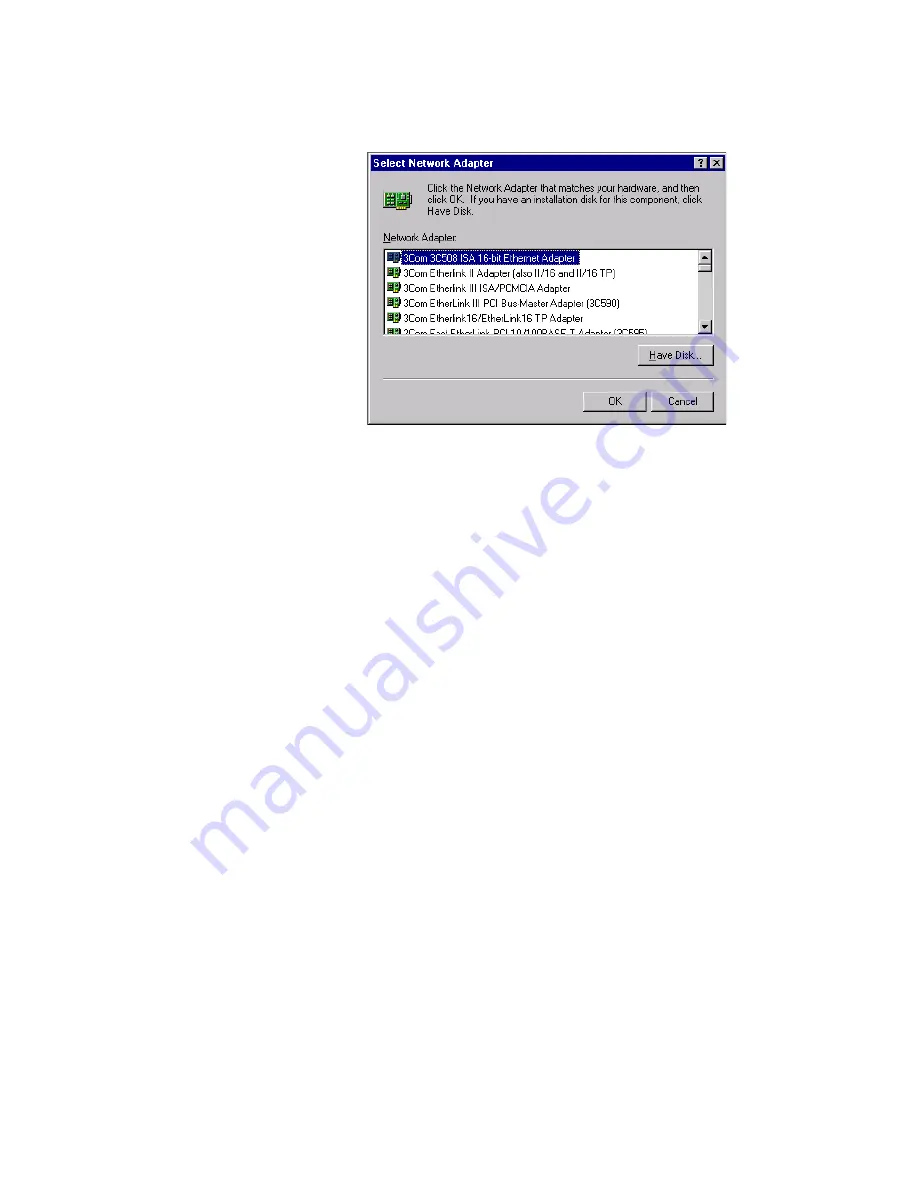
When the list of adapters appears, scroll to the end of the list and select

<Other> Requires disk from manufacturer

and then click

Continue

.

5.

Insert the PCI/PXI Ethernet Adapters CD in the appropriate drive,
specify that drive, and click

OK

.

6.

Select the

Intel PRO Adapter

and click

OK

.

7.

The

TCP/IP Configuration

dialog box appears. Enter the appropriate

information and click

OK

.

8.

When prompted, restart Windows NT.

Summary of Contents for PCI/PXI ETHERNET ADAPTERS

Page 1: ...placing an existing Ethernet adapter with the PCI Ethernet adapter in Windows 95 refer to Removing an Existing Adapter in Windows 95 Complete the following instructions to install the Ethernet adapter...

Page 2: ...be on your clothes or body 5 Insert the adapter into the selected bus master slot Use the injector ejector handle to fully inject the device into place 6 Screw the front panel of the adapter to the fr...

Page 3: ...ter you install the Ethernet adapter power on the computer and start Windows 95 The Update Device Driver Wizard appears Note If this dialog box did not appear you may have to manually install the Ethe...

Page 4: ...e adapter from its own library of drivers If this is the case you might be prompted only to insert the Windows 98 CD and to restart the computer However older versions of Windows 98 might not include...

Page 5: ...lect Intel 8255x based PCI Ethernet Adapter 10 100 on your CD ROM and click OK 9 Click Next at the next two prompts and then click Finish 10 Restart your computer when prompted Windows 2000 After you...

Page 6: ...uter when prompted Windows NT Version 4 0 1 After you install the Ethernet adapter power on the computer and start Windows NT 2 Double click the Network icon in the Control Panel 3 Click the Adapters...

Page 7: ...computer and start Windows NT 2 Double click the Network icon in the Control Panel 3 Click Add Adapter 4 When the list of adapters appears scroll to the end of the list and select Other Requires disk...

Page 8: ...e Diagnostics tab then click Run Tests Testing the Adapter Test the adapter by running diagnostics To test the Ethernet functionality run PROSet by double clicking the PROSet icon in the Control Panel...

Page 9: ...each LED 3 Make sure you are using the correct drivers Verify that you are using the drivers that came with the adapter The computer hangs when the drivers are loaded Change the PCI BIOS interrupt set...

Page 10: ...address and IRQ level for the peripheral boards when the computer starts The network drivers cannot change these values If you experience problems when the computer starts you may have to follow addi...

Page 11: ...upts in BIOS Removing an Existing Adapter in Windows 95 If you are replacing an existing Ethernet adapter with the PCI PXI Ethernet adapter follow these steps before physically removing the adapter ca...

Page 12: ...1 1 7 W 3 3 VDC Operating environment Ambient temperature 0 to 55 C Relative humidity 10 to 90 noncondensing Storage environment Temperature 20 to 70 C Relative humidity 5 to 90 noncondensing Complian...

Reviews: