©
National Instruments Corporation
11
Getting Started with the NI 17xx Smart Camera
Configuring the NI 17
xx
with Vision Builder AI
Complete the following steps to install Vision Builder AI and configure the NI 17
xx
.
1.
Insert the Vision Builder AI CD. If you have autorun enabled, the installer starts automatically.
If not, select
Start»Run
. Enter
x:\autorun.exe
, where
x
is the letter of the CD drive.
2.
When the installation screen appears, click
Install Vision Builder AI
, and follow the setup
instructions.
Configure the IP Address
Complete the following steps to configure an IP address for the NI 17
xx
.
1.
Launch Vision Builder AI.
2.
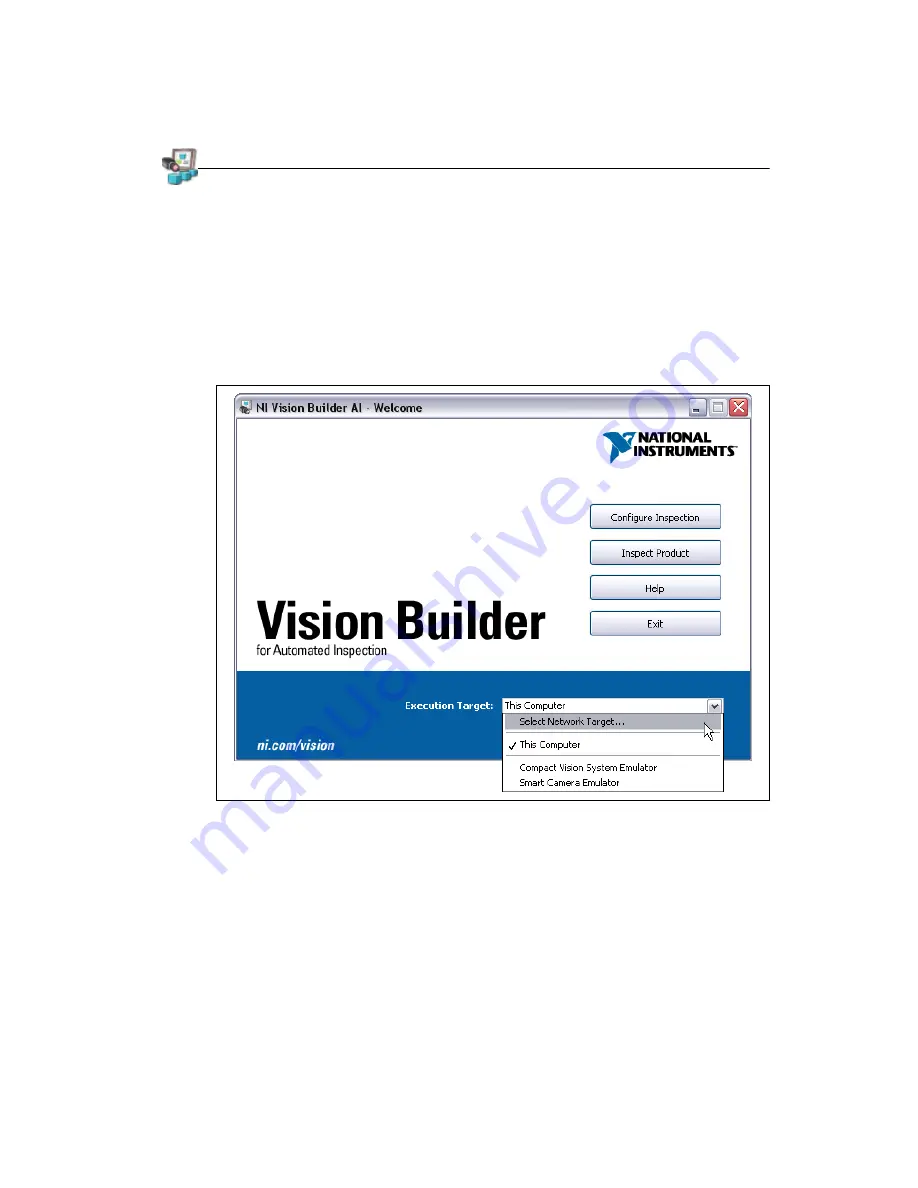
On the Vision Builder AI startup screen, expand the
Execution Target
listbox, and click
Select
Network Target
.
Figure 6.
Vision Builder AI Welcome Screen
3.
In the Select Remote Target dialog box, select the NI 17
xx
smart camera with an IP address of
0.0.0.0
.
To uniquely identify multiple unconfigured devices, connect and configure one device at a time.
4.
Click
Configure
. The Remote Target Configuration Wizard launches in a new window.
5.
In the
Name
field, enter a name for the device. Use the
Description
field to enter any additional
information or a brief description of the device.
Device names are limited to 15 characters with no spaces or special characters, except hyphens.
The first and last characters must be alphanumeric.


