Chapter 4
Human Machine Interface
4-12
©
National Instruments Corporation
How Do You Customize Front Panel Objects?
You can customize BridgeVIEW controls and indicators to change their
default appearance on the front panel with the Control Editor. You also can
save these controls for use in other VIs. Programmatically, they function
the same as standard BridgeVIEW controls.
Control Editor
You launch the Control Editor by selecting a control on the front panel with
the Positioning tool and choosing Edit»Edit Control…. The Control
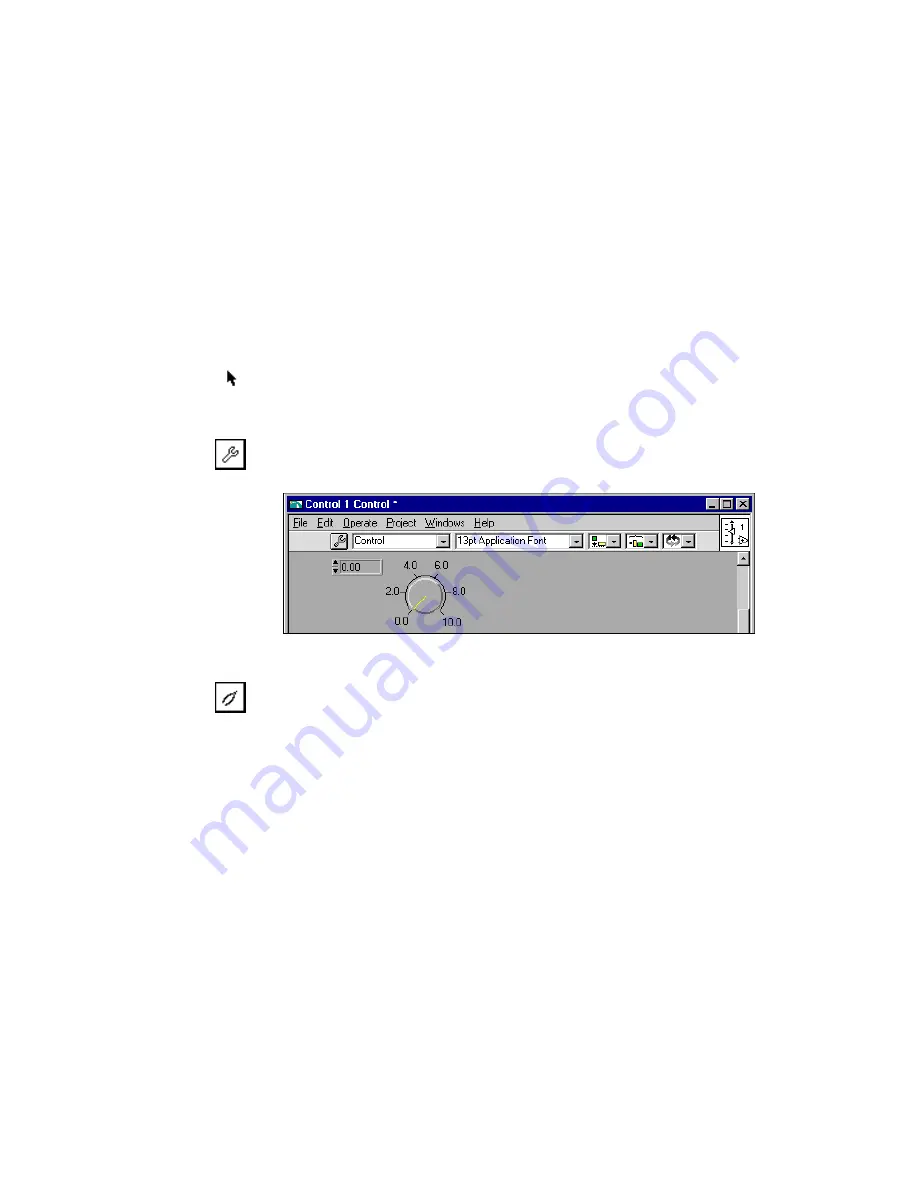
Editor appears with the selected front panel object in its window. The
Control Editor has two modes: the Edit mode and the Customize mode.
The Edit mode allows you to pop up on a control and manipulate its
setting(s). The Control dialog box is shown below.
Figure 4-2.
Control Dialog Box
While in the Customize mode, you can move the individual components of
a control around with respect to each other. For a listing of what you can
manipulate in customize mode, select Windows»Show Parts Window.
Not only can you customize the appearance, but you can use the control in
other VIs. Save it as a custom control by selecting Save. You can save it
with different definitions such as control, type definition, or strict type
definition which controls how much of the control can be modified in other
VIs. After you save the control, you can place it on other front panels using
the Controls»Select a Control… option. For more information, refer to
Chapter 24, Custom Controls and Type Definitions, in the G Programming
Reference Manual.
When you edit a control, a new window opens with a copy of the control.
You can customize the control by coloring it, changing its size, adding new
elements to clusters, and so on. These changes do not affect the original VI
until you select File»Apply Changes, or you close the window and select
Yes to the prompt concerning replacing the original control.


