©
National Instruments Corporation
9
Where to Start with the NI 435X
6.
Insert the NI PXI-4351 into the selected 5 V slot. Use the
injector/ejector handle to fully insert the device.
7.
Use the screw on the front panel of the NI PXI-4351 to fasten the
device to the front panel mounting rails of the PXI or CompactPCI
chassis.
8.
Visually verify the installation.
9.
Plug in and power on the PXI or CompactPCI chassis.
The NI PXI-4351 is now installed. Refer to the
section next.
♦
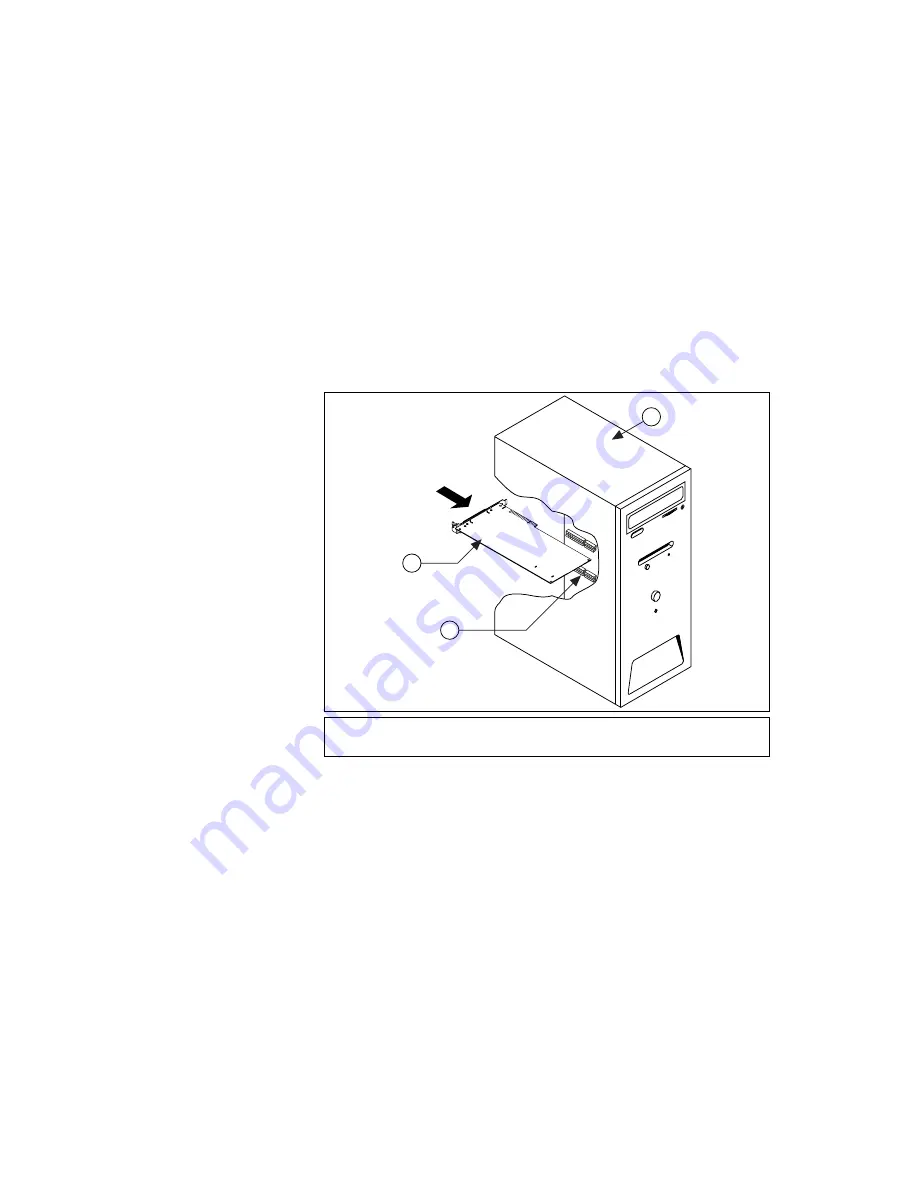
NI PCI-4351
Figure 4.
NI PCI-4351 with PC
You can install the NI PCI-4351 in any available PCI expansion slot in the
computer. However, to achieve the best noise performance, leave as much
room as possible between the NI PCI-4351 and other boards and hardware.
The following are general instructions, so consult the computer user
manual or technical reference manual for specific instructions and
warnings.
1.
Write down the NI PCI-4351 serial number for future reference.
2.
Plug in, but do not power on, the computer before installing the
NI PCI-4351 device. The power cord grounds the computer and
protects it from electrical damage while you are installing the module.
1
PC
2
NI PCI-4351
3
PCI Expansion Slot
1
2
3