National Cycle, Inc.
PO Box 158 Maywood, IL 60153-0158 USA P: 708-343-0400 / F: 708-343-0625 / E: [email protected]
www.nationalcycle.com
©2022 National Cycle, Inc.
Page 3 of 4
10-129518-000 11/22
INSTALLATION; CONT’D
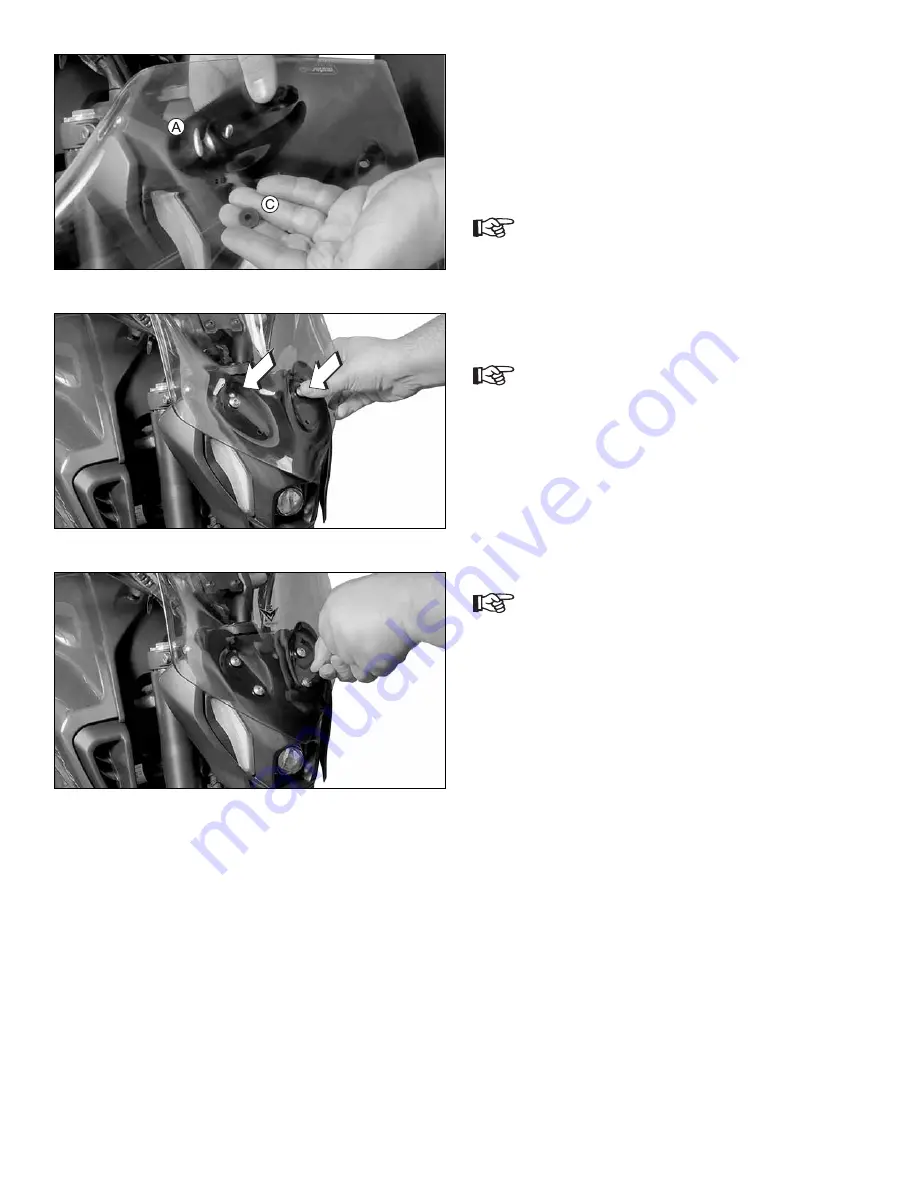
Step 8
Insert two of the OEM mounting bolts (removed in Step 1)
through the top front mounting holes of your VStream
Windscreen, and hold in place.
On the back of the Windscreen, place two two Rubber Washers
(C)
of the mounting bolts.
Be careful that these do not fall loose during assembly.
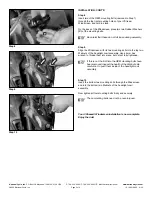
Step 9
Align the Windscreen with its two mounting bolts into the top two
Wellnuts of the headlight cowl assembly. Use a 4mm hex
wrench to thread them into place, but not yet fully tightened.
If this is not the first time the OEM mounting bolts have
been removed, inspect the health of the Wellnuts. Be
careful not to push them inside of the headlight cowl
assembly.
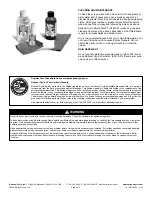
Step 10
Insert the bottom two mounting bolts through the Windscreen
and into the bottom two Wellnuts of the headlight cowl
assembly.
Now tighten all four mounting bolts firmly and securely.
These mounting bolts need not be over-torqued.
Your VStream® Windscreen installation is now complete.
Enjoy the ride!
Step 8
Step 9
Step 10


