4
IBR-ITAB DEALER SETTINGS MENU
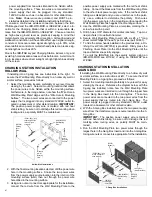
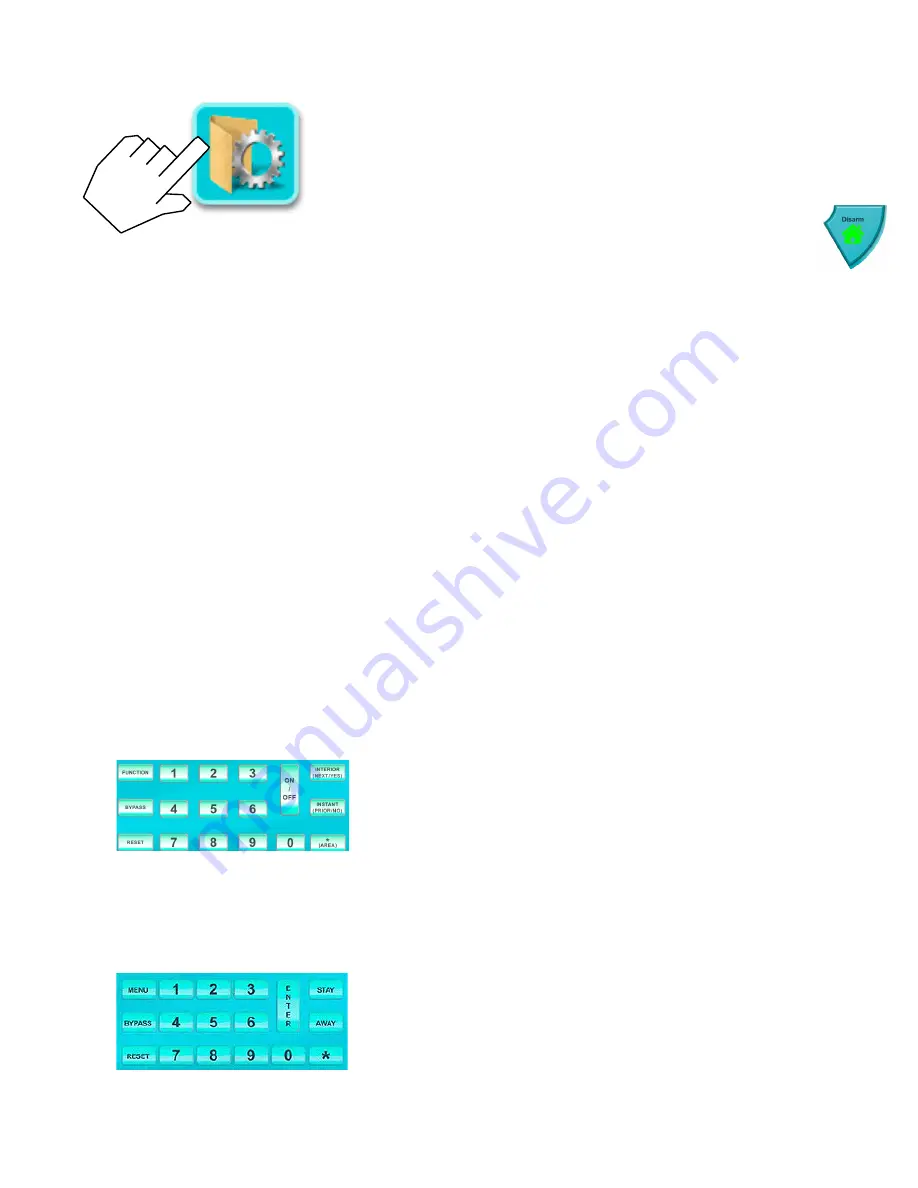
This "System Settings" button can display either a partial list of
"user-only" selections or a full list of "dealer-only" selections, de-
pending on the
how
this button is tapped and pressed:
•
User Settings
: To display the partial list of "user-only" se-
lections, simply tap this
button once (see OI372)
•
Dealer Settings
: To display the full list of "dealer-only" se-
lections,
press and hold
this
button (password required)
When accessing the "dealer-only" selections (again, by pressing
and holding this
button), a popup appears requesting a pass-
word. This password request signifies that the
Dealer Settings
menu will be displayed (detailed in this section). Type the IBR-
ITAB dealer password (default is "
admin
") and tap
OK
. Tap
Yes
to the warning popup that appears, and the
User Settings
menu opens.
Note:
For descriptions of the "user-only" selec-
tions, see the User Guide for the keypad (see OI372). For Z-
Wave menu selections, see the
Using your iBridge
®
IBR-
ITAB Series Z-Wave
®
Home Automation System
(OI378).
Dealer Settings > Security
Keypad Skin
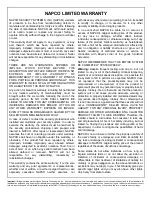
- Select the keypad model type configured in the
IBR-ZREMOTE. Selections include:
Classic:
Displays the IBR-ITAB proprietary keypad, with
extra large keys, modeled on the Gemini "GEM-RP1CAe2"
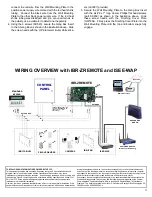
two-line display alpha keypad, as shown in the following im-
age:
K Series Stay / Away:
Displays the IBR-ITAB proprietary
keypad with extra large keys, modeled on the Gemini
"GEM-K1CA" two-line display "K Series" Stay/Away alpha
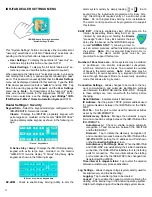
keypad, as shown in the following image:
EZ-ARM
- Check to enable Easy Arming (ability to arm the
alarm system quickly by simply tapping
U
or
D
). Each
keypad may be individually programmed for Easy Arm-
ing. Disarming still requires entry of a valid user code.
Note:
Do not program Easy Arming in UL installations.
The alarm control panel must be programmed to support
this feature.
EASY EXIT
- Check to enable Easy Exit. While armed in the
Interior Bypass/Stay Mode, Easy Exit can be
initiated by pressing and holding the
Disarm
"pie wedge" button. Easy Exit restarts the Exit
delay (the top banner on the IBR-ITAB changes
to read "
ARMING STAY
...") allowing a User to
exit an armed premises without disarming and rearming
the system.
Note:
Do not program Easy Exit in UL in-
stallations. The alarm control panel must be pro-
grammed to support this feature.
Number of Zone Areas are
- Some systems may be divided,
or partitioned, into smaller independent subsystems,
which are referred to as Areas. Tap to select the number
of Areas in the alarm system.
Note:
Each Area may be
controlled by its own keypad or by a keypad of a different
Area through Managers Mode (a low-security operating
mode that allows arming by area).
Connection Settings
- Allows changes to be made to the net-
work communication and automatic identification settings
used between the IBR-ITAB and the ISEE-WAP. Changes
to these settings are rare; consult with the factory before
changing.
Serial Interface:
Indicates status if hardwired.
IP Address:
Set the private TCP/IP protocol address used
for communications between the IBR-ITAB and the ISEE-
WAP.
Port No.:
Set the port number used for network activities
as set by the IBR-ZREMOTE.
Autodiscovery Options:
Manage the automatic recogni-
tion and connection settings between the IBR-ITAB and the
IBR-ZREMOTE.
Autodiscovery:
Check to enable ongoing automatic
recognition of and connection between the IBR-ITAB
and the ISEE-WAP.
Discover:
Tap to initiate the discovery (recognition of
and connection) process between the IBR-ITAB and the
IBR-ZREMOTE, setting the IP address and Port shown
on the
Connection Settings
screen.
Autodiscovery Port Range Base:
When the IBR-ITAB
and ISEE-WAP are establishing their initial handshake
connection, the ISEE-WAP establishes four (4) listening
ports for connection. This menu item allows the starting
port number used by the ISEE-WAP to be changed from
its default setting of 8000.
Time interval to request status:
Tap to enter the duration
between autodiscovery process activations.
Log Settings
- Allows changes to logs (system activity used for
backup/recovery and troubleshooting).
Logging:
Tap to enable log files to be created.
Logcat:
Tap to enable the Logcat command, allowing the
viewing of the internal log in the Android operating system.
Helpful with diagnosing and troubleshooting system issues.
IBR-ITAB Napco Security Application
"System Settings" Button
"K Series Stay / Away" Keypad Skin
"Classic" Keypad Skin


