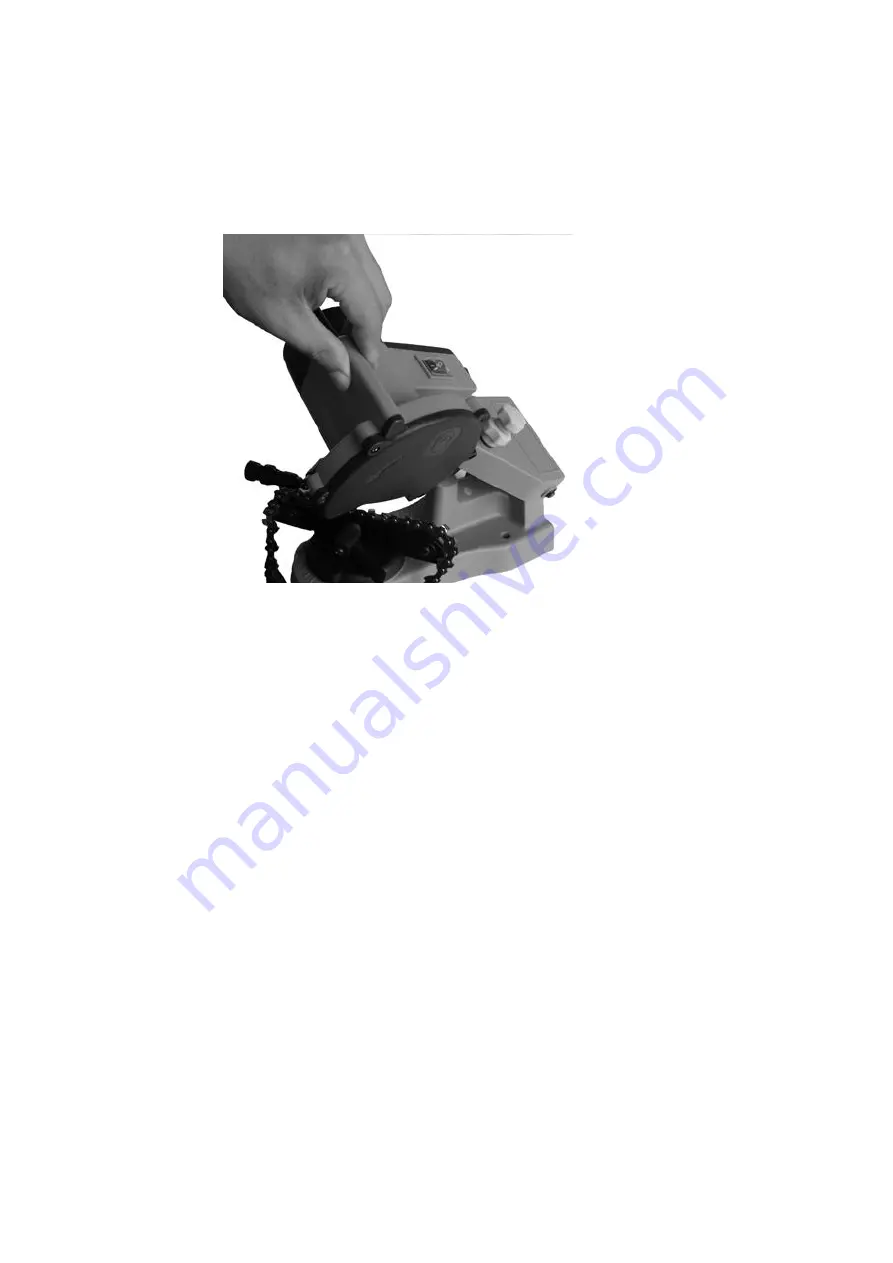
Sharpening
1. Put on your protective gear and make sure the immediate area is clear of bystanders.
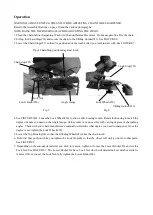
2. Plug in the Power Cord(#3) and push the green button on the Switch Plate(#5) to turn on the machine.
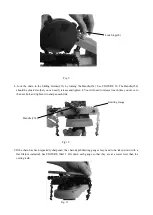
3. Slowly lower the grinding wheel as shown in FIGTURE 12. If you notice slight errors in your settings, turn off
the unit and unplug it before you make your adjustments.
Fig.12
NOTE: A GOOD GRIND OCCURS WHEN THE CONTACT BETWEEN THE WHEEL AND THE TEETH ARE
GRADUAL AND SMOOTH. DO NOT STOP TOO LONG ON EACH TOOTH.
4. After sharpening one tooth, turn off the machine. Lift the Top Housing(#4), release the Handle(#34), and move
the chain so that the next link is positioned in the Chain Stop(#23). Tighten the Handle(#34). Turn the machine
back on and continue sharpening the next tooth. Repeat this process until you have sharpened all of the links set
up for this angle.
5. After you finished sharpening all of the teeth set for your current angle, turn off the machine by pushing the
black button in the Switch Plate(#5) and unplug the unit. See FIGTURE 11.
6. Loosen the Lock Wheel(#18) and reset the angle so that the first tooth that hasn’t been sharpened is positioned
against the Chain Stop(#23) and locked in as explained on page 6.
7. As you did with the first half of the chain, be sure to lower the Top Housing(#4) so that the Grinding Wheel(#8)
skims the chain tooth, and lock it in place. See page 6. Follow all of the steps on page 6 double checking
everything before you plug in the machine and turn it on again.
WARNING: REMEMBER TO TURN OFF THE MACHINE AND UNPLUG IT IF YOU NEED TO NAKE ANY
ADJUSTMENTS.
8. After you repeat all of steps under Sharpening on page 7, your chain is ready to be mounted on your saw.
Maintenance
1. Keep the Sharpener clean and free of dust, metal debris and dirt.
2. Check the Grinding Wheel before each use to make sure it isn’t damaged. Do not use a grinding wheel if it is
chipped, cracked, or worn. You can check if the wheel has cracks not visible to the human eye by hanging it up
by the central hole and tapping it with a non metal object(Ie: screwdriver handle). If it is in good condition it
will produce a metallic sound. A dull sound indicates a crack or break.
Summary of Contents for ES3000
Page 1: ......
Page 2: ...1 2 3 4 5 6 7 8 9 10 Off 11 230V 50Hz 90W 5000rpm 104mm 2 3kgs...
Page 3: ...12 On Off 13 14 15 16 0 10 50 18 AWG 17 18 1 2 7 8 3 9 4 11 5 8 6 7 8 9 10...
Page 4: ...1 1 2 2...
Page 5: ...1 18 3 2 1 4 17 4 3 4 17 10 5 6 1 4 6 2 11 3 9 8 4 7...
Page 6: ...5 9 6 11 7 6 4 8 5 6...
Page 7: ...10 4 1 2 23 31 8 3 23 7 23 23 26 18 31 7 8 4 7 8 18 18 5 4 8 6 6 9 7 26 7 26 26...
Page 8: ...6 9 8 31 34 10 34 34 10 9 10 11 Fig 11...
Page 9: ...1 2 3 5 3 12 12 4 4 34 23 34 5 5 11 6 18 23 6 7 4 8 6 6 8 7 1 2...
Page 10: ...3 3...


