Nakamichi NAM1630 User Manual Download Page 17

PC PROFESSIONAL DEBUGGING

Main features: 
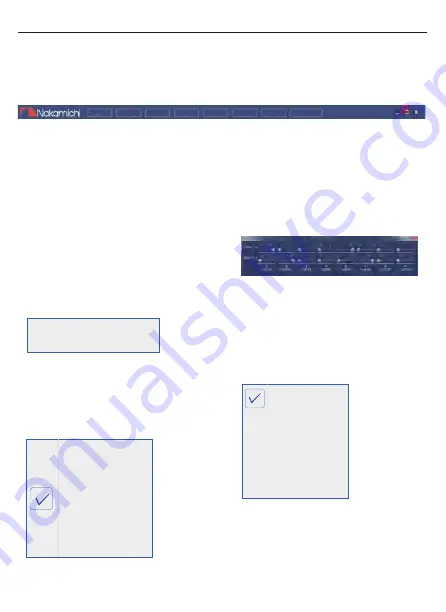
Save,Memory,Option,Mixer, Audio,NUS, SeakerNull and unconnected operations.

Click on the  " Memory "  popup 
window and select Load machine 
Preset  Scene  or  Save  as  Preset 
Scene or Load  PC  Presets  File  or 
Save  PC  Presets  File  or  Load 
Machine  Scene  and  Save  
Machine  Scene.

4. Click " Mixer "  to  enter  the  mixing 
    interface, where the corresponding 
    mixing input source can be entered 
    by switching. The high level interface 
    is as follows.  

5. Click on the "Audio " window to 
    select flat, bass, classical, jazz, 
    pop and rock sounds.  

3.Click "Option" to select Chinese 
   and English  switch,  noise  door, 
   about and restore factory Settings.  

简体中文
繁體中文

English
Noise Gate
About(A)

FLAT
BASS
CLASSCI
JAZZ
POP

ROCK

1. Click "Save" to save the currently 
    set frequency parameters

Main Menu Edit Section

Load PC Presets File

Save PC Presets File

15 EN

Save

Option

Mixer

Audio

NUS

SpeakerNull

unconnected

Memory

2.

Summary of Contents for NAM1630

Page 1: ...NAM1630 NAM1630...

Page 2: ...C Professional Debugging PC Professional Debugging PC Professional Debugging PC Software Operation Introduction Main Menu Edit Section Channel Equalixer Editing Area Channel Diveder Editing Area Setti...

Page 3: ...1 EN...

Page 4: ...2 EN 1024 x 600 HD display in professional DSP...

Page 5: ...put Reverse camera Input Auxiliary right speaker input A Channel1 audio output Channel2 audio output Channel3 audio output Channel4 audio output Channel5 audio output Channel6 audio output Channel7 au...

Page 6: ...4 EN NAM1630...

Page 7: ...5 EN DSP...

Page 8: ...6 EN...

Page 9: ...7 EN Name NAM1630 1630...

Page 10: ...8 EN 3 4 Adroid phone Mirrorlink MUSIC PLAYBACK...

Page 11: ...9 EN...

Page 12: ...ncy and volume as required 7 Select link_ril bessel butt_W filter type click or can switch 8 The adjustable frequency range is 0 20600Hz click or it can be adjusted up or down 9 Slope can choose 6 db...

Page 13: ...he three frequency division and press to install the speaker according to the distribution map of three frequency division and set the position of each speaker The output audio is different When conne...

Page 14: ...step 6 Adjust the gain of a single speaker Note First confirm that the EQ is the standard mode the listening position output volume and output crossover are the factory defaults Balance adjustment of...

Page 15: ...ease the selected frequency Adjustable frequency range 0 20600Hz EQ equalizer can choose user1 user2 flat bass jazz pop classic rock 8 sound modes 5 Gain Select the gain of the corresponding band of t...

Page 16: ...setting interface Click NUS OFF to turn NUS on or OFF In this interface can adjust the main channel sound image central sound image surround sound image The adjustment range is 0 16 click or to adjus...

Page 17: ...where the corresponding mixing input source can be entered by switching The high level interface is as follows 5 Click on the Audio window to select flat bass classical jazz pop and rock sounds 3 Cli...

Page 18: ...ncy band equalization adjustable frequency Q value response bandwidth gain increase or decrease the frequency response amplitude near the frequency point Channel Equalizer Editing Area 16 EN Unconnect...

Page 19: ...ate parameters and the pass through mode the gain of all equalization points is restored to OdB the frequency and value are unchanged 1 GEQ button lick to select graphie ealization or parametic equali...

Page 20: ...ch between mute 6 Lock output type Locking for the current output channel type is not customizable 5 Reset output configuration Customizable for channel type 4 Delay set the delay value by scrolling t...

Page 21: ...RDS Off Beep On On Headlight detection SWC RGBLED WHITE 6 19 EN SWI SWI Study Again Before Clear...

Page 22: ...20 EN...

Page 23: ...21 EN 920 1024 x 600...

Page 24: ......

Reviews: