background image

15

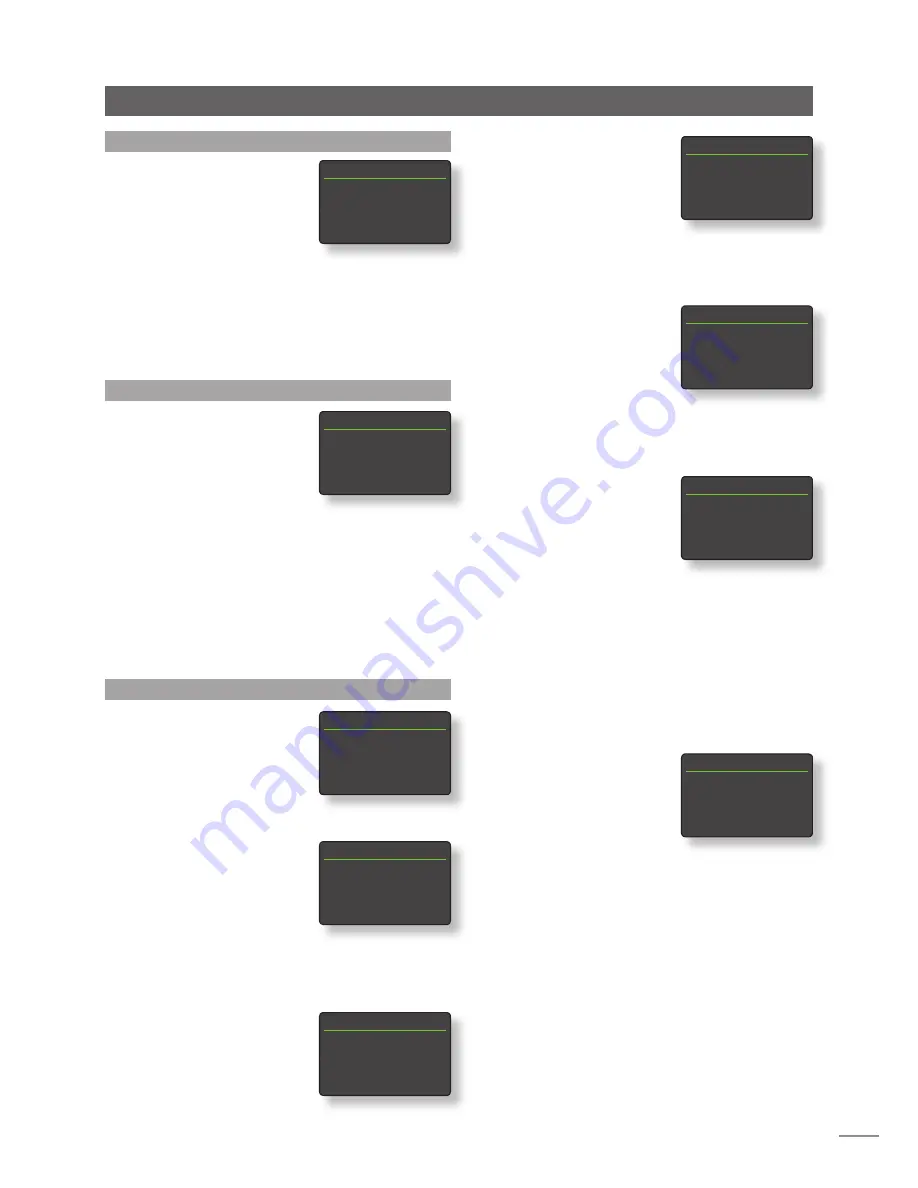
4.6 The Digital Output Menu

The Digital Output menu allows 
the digital output to be enabled 
and its data format to be 
configured.

Parameter Options

Enabled:


Yes / No 


The Digital Output should be enabled  


only if it is specifically required. 

Output:


Native / 96kHz 24bit

 Select 

Native

 unless a subsequent digital  


to analogue converter is unable to  


process a native clock rate reliably.

4.7 The Front Display Menu

The Front Display setup menu 
enables the behaviour of the 
NDS front panel display to be 
modified.

Parameter Options

Auto Off:


Select from list.

Auto Off

 defines the length of time the display will remain 

switched on after the last interface operation is carried 
out. Time periods of between 10 seconds and 1 hour can 
be selected.

Note:

 If the display has been switched off using the 

handset disp key this setting will take priority over the Auto 
Off setting. The display will always switch on briefly when 
control commands are received. 

4.8 The Handset Keys Menu

The Handset Keys setup menu 
enables the function of the 
handset navigation keys 
(Diagram 4.8.3) to be configured. 
and the NDS inputs assigned to 
each handset input selection key 
(Diagram 4.8.4) to be changed.

4.8.1 Navigation Key Functions  

Selecting the 

Up/Down Actions


parameter from the Handset Keys 
menu opens a further menu that 
enables the selection from two 
modes of handset 

up

 (

5

) and 

down

 (

6

) key function: 

Input

 and 

Off

. If 

Input

 is selected 

the keys will select inputs and if 

Off

 is selected the keys will 

be disabled in respect of input selection.

Selecting the 

Left/Right Actions 

parameter from the Handset Keys 
menu will open further menus 
enabling the configuration of 
the 

left

 (

3

) and 

right

 (

4

) keys 

independently for the, Radio(s), 

Front Display 

1/1

4

Auto Off: 

2 mins 

Setup

USB and UPnP™ inputs. The 
options available for the USB, and 
UPnP™ inputs are 

Track

List

 and 

Off

. If 

Track

 is selected the 

left


(

3

) and 

right

 (

4

) keys will select 

the previous or next track. If 

List

 is 

selected the keys will return NDS to list display mode, and if 

Off

 is selected the keys will be disabled in respect of track 

or list selection.

The options available for the 
Radio(s) input are 

Station

,

 Preset

List

, and 

Off

. If 

Station

 is selected 

the 

left

 (

3

) and 

right

 (

4

) keys 

will select the next or previous 
station. If 

Preset

 is selected the 

keys will select the previous or 
next preset. If 

List

 is selected the keys will return NDS to 

list display mode, and if 

Off

 is selected the keys will be 

disabled in respect of station or preset selection.

4.8.2 Input Key Assignments  

Each handset input selection 
key may have up to four inputs 
assigned to it. The default 
assignments are shown in the 
following table:

Handset Key 

Input Assigned

cd:

 None

radio:

 iRadio 

pc:

 UPnP™ 

iPod: 

USB  


tv: 

Digital 1


av: 

Digital 2


hdd: 

Digital 3


aux: 

None

Beneath the 

Up/Down 

keys and 

Left/Right


keys


parameters the 

Handset Keys

 menu displays a 

list of the eight handset input 
keys. Selecting one of the keys 
then displays a list of the four 
existing assignments to that 
key (including unassigned). To change an assignment, 
select the assignment number to be altered and, from the 
subsequent menu, select the desired input.

Digital Output 

1/2

4

Enabled: No 

 Output: 

Native

Handset Keys 

1/10

4

Up/Down


Left/Right 


CD 

 Radio 

Left/Right 1/3

4

USB Track 

 Radio 

Station 

 UPnP 

Track


Left/Right Actions 1/3

4

Track 


 List 


  Off  


Left/Right Actions 1/4

4

Station 


 Preset 


 List 


 Off

Up/Down Actions 1/2

4

Input 


Off 


Handset Keys 

4/10

 Up/Down


Left/Right 

 CD 

4

Radio 

Inputs On:Radio 

1/4

4

1. iRadio 

  2. Unassigned 
  3. Unassigned 
  4. Unassigned 

Summary of Contents for NDS NETWORK AUDIO PLAYER

Page 1: ...R E F E R E N C E M A N U A L N D S N E T W O R K A U D I O P L A Y E R E N G L I S H...

Page 2: ...DS Remote Handset 9 3 7 Handset Text Entry 10 3 8 The n Stream Control App 10 4 NDS Setup 12 4 1 The Setup Home Menu 12 4 2 The Language Menu 12 4 3 The Inputs Menu 12 4 4 The Analogue Outputs Menu 13...

Page 3: ...e NDS internet radio requires high speed internet access via a home network connection When connected to the internet the NDS receives data streams and a list of available radio stations from a dedica...

Page 4: ...paragraphs 2 7 onwards Diagram 2 2 illustrates the NDS rear panel connection sockets 2 2 NDS Rear Panel 2 1 NDS Transit Screws The four transit screws located on the underside of the NDS must be caref...

Page 5: ...urndy Cable Cable direction marker Important XPS power supplies with serial numbers below 188015 are not compatible with the NDS and should not be used Contact your local retailer or distributor for m...

Page 6: ...ed NDS signal and network connections are made Note It is possible to power the NDS using a multiple power supply arrangement comprising two 555PS units or a 555PS and one other compatible power suppl...

Page 7: ...ork configuration may have been altered leaving it unable to connect automatically If this appears to be the case ensure that DHCP is selected in the Network Settings menu see Section 4 5 of this manu...

Page 8: ...ection Note All Naim CD players are earthed so the Signal Ground switch should be set to floating if one is connected in the system unless a digital signal connection is used No damage will be done if...

Page 9: ...ys a selected track or radio station Navigates up a menu or list input Sequentially selects NDS inputs Returns to the previous display menu ok list Enters list display mode Confirms menu item selectio...

Page 10: ...Panel Display list display mode Setup mode is engaged by pressing the handset setup key or pressing and holding the front panel ok list button Setup mode provides access to all NDS setup functions The...

Page 11: ...system automation cd Unassigned radio Selects the iRadio input pc Selects the UPnP input iPod Selects the USB audio input tv Selects the Digital 1 input av Selects the Digital 2 input hdd Selects the...

Page 12: ...m to control your NDS you must first install the app on your iPad iPhone or iPod touch With the app installed and the iPad iPhone or iPod wirelessly connected to the same network as your NDS start the...

Page 13: ...es songs and playlists available to UPnP players 3 8 2 Using n Stream The n Stream app is based on three main screens The Inputs screen the Playing screen and the Library screen These screens are sele...

Page 14: ...e default settings at all however we would encourage you to read this section of the manual in order that you gain a full understanding of NDS abilities The following paragraphs describe each NDS setu...

Page 15: ...network The options are tabulated and described in the following sections Parameter Options Name User definable text entry Default NDS xxxx Wireless Not Used Wireless Network Names Status Connected No...

Page 16: ...parameter is selected in the Network Settings menu the Select Network menu will display a list of the available networks An option not to use a wireless connection is also provided Use the handset up...

Page 17: ...eft 3 and right 4 keys independently for the Radio s Front Display 1 1 4Auto Off 2 mins Setup USB and UPnP inputs The options available for the USB and UPnP inputs are Track List and Off If Track is s...

Page 18: ...nterface Select Enabled to enable CD control and select Input Used to specify the NDS preamplifier or DAC input that the CD player is connected to Note CD player transport control using the NDS handse...

Page 19: ...eset and all settings to be returned to their defaults Parameter Options System Status Select to display Handset IR Mon Select to display Clear All Presets Yes No Reset Sys Auto Yes No Reset All Setti...

Page 20: ...Naim Radio Guide home page To access the stations from the NDS select the iRadio input then select Added Stations 5 3 Storing Radio Presets When the handset store key is pressed the display will show...

Page 21: ...rovides an internet connection it should incorporate a firewall If NDS is already connected to a network begin by selecting the UPnP input 6 1 UPnP Servers UPnP servers incorporate a software applicat...

Page 22: ...the handset up 5 down 6 left 3 and ok list key to browse and select items Note The USB memory device can be safely connected or disconnected at any time Selecting a folder will display the list of fi...

Page 23: ...mini B socket for software upgrade diagnostics only Formats Audio formats supported Internet radio Windows Media formatted content MP3 streams MMS Playlists M3U PLS MP3 AAC up to 320kbit s CBR VBR M4...

Reviews: