


User’s Manual
13
14.
Mainboard firmware update
This update might be necessary to bring the converter’s main board up to date to allow its operation
with the firewire card.
Generally installed main board firmware should be of rev. 6.3 or greater. Contact Mytek via email to
obtain current firmware chip.
Remember to follow basic safety rules about handling of
electronic device while opening the converter: keep your hands
dry,remember to turn off power and disconnect power and signal
cables while working with the top cover removed
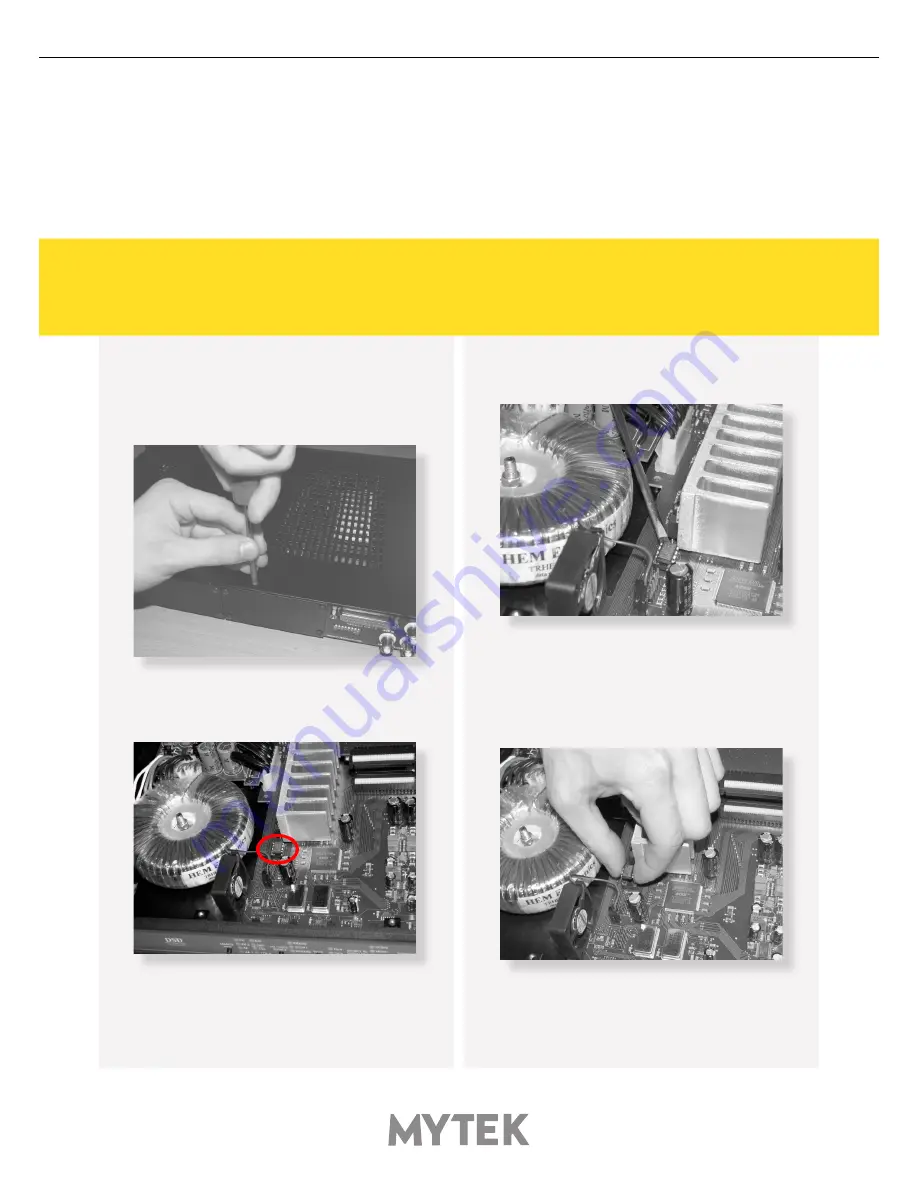
To perform firmware update of 8X192 ADDA
converter:
1. Check if the power cord and signal and clock
lines are disconnected.
2. Remove the top cover.
3. Locate the memory socket on the converter
main board.
4. Gently remove old memory chip. To avoid
damaging memory pins, remove the chip
vertically. Retain old memory chip.
5. Carefully insert new memory chip in the
socket. The chip slot (pin1) should be matching
the socket slot ie must be facing back of the unit.
If necessary gently manually bend pins inward,
to match the holes in the slot. During installation
check correct chip orientation.
Summary of Contents for USB2 CLASS2
Page 1: ......


