13
Scan and Save
Ensure Wi-Fi function is enabled on Wireless Scanner and
connected to your device prior to use.
NOTES
NOTES
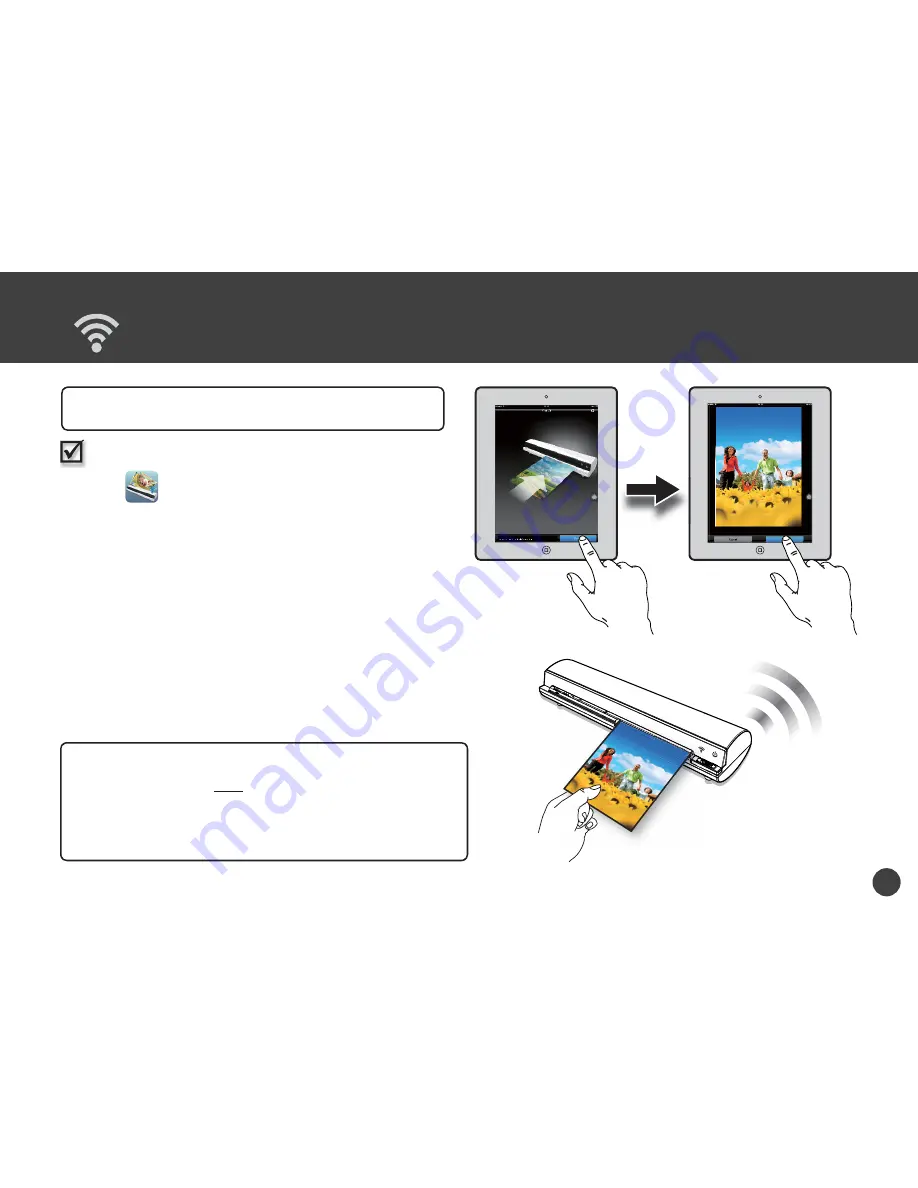
From iPad, iPhone and iPod touch
1. Tap
iScan Air
on your device to open it.
2. Place a photo/document facing up,
adjust the
Paper Guide
, slightly push
photo/document
in
until it is gripped by the rollers and pulled into
the Feed Slot.
3. Tap
the
Scan
button. The device’s screen
shall show a real-time preview while scanning.
4. Tap
the
Save
button to save the scan result
to the device’s photo library.
* If you want to scan it again press
Cancel
button and
repeat the above steps.
When using Scanner the first time with devices running on iOS 6 or later,
a message ‘iScan Air Would Like to Access Your Photos’ shall appear after
pressing
SAVE
button. You
must
tap ‘
OK
’ in order to save image to your
Photos library. If you select ‘
Don’t Allow
’, no image will be saved in your
device, and you will get an Error message for next scan.
Please follow on-
screen message to solve the problem by selecting
Settings > Privacy >
Photos > iScan Air > "ON"
to allow the iScan Air app to access your photos.
IMPORTANT
IMPORTANT


