E 14
4.
Overscan
Use the
Up/Down
arrow keys to set the
OVERSCAN
indication to yellow. Use
the
Left/Right
arrow keys to select it
ON
or
OFF
when your input source is
HDMI
.
5.
Reset
Use the
Up/Down
arrow keys to set the
RESET
indication to yellow. Use the
Right
arrow keys to reset picture
setting to the factory default.
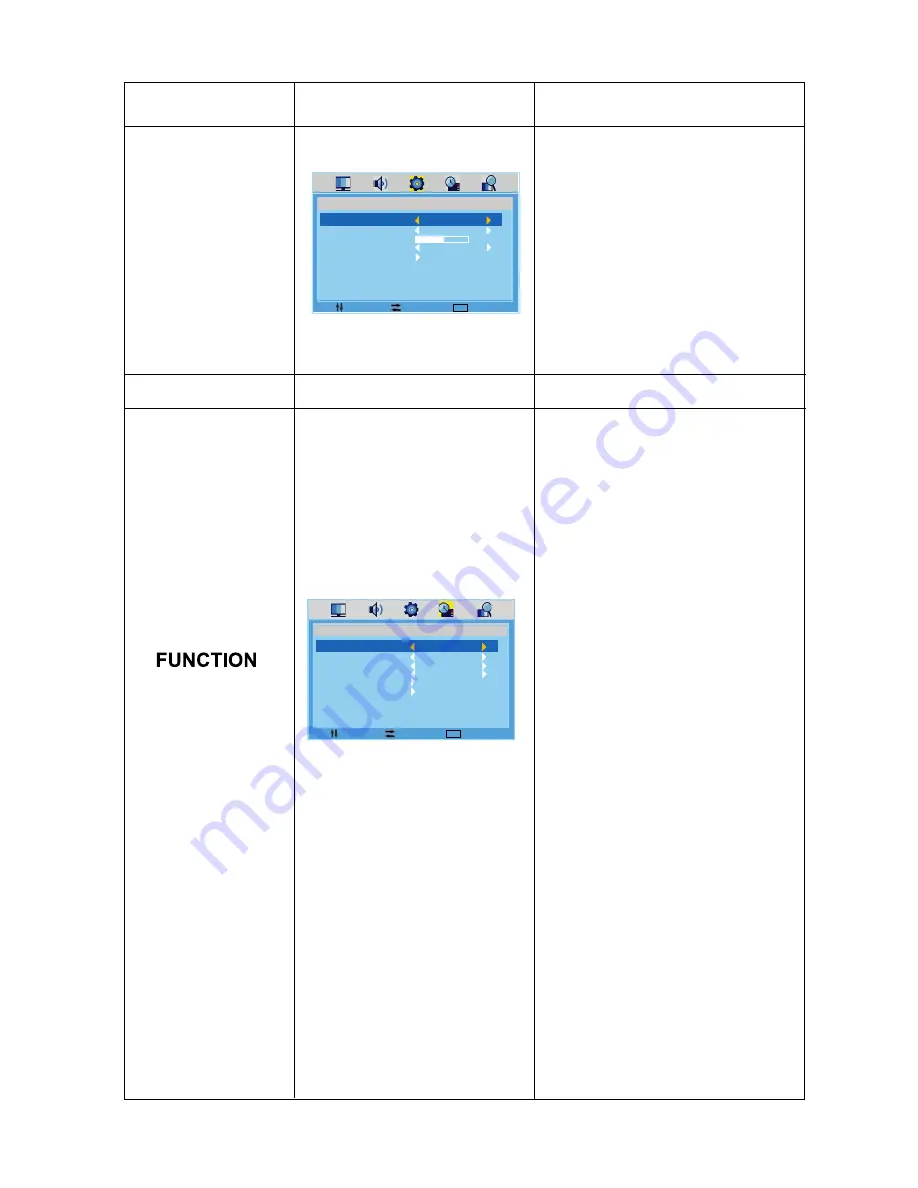
FUNCTION
SLEEP TIMER
ASPECT
TT LANGUAGE
BLUE SCREEN
SYSTEM LOCK
FTI
OFF
FULL
WEST
ON
1.
Sleep timer
Use the
Up/Down
arrow keys to set the
SLEEP TIMER
indication to yellow. Use
the
Left/Right
arrow keys to select the
sleep timer.
2.
Aspect
Use the
Up/Down
arrow keys to set the
ASPECT
indication to yellow. Use the
Right
arrow key to select the screen
display mode. Which best corresponds
to your viewing requirements.
3.
TT language
Use the
Up/Down
arrow keys to set the
TT
language indication to yellow. Use
the
Left/Right
arrow keys to
select
TT language
(Teletext language).
(WEST;EAST;RUSSIAN;ARABIC;
FARSI)
4.
Blue screen
Use the
Up/Down
arrow keys to set the
BLUE SCREEN
indication to yellow.
When there is no signal, the screen will
be blue. You can switch this function
ON/OFF
by means of the
Left/Right
arrow keys.
5.
System lock
Use the
Up/Down
arrow keys to set the
SYSTEM LOCK
indication to yellow.
Use the
Right
arrow key to enter
sub-menu.
SETTING
LANGUAGE
OSD TIMER
TRANSPARENCE
OVERSCAN
RESET
ENGLISH
15 SEC
80
ON
SETTING
NAME OF MENU
SETTING OF MENU
INSTRUCTIONS
NAME OF MENU
FUNCTION OF MENU
INSTRUCTIONS
M E N U
MOVE
EXIT
SELECT
M E N U
MOVE
EXIT
SELECT
Summary of Contents for LE-207781MT
Page 1: ...GEBRUIKSHANDLEIDING INSTRUCTION MANUAL Model Nr LE 207781MT ...
Page 27: ...D 26 ...
Page 29: ...D 28 ...
Page 30: ...D 29 ...
Page 31: ...D 30 ...
Page 32: ...D 31 Repeat ...
Page 33: ...D 32 D DISP D DISP D DISP D DISP D DISP D DISP D DISP D DISP D DISP D DISP ...
Page 34: ...D 33 Subtitles ...
Page 35: ...D 34 Angle ...
Page 36: ...D 35 ...
Page 37: ...D 36 ...
Page 40: ...D 39 wachwoord 0000 in te geven m b v de numerieke toetsen Druk de OK toets in ...
Page 44: ...D 43 ...
Page 57: ...E 11 ...
Page 74: ...E 28 ...
Page 76: ...E 30 ...
Page 77: ...E 31 ...
Page 78: ...E 32 ...
Page 79: ...E 33 D DISP D DISP ...
Page 80: ...E 34 D DISP ...
Page 81: ...E 35 ...
Page 82: ...E 36 ...
Page 83: ...E 37 ...
Page 84: ...E 38 4 SETUP then press OK button to exit OK button to enter the highlighted sub menu ...
Page 86: ...E 40 then press OK button to confirm ...
Page 90: ...E 44 ...


