43
Overview of Components
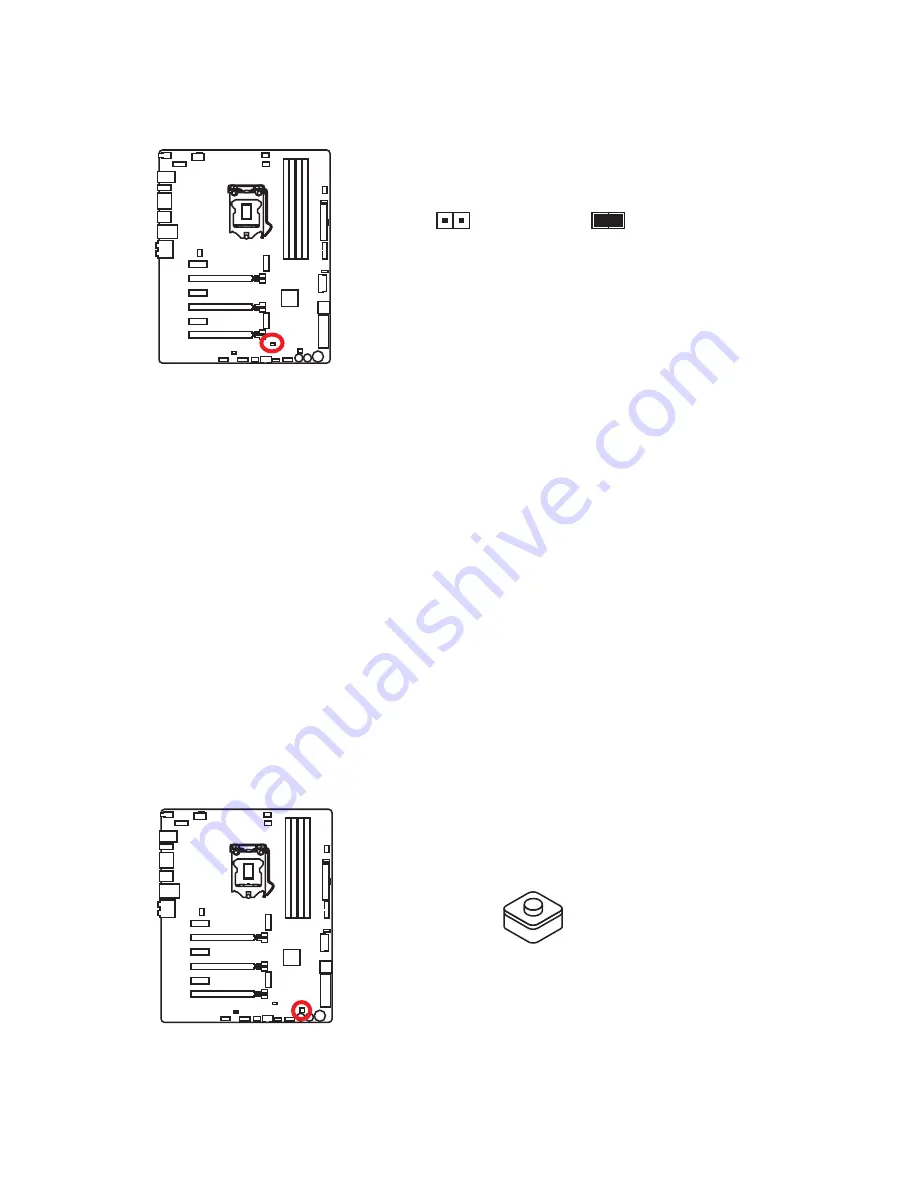
JCI1: Chassis Intrusion Connector
This connector allows you to connect the chassis intrusion switch cable.
Normal
(default)
Trigger the chassis
intrusion event
Using chassis intrusion detector
1.
Connect the
JCI1
connector to the chassis intrusion switch/ sensor on the
chassis.
2.
Close the chassis cover.
3.
Go to
BIOS > Settings > Security > Chassis Intrusion Configuration
.
4.
Set
Chassis Intrusion
to
Enabled
.
5.
Press
F10
to save and exit and then press the
Enter
key to select
Yes
.
6.
Once the chassis cover is opened again, a warning message will be displayed on
screen when the computer is turned on.
Resetting the chassis intrusion warning
1.
Go to
BIOS > Settings > Security > Chassis Intrusion Configuration
.
2.
Set
Chassis Intrusion
to
Reset
.
3.
Press
F10
to save and exit and then press the
Enter
key to select
Yes
.
FLASHB1: BIOS FL Button
This button is used to activate the BIOS FL function. Please refer to page
50 for Updating BIOS with BIOS FL.
Summary of Contents for z170a GAMING M9 ACK
Page 4: ...4 Quick Start http youtu be bf5La099urI Installing a Processor 1 2 3 6 4 5 7 8 9 ...
Page 5: ...5 Quick Start 1 1 2 2 3 3 Installing DDR4 memory http youtu be T03aDrJPyQs ...
Page 7: ...7 Quick Start Installing the Motherboard 1 2 ...
Page 8: ...8 Quick Start Installing SATA Drives http youtu be RZsMpqxythc 1 2 3 4 5 ...
Page 9: ...9 Quick Start 1 4 5 Installing a Graphics Card http youtu be mG0GZpr9w_A 2 3 ...
Page 10: ...10 Quick Start Connecting Peripheral Devices ...
Page 11: ...11 Quick Start Connecting the Power Connectors JPWR1 JPWR2 http youtu be gkDYyR_83I4 ...
Page 12: ...12 Quick Start Power On 1 4 2 3 ...
Page 15: ...15 Contents M 2 PCIe SSD RAID 103 Troubleshooting 105 Regulatory Notices 106 ...


