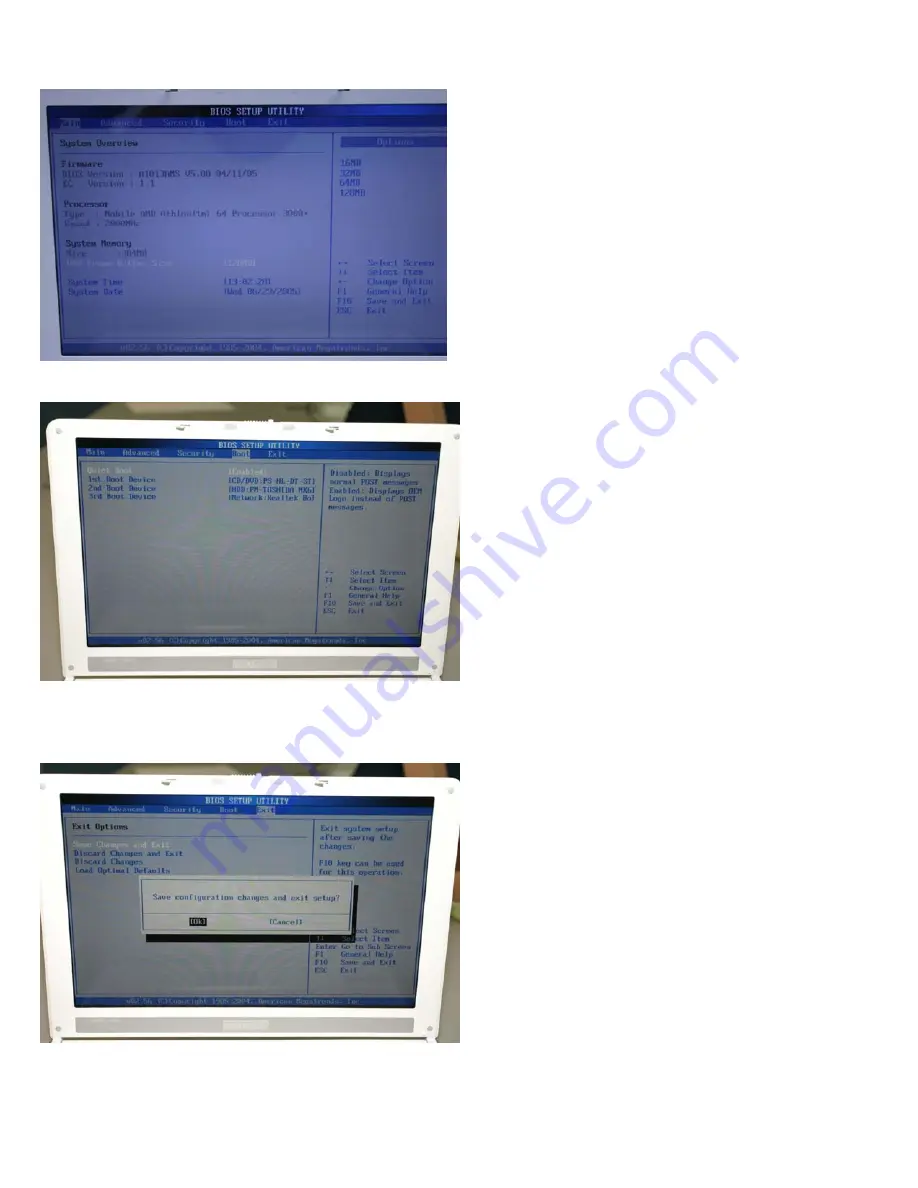
Before powering on the notebook, plug in notebook power adapter into the notebook. After pressing the
power button, press <Del> immediately which will take you to the BIOS CMOS Setup Screen.
8-1 Adjust proper TIME by pressing <Enter>. Use <+> or <-> to configure system time.
8-2 Under “BOOT” menu in the BIOS Setup Utility, press <Enter> to select the first boot device.
8-3 Insert a bootable OS CD into the OSD tray.
8-4 To save/ exit the BIOS Setup Screen, press “Y” to save/ exit.
8-5 After seeing the Logo, immediately press “Enter” in order to install OS and follow the given setup
messages.
8-6 After installing OS, insert the given driver CD to install the appropriate drivers accordingly.
Hint: If you have any questions related to the BIOS Setup procedure or if there are any other
issues, please contact your local retailers or national distributors for further support.
Summary of Contents for Whitebook MS-1013
Page 1: ...Installation Guide Copyright 2005 MSI Computer Corp ...
Page 3: ...Right view Left view Front view ...
Page 5: ...Note It is not necessary to remove the optical drive if you do not intend to replace it ...
Page 28: ...7 9 Fasten all 9 Phillips head screws Failure to apply any screws will damage the notebook ...
Page 29: ...Step 8 Entering BIOS ...


