


MusicOne 24 User Guide
Page | 6 © Cambron Software 2015
STEP 4
Spread the legs of the tripod stand to their maximum or put the solid
base on a flat floor.
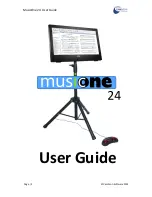
Slide the VESA Pole mount onto the stand pole and tighten.
Release the Quick Release locking mechanism and insert the round
metal boss on the monitor/PC unit into the slot in the Quick Release.
Close the locking mechanism. Make sure it is correctly engaged in
the Quick Release mount.
Removing the monitor/PC unit is the reverse of this process.
Hint
: put your foot on the base as you lift off the monitor/PC unit
STEP 5
Finally plug in the mains lead for the PC and the USB plug for the foot pedal. If this is a permanent
installation use cable ties or Velcro straps to attach these cables to the pole.
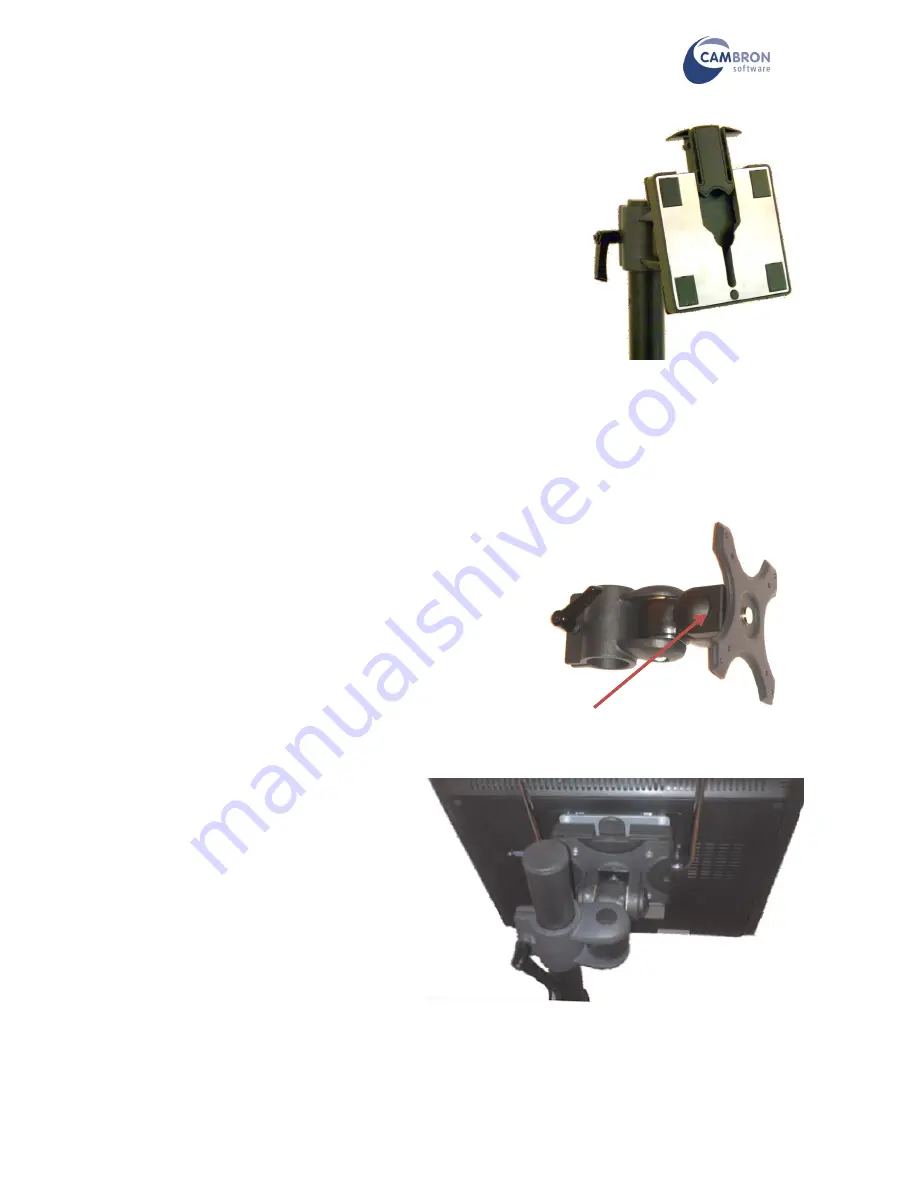
Adjusting the Tension in the VESA Mount
The VESA mount allow the MusicOne 24 to be tilted up and
down, and rotated left and right.
There is a hex Allen key supplied to adjust the tension in the
joints of the VESA mount. To gain access to the adjusters you
may need to remove the plastic caps which cover them.
It is very important that the centre of
gravity of the MusicOne 24 is well
within the base to avoid it falling
over.
To keep the PC closer to the pole on
the stand we suggest you use the
VESA pole mount like this:
Plastic cap