3-25
G
e
ttin
g
Sta
rted
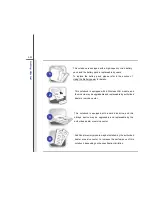
Inserting the Disk
The following instructions describe the
general procedure when operating the
optical storage device:
1. Confirm that the notebook is turned on.
2. Press the eject button on the panel and
the disk tray will slide out partially.
3. Gently pull the tray out until fully
extended.
4. Place your disk in the tray with its label
facing up. Slightly press the center of
the disk to secure it into place.
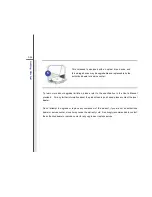
5. Push the tray back into the drive.
1. Confirm that the disk is
placed correctly and
securely in the tray
before closing the tray.
2. Do not leave the disk
tray open.
5
2
4
3
Summary of Contents for CR410
Page 1: ...CHAPTER 1 Preface...
Page 23: ...CHAPTER 2 Introductions...
Page 33: ...2 11 Introductions 8 Touchpad This is a pointing device of the notebook...
Page 43: ...CHAPTER 3 Getting Started...
Page 54: ...3 12 Getting Started 4 1 2 3...
Page 77: ...CHAPTER 4 BIOS Setup...
Page 84: ...4 8 BIOS Setup OnChip SATA Type This setting is used to specify the SATA type...

