Bolt X Quick Start Guide
29
5.
Ensure that the E-stop on the pendant is released and there are no
error messages on the pendant.
6.
Release the desk E-stop by twisting the big red button engage the
robot by pressing the small reset button.
7.
Press the
Servo On Ready
button on the pendant. The
Servo ON
light should start blinking.
8.
Press the Dead Man’s Handle at the rear of the pendant half way to
turn the robot on and release to turn it off.
9.
Press the
Servo On Ready
button on the pendant again.
Moving the Robot in Manual Mode
1.
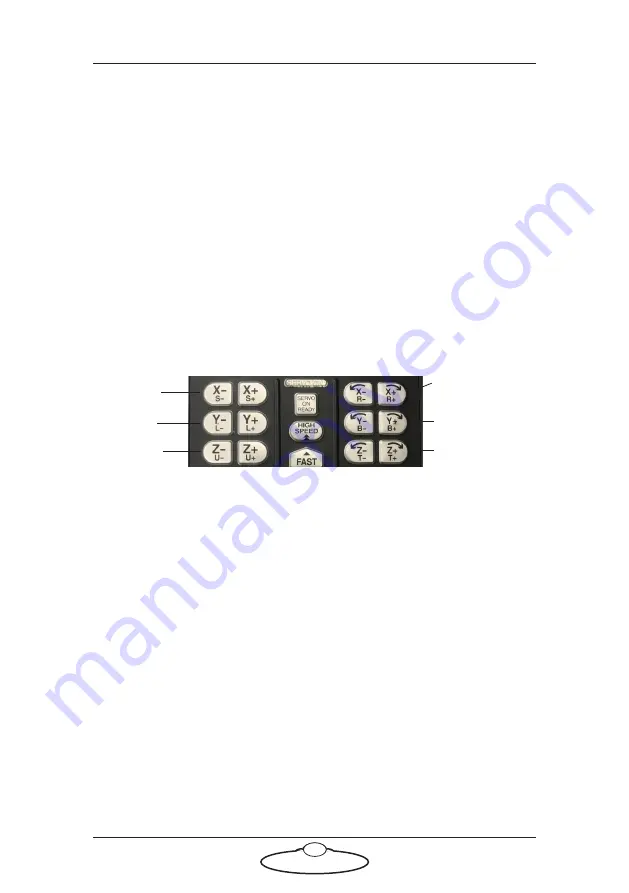
Use the axes buttons X to Z, shown, to move the joints on Bolt X.
To move the Bolt X base or to switch from moving Rotate to Track,
press the
Ex Axis
button. To switch to moving Rotate axis, press the
Robot
button.
2.
Use the Slow and Fast button to change the speed of the axes
movement.
Setting Bolt X Back to Remote Mode
1.
Switch the key in Safety PLC back to vertical position.
2.
Switch the key in the teach pendant back to “Network” position.
3.
If you are using the Bypass Estop box [20529] instead of Safety PLC,
replace it with Safety PLC.
4.
If you still cannot engage and move the robot in Flair, restart Flair.
Rotate/
Track
Lift
Arm
Pan
Tilt
Roll
Note
When moving an axis using the pendant, be careful, as the direction
might be reversed with respect to Flair.
Summary of Contents for Bolt X
Page 17: ...Bolt X Quick Start Guide 13 Notes...
Page 43: ...Bolt X Quick Start Guide 39 Notes...
Page 56: ...Bolt X Quick Start Guide 52 Notes...
Page 61: ...Bolt X Quick Start Guide 57 Notes...
Page 62: ...Bolt X Quick Start Guide 58 Notes...
Page 65: ...Bolt X Quick Start Guide 61 Notes...
Page 66: ...Bolt X Quick Start Guide 62 Notes...


