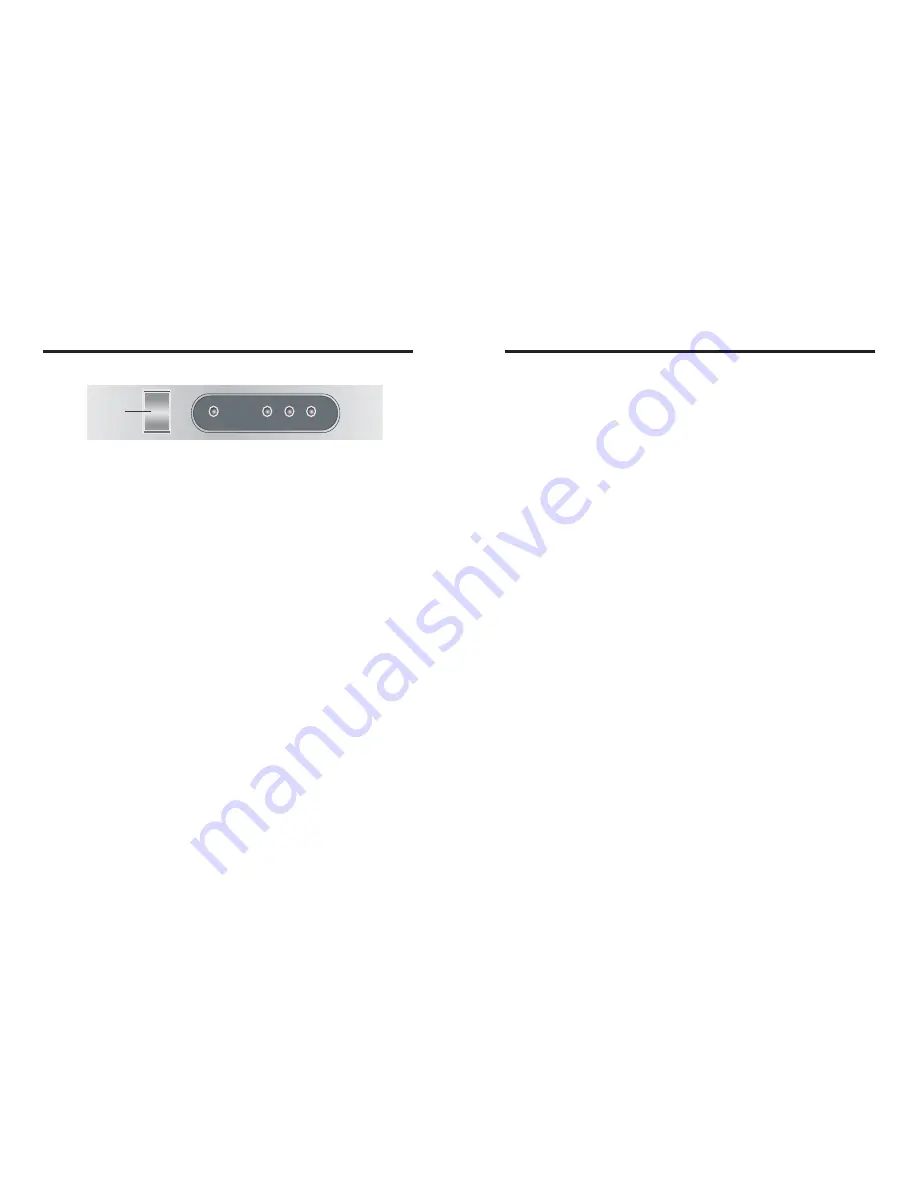
Control Panel
Installation
1.Remove the appliance from the packaging and remove the protective film from
all surfaces.
2.Remove the Ice Spoon, Water Inlet Tube, Water Drainage Pipe and Sealing
Washers from the ice storage cabinet.
3. Place the device on top of an even and safe surface which supports the weight of
the device.
4. Choose a surface where the ice maker is not exposed to direct sunlight, or close
to a direct source of heat such as a cooker, oven or radiator.
5. When
positioning
the
ice
maker,
maintain
a distance
of 20cm
(7 inches)
between
the
appliance
and
walls
or other
objects
for
ventilation. Increase this distance if the obstacle is a heat source.
6. Position the device in a way so that the power plug is always accessible.
7. Set up the device near water supply connection.
8. If necessary, adjust the screw legs of the ice maker to make it level. The
efficiency of the ice maker can be reduced if the appliance is unevenly located.
9. Connect one end of the Water
Drainage
Pipe to the water outlet
connector on the rear of the ice maker.
10. Attach
the other end of the pipe to a plumbed in stand waste pipe
or container suitable for collecting waste water.
11.Connect one end of the Water Inlet Tube to the 3 4
screw type connector
/ "
of the water tap so as to get the drinkable tap water
Be sure to put
.
sealing washers in both ends of the water inlet tube before connecting
.
12. Connect the other end of the inlet tube to the water inlet connector.
Operation
Note: If using the ice maker for the first time (or after a period of inactivity) please
3
RUN
FAULT
WATER
L0W
I
O
POWER SWITCH
ICE
FULL
FULL
Automatic Ice Maker
discard the first two batches of ice. This cleans the internal systems of the ice
maker.
1. Connect the device to a grounded single power socket.
2. Press the Power switch to the ON position [I]. The Switch light illuminates and
the appliance start to work. The first 5 minutes is used for the self inspection
-
of the ice maker. Then it will begins the ice making process.
3. As soon as the ice storage cabinet is full, the “ICE FULL” indicator on the
display panel will light on and the ice maker will stop automatically. Production
resumes once ice has been removed from the cabinet.
4. If water supply is insufficient, the “WATER LOW” indicator will light on and
the ice maker will stop operation automatically.
5. If any error or failure occurs, the “FAULT” indicator will light on and the ice
production stops.
6. Switch off the device and disconnect it from power supply (Pull the power
plug!), when it is not in use.
7. Do not switch on the device immediately after it stops automatically (caused by
insufficient water supply, ice storage cabinet too full, current interruption). Wait at
least 3-5 minutes before restart it in order to avoid damages of the compressor.
NOTE: If the device is not used for a longer period of time, drain the water from
the water tank via the drain screw at the back of the device (some model no drain
screw). Wipe dry the water tank using a dry cloth.
Cleaning and Maintenance
• Always switch off and disconnect the power supply before cleaning.
• Warm, soapy water is recommended for cleaning. Cleaning agents may leave
harmful residues.
DO NOT wash the base unit, instead wipe the exterior with a damp cloth.
•Check regularly the connectors of the water inlet and outlet tubes and
drain the little surplus water that may leak
.
•If the ice make will be unused for a long period
please switch off the
,
power switch and wipe the inner liner of the ice storage container with a
clean rag
.
• When plugging or unplugging
the plug should be held by hand and the
,
wires should not be dragged heavily
.
4
Automatic Ice Maker
Summary of Contents for XBC
Page 2: ......


