Version1.0
Page
27
3. File conversion
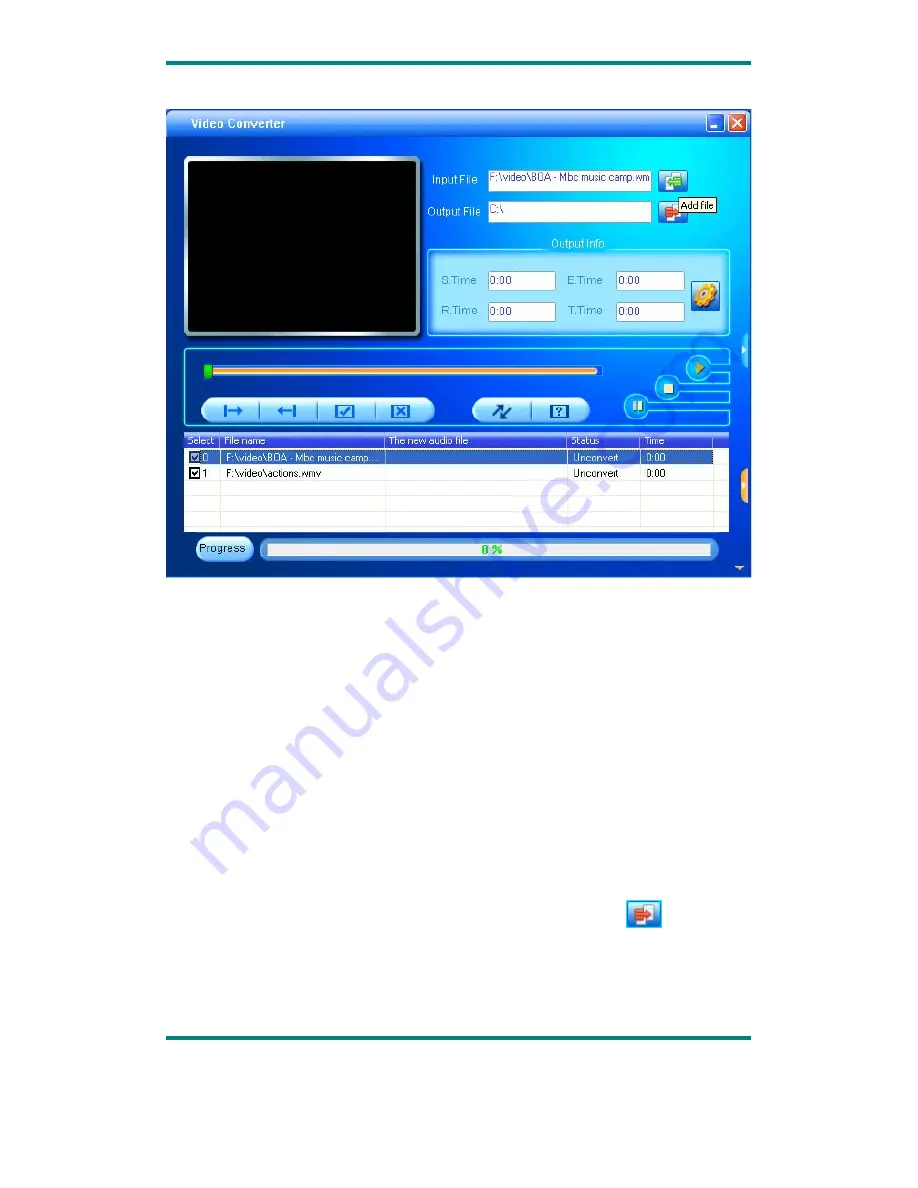
1) Select the file to be converted
In status column, on the left side of each AV file name, there is a check box
and a sequence number. The check box is used to choose a plurality of AV
files to be converted, and the newly added AV files are checked as default
setting. If a file is not checked, it indicates that this AV file will not be converted.
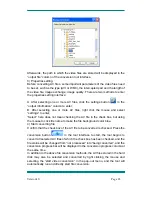
In addition to directly tick the check box, the AV file may also be selected or
removed by right clicking the mouse over the file and choosing “select” or
“remove” in the pop-out window. To remove any AV file from the adding list,
simply right click the mouse over one or more AV files, select “remove”, and
the files will be removed from the list.
2) Select the storage path of the video files
This conversion tool uses C:\ as the default path for storage of video files.
Before file conversion, click the video storage path button
on the right
side of the “output file” column to specify the location for saving the video file.
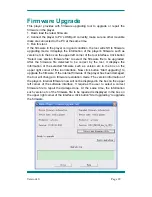
When the “browse file folder” dialogue box pops out, select the specified
storage path, and then click “confirm” button.


