Instruction Manual for
Instruction Manual for
Instruction Manual for
Instruction Manual for
MP-CL2 digital player
9
options: start recording, select voice source, select voice quality, adjust volume. Select
“
start
recording
”
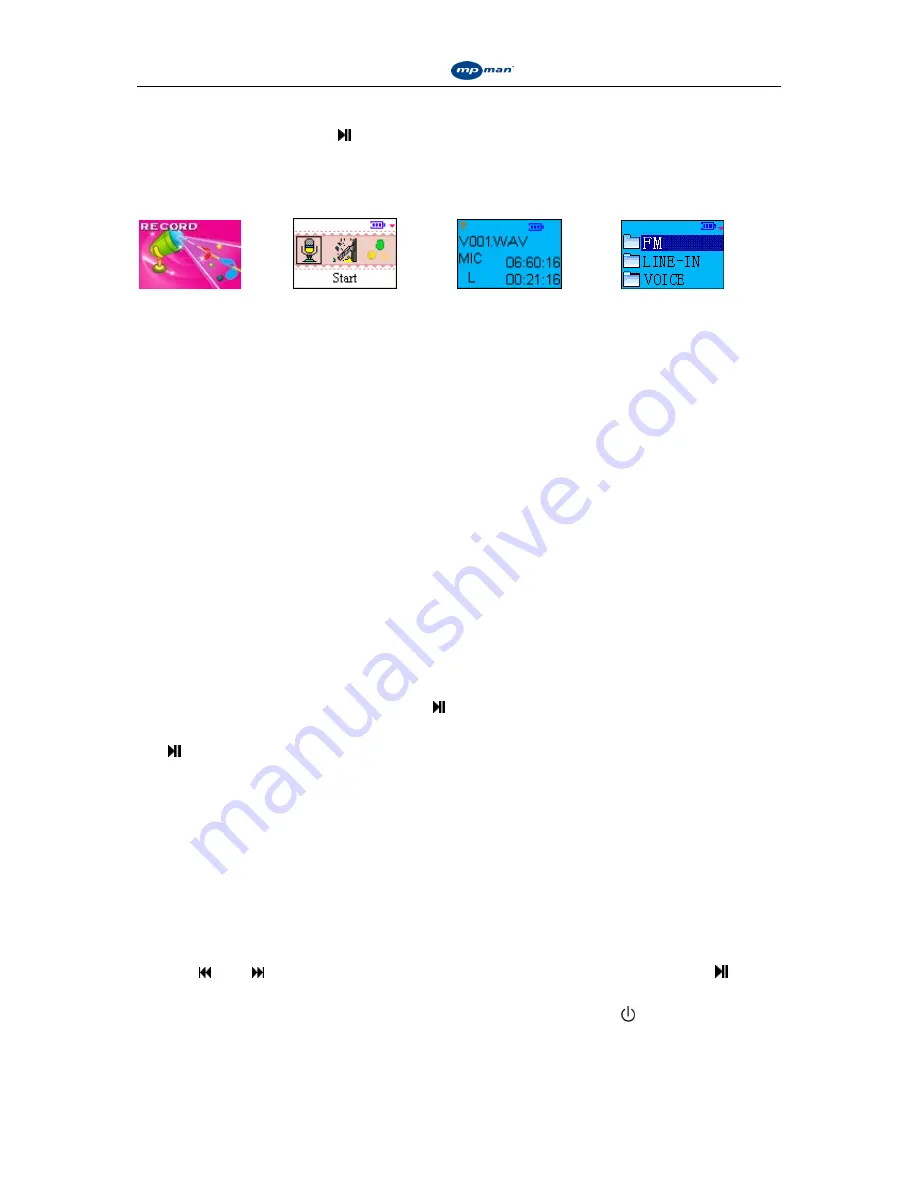
and press the button to enter recording mode, as shown in figure 17. Should
the voice source be “MIC”,
“
MIC
”
will be displayed on the screen. Should the voice
source be “ LINE IN”, “LINE IN” will be displayed on the screen. Press the ESC button to
stop recording and save the file.
Fig.15
Fig.16
Fig.17
Fig.18
Note:
When “Mic” is chosen as the voice source, the system will create a directory named
“VOICE”, as shown in figure 18. Your recorded files will be saved in this directory in the
order that you create them. When “ LINE-IN” is chosen as the voice source, the system will
create a directory named “ LINE-IN”, as shown in figure 18. The recorded files will be saved
in this directory in the order you create them. When FM recording is chosen, the system will
create a directory named “FM”, as shown in figure 18, and the recorded files will be saved in
the order you create them.
2. Voice source selection
MIC: A recording MIC is built into the player
LINE IN: Record a LINE IN audio frequency signal directly via LINE IN
3. Voice quality selection
The player has 3 quality options: refined, medium and low. Choosing a better voice quality
will give you a finer sound.
4. Volume
adjustment
Press the – or + buttons to adjust the volume
5. Direct
recording
Connect to the LINE IN socket of the MP-CL2 via a LINE IN cable. This cable allows you
record directly to another output with no outside sound interference
.
After entering “record mode”, press the button to enter the recording menu. First choose
the voice source and select your recording settings, then choose “start recording” and press
the button to confirm. Press the ESC button to stop recording and the system will create
and save the recorded file, which will automatically be saved in chronological order with any
existing files.
Note:
The voice source should be set as “LINE IN” in the recording settings.
iii. FM Frequency
Note: The earphones need to be plugged into the socket during frequency navigation or
you will not be able to tune in to any radio stations as the earphones also serve as the
antennae in radio mode.
1. Entering and exiting the FM radio
Use the and buttons to select
“
FM radio
”
, as shown in figure 19. Press the button
to confirm and begin channel selection, as shown in figure 20. If there are no channels saved
in the player, the message “no channel” will be displayed. Click the M/ button to enter the
online menu, as shown in figure 22. There are two setting options: frequency navigation and
channel delete. Press the ESC button to exit FM radio mode.


