4
MCDISK-E
High-Tech Made in Switzerland
1. COMMON FOR ALL MCDISK-E
1.1 COMPATIBILITY
MCDISK-E operates with various system platforms using
standard driver software. Some host systems do not fully
support MCDISK-E and require special driver software. MPL
AG provides a "Technical Note for MCDISK" that reflects the
actual status of software support for different host systems.
Additionally, this Technical Note lists PCMCIA card type
compatibility tests performed by MPL AG or MCDISK users.
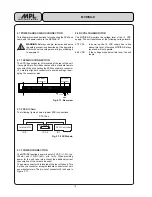
1.2 OPERATION
This chapter provides information about the use of the
PCMCIA cards and the LED indicators.
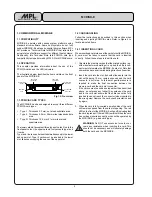
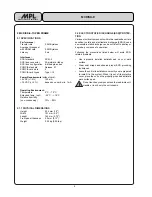
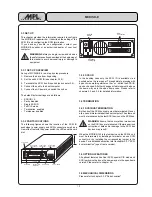
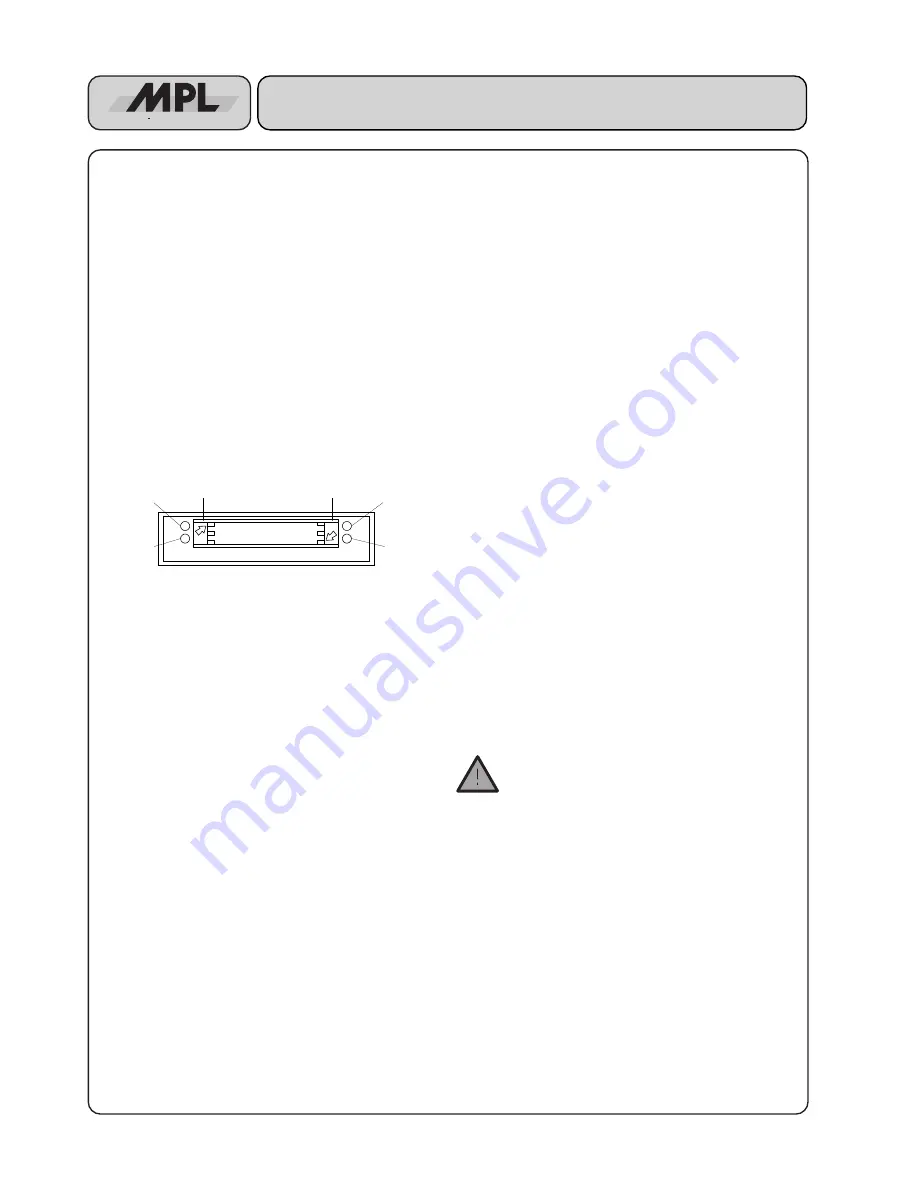
The illustration below identifies the items visible on the front
panel of the MCDISK-E.
Fig.1.2: Front view
1.3 PCMCIA CARD TYPES
The MCDISK-E has been designed to accept three different
PCMCIA card types:
•
Type I:
Thickness 3.3 mm, no raised substrate area
•
Type II: Thickness 5.0 mm, 48 mm wide raised substrate
area
•
Type III: Thickness 10.5 mm, 51 mm wide raised
substrate area
The lower card slot accepts all three types of cards. Due to the
front panel cutout, the upper card slot only accepts type I and
II cards.
Type I and II cards can be inserted simultaneously in the lower
and upper slot. Type III cards must be inserted in the lower
slot, likewise occupying the space of the upper slot.
1.4 CARD HANDLING
Follow the instructions as described in this section when
inserting and ejecting PCMCIA cards. Refer to Figure 5 to
locate indicated items.
1.4.1 INSERTING A CARD
When inserting a card into one of the card slots of the MCDISK-
E, care must be taken to ensure that the card is inserted
correctly. Follow these steps to insert the card:
1. Orientate the memory card so that the printed surface (e.g.
with manufacturer name/logo) is up and the 68-pin con-
nector points towards the MCDISK-E card slot. Note that
some cards have an arrow indicating direction of insertion.
2. Insert the card into the slot. It should slide easily into the
slot until approx. 15 mm remain exposed and the card
comes to a soft stop. At this point gentle pressure is
required to make the final connection between the
memory card and the card slot connector.
If the card comes to a sudden stop earlier than described
above, do not press any further! Key guides on the card
and in the card slot ensure that the card cannot be fully
inserted (does not reach the connector) when inserted in
the wrong way! Remove the card, check orientation and
try again.
3. When the card is fully inserted a small portion of the card
will remain exposed from the card slot opening. The red
LED on the front of the MCDISK-E will go off indicating that
the card is present. If the red LED remains lit then the card
has not been inserted correctly or cannot be operated by
the MCDISK-E (e.g. bad card type).
WARNING: Do NOT use excessive force to over-
come any resistance when inserting the card. This
should not be necessary and will severely damage
both the card and the MCDISK-E.
Power LED
(green)
Lower card
eject button
Error LED
(red)
Upper card
eject button
Access LED
upper slot
Access LED
lower slot


