


- 8 -
Network Environment without DHCP Server
If your VPort D351 is connected to a network that does not have a DHCP
server, you will need to configure the IP address manually. The default IP
address of the VPort D351 is
192.168.127.100
and the default subnet mask is
255.255.255.0. Note that you may need to change your computer’s IP address
and subnet mask so that the computer is on the same subnet as the VPort.
To change the IP address of the VPort manually, access the VPort’s web server,
and then navigate to the
System Configuration
Æ
Network
Æ
General page
to configure the IP address and other network settings. Check the
Use fixed IP
address
to ensure that the IP address you assign is not deleted each time the
VPort is restarted.
Step 7: Accessing the VPort D351 Web-based Manager
1.
Type the IP address in the web browser’s address input box and then press
enter to connect to the homepage of the VPort D351’s web-based manager.
NOTE
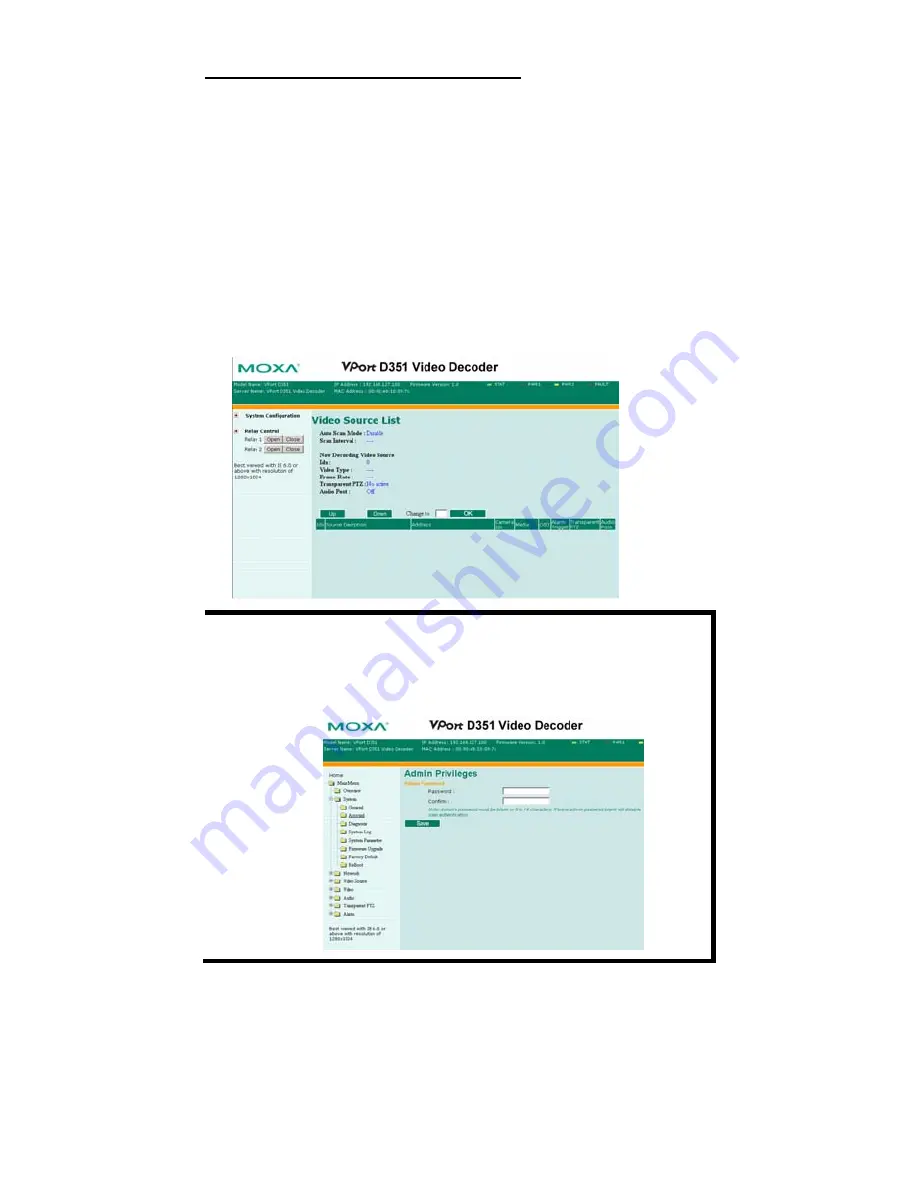
Once the VPort D351’s homepage opens, administrators can go to
System Configuration
Æ
System
Æ
Account
to set up the
administrator’s password. After that, an authentication window will
open to request that the administrator input the account name:
admin
, and the new password.
Step 8: Accessing VPort’s System Configuration
Click on
System Configuration
to access the overview of the system
configuration to change the configuration.
Model Name
,
Server Name
,
IP
Address
,
MAC Address
,
Firmware Version
, and
LED Status
appear in the
green bar near the top of the page. Use this information to check the system
information and installation. For details of each configuration, check the User’s
Manual on the software CD.


