UC-8410/8416/8418/8430 Hardware User's Manual
Hardware Connection Description
4-4
Connecting to the Network
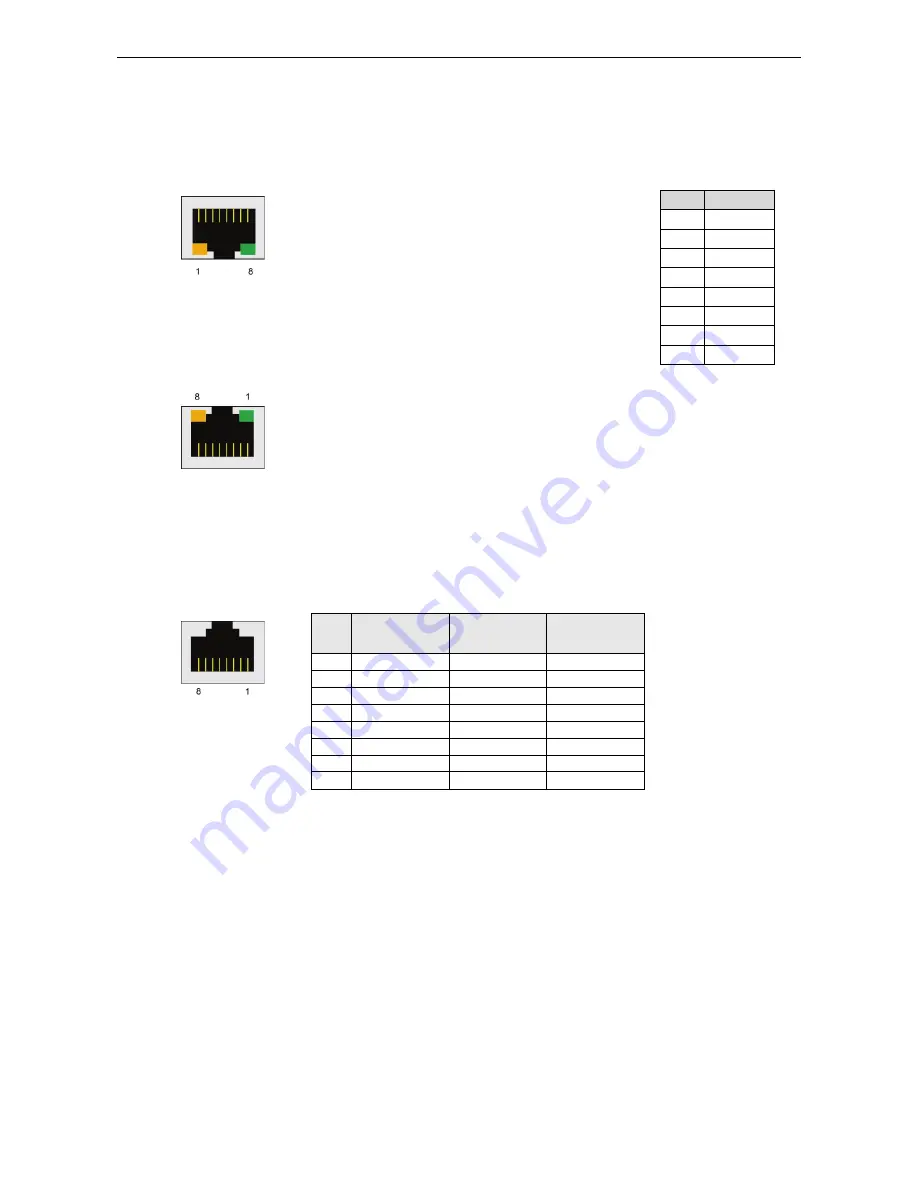
Connect one end of the Ethernet cable to one of the UC-8410/8416/8418/8430’s 10/100M Ethernet ports
(8-pin RJ45) and the other end of the cable to the Ethernet network. If the cable is properly connected, the
UC-8410/8416/8418/8430 will indicate a valid connection to the Ethernet in the following ways:
The lower right corner LED indicator maintains a solid green color
when the cable is properly connected to a 100 Mbps Ethernet
network. The LED will flash on and off when Ethernet packets are
being transmitted or received.
Pin
Signal
1
ETx+
2
ETx-
3
ERx+
4
–
5
–
6
ERx-
7
–
8
–
The lower left corner LED indicator maintains a solid orange color
when the cable is properly connected to a 10 Mbps Ethernet
network. The LED will flash on and off when Ethernet packets are
being transmitted or received.
The UC-8416 has 8 10/100 Mbps switch ports. The LED indicators and pin assignments are
exactly the same as the Ethernet ports.
Connecting to a Serial Device
Use properly wired serial cables to connect the UC-8410/8416/8418/8430 to serial devices. The
UC-8410/8416/8418/8430’s serial ports (P1 to P8) use 8-pin RJ45 connectors. The ports can be configured by
software for RS-232, RS-422, or 2-wire RS-485. The precise pin assignments are shown in the following table:
Pin
RS-232
RS-422/
RS-485-4w
RS-485-2w
1
DSR
–
–
2
RTS
TXD+
–
3
GND
GND
GND
4
TXD
TXD-
–
5
RXD
RXD+
Data+
6
DCD
RXD-
Data-
7
CTS
–
–
8
DTR
–
–
Summary of Contents for UC-8410
Page 15: ...UC 8410 8416 8418 8430 Hardware User s Manual Appearance and Dimensions 2 7 UC 8416 Unit mm ...
Page 16: ...UC 8410 8416 8418 8430 Hardware User s Manual Appearance and Dimensions 2 8 UC 8418 Unit mm ...
Page 17: ...UC 8410 8416 8418 8430 Hardware User s Manual Appearance and Dimensions 2 9 UC 8430 Unit mm ...
Page 19: ...UC 8410 8416 8418 8430 Hardware User s Manual Appearance and Dimensions 2 11 UC 8418 UC 8430 ...


